Getting Started with Windows Server 2019

Windows Admin Center
Windows Admin Center is a locally deployed, browser-based app for managing servers, clusters, hyper-converged infrastructure, and Windows 10 PCs. It comes at no additional cost beyond Windows and is ready to use in production. You can download it from here.
Run the installation and start the program. This will open the main Admin Center Dashboard inside your default web browser:
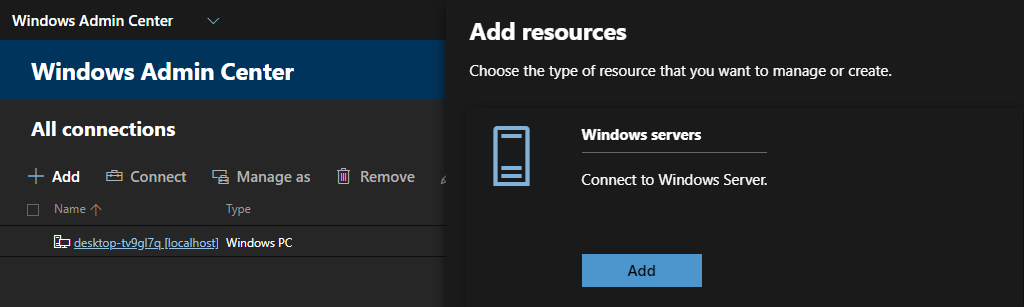
Now click on Add in the top right and choose Add Windows Server:
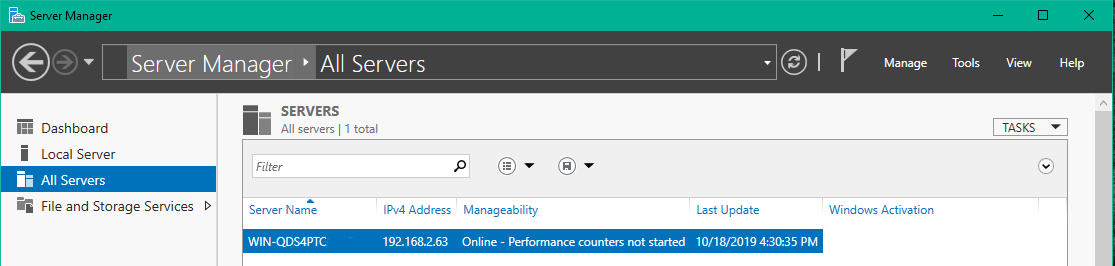
Switch to your Windows Server 2019 desktop and open the Server Manager to find out the Server Name of the server you want to add:
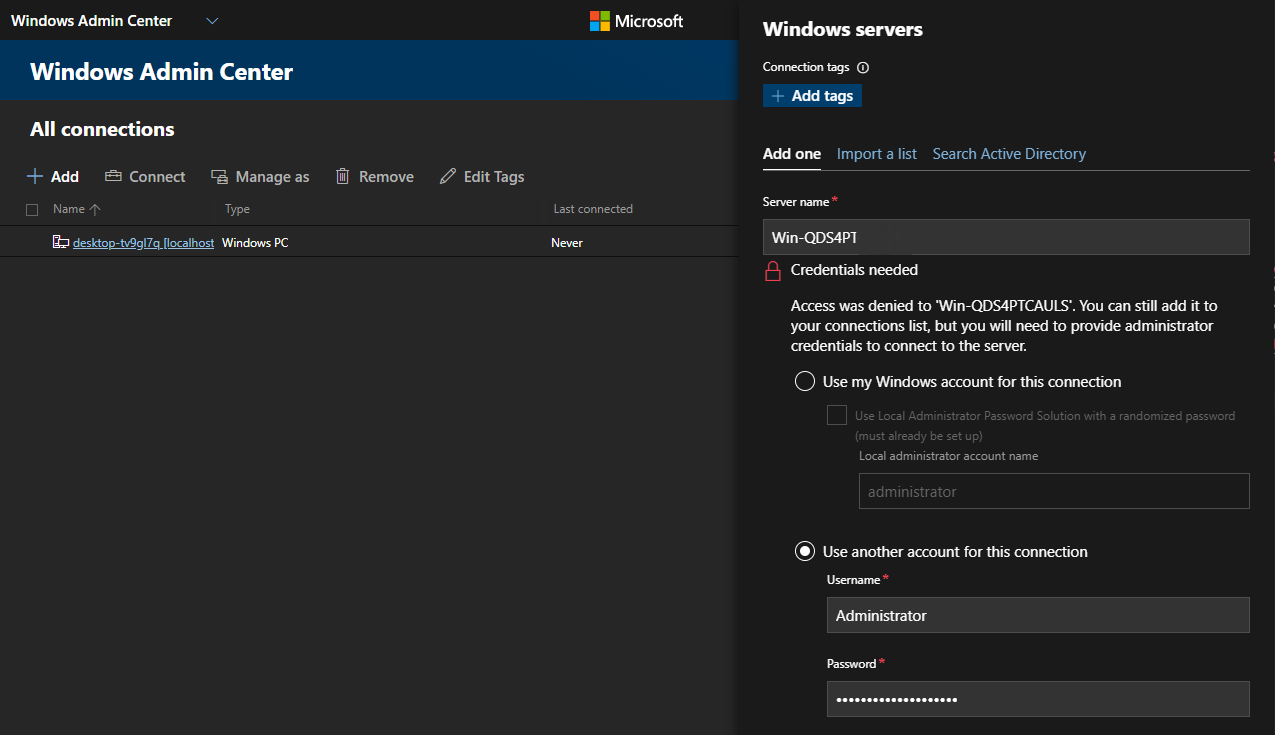
You can now go back to the Admin Center and type in the server name you want to search for. Once it is found on the local network, add your login credentials and click on Add:
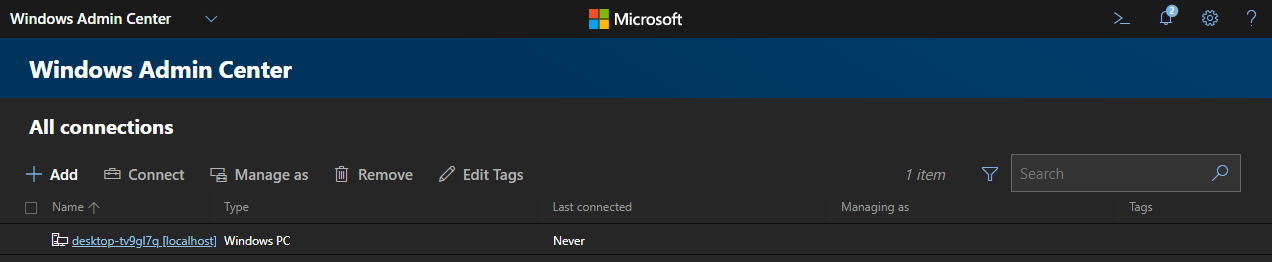
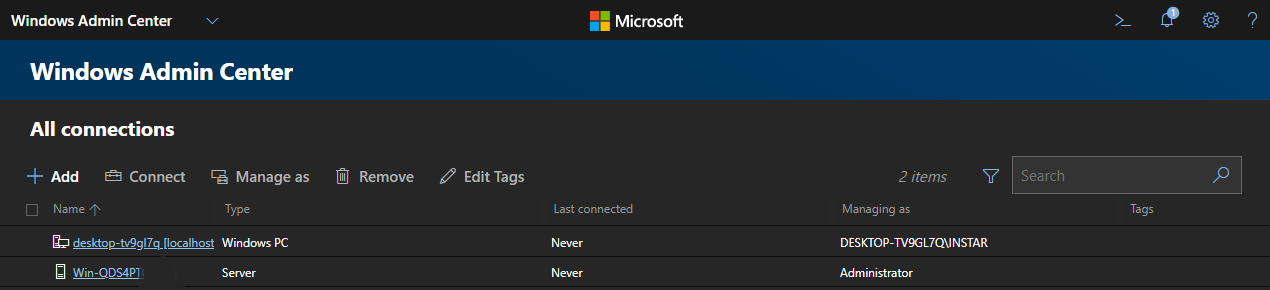
Your server should now show up under All connections:
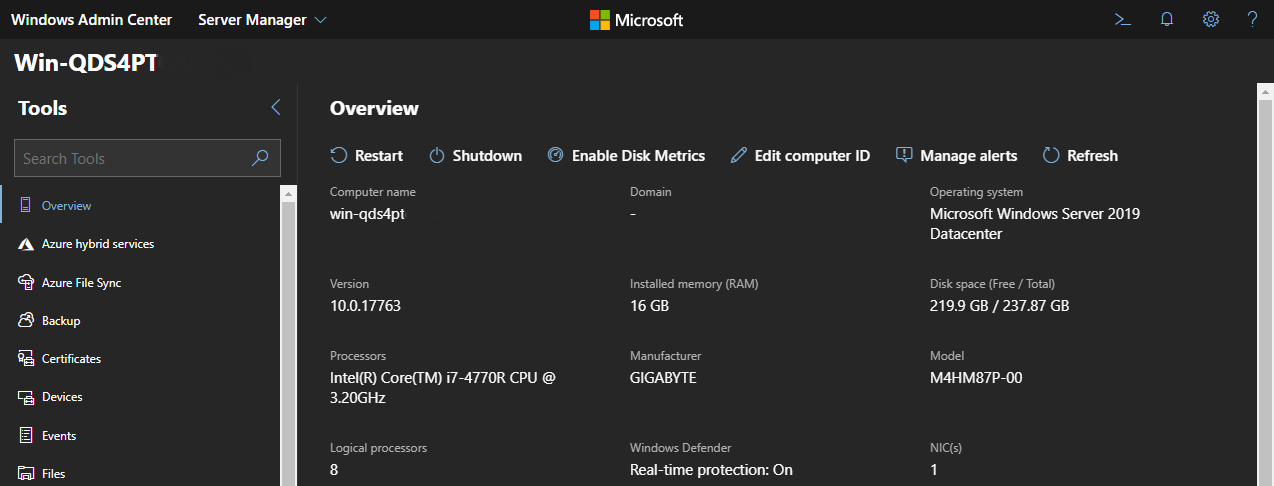
Click on it to open the Server Management Dashboard:
Setting up User Accounts
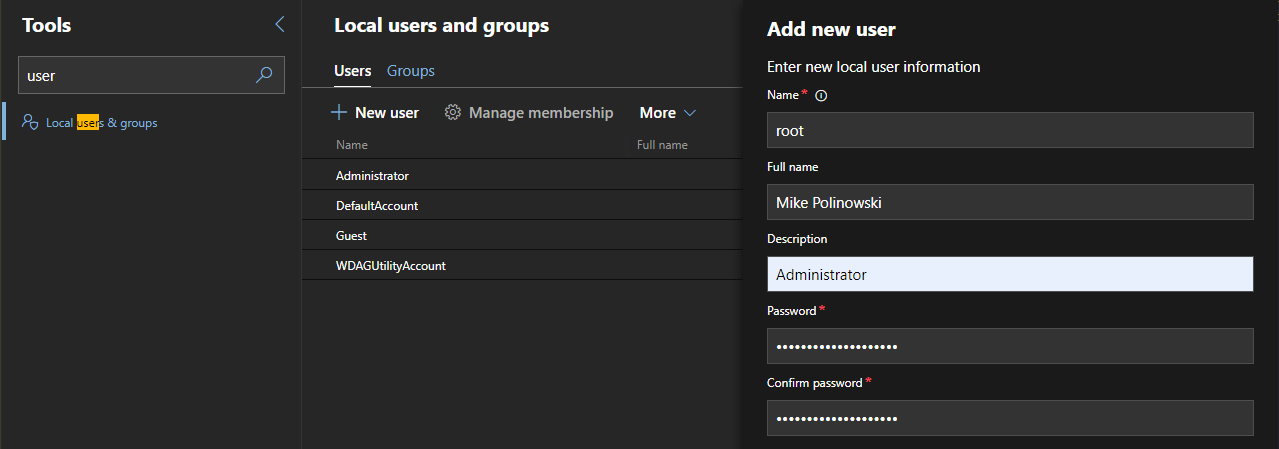
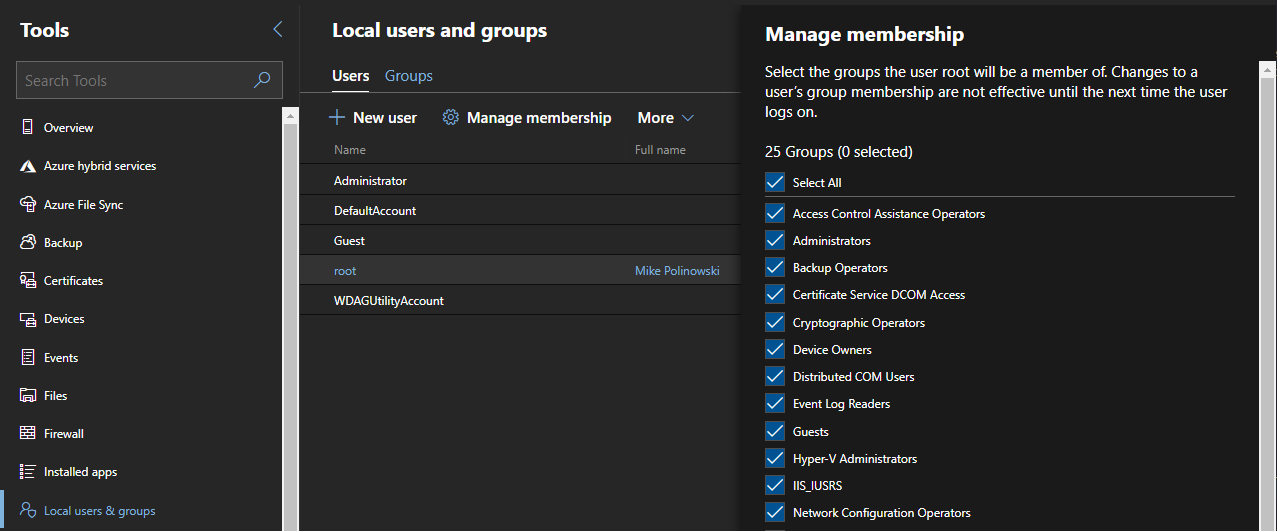
To add users search for Local users & groups under Tools and click on Add to create a new user account:
Then click on Manage Membership to add your new user to all the necessary Groups:
Setting up an IIS Webserver
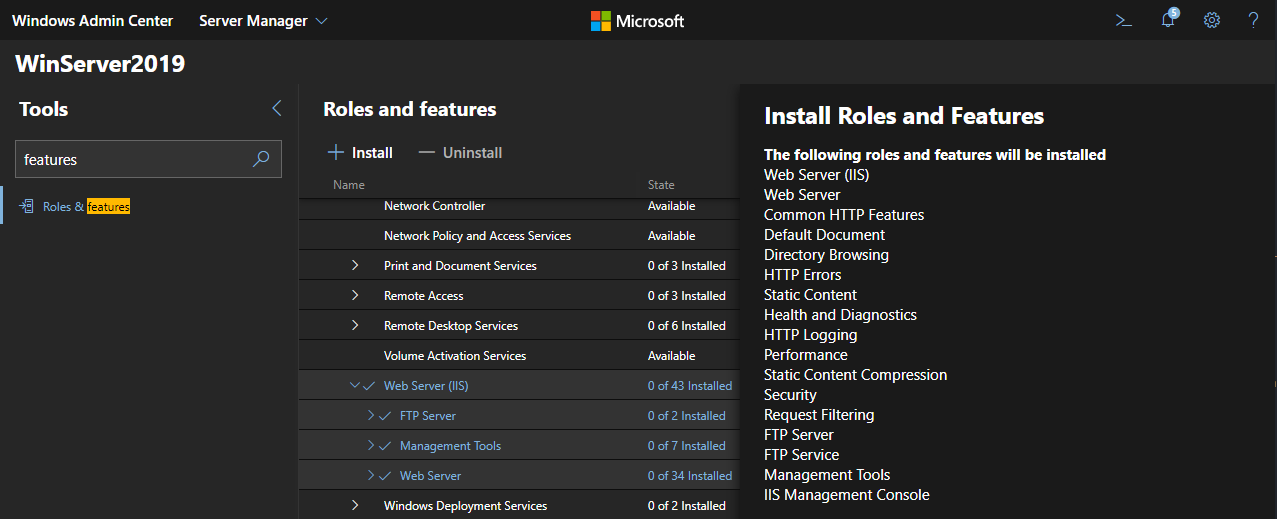
To be able to host static content from your Windows Server we need to add the IIS Webserver. Additionally we can add an FTP Service to be able to upload content we want to be hosting. For this search for Roles & features under Tools and add the Webserver (IIS) role to your server:
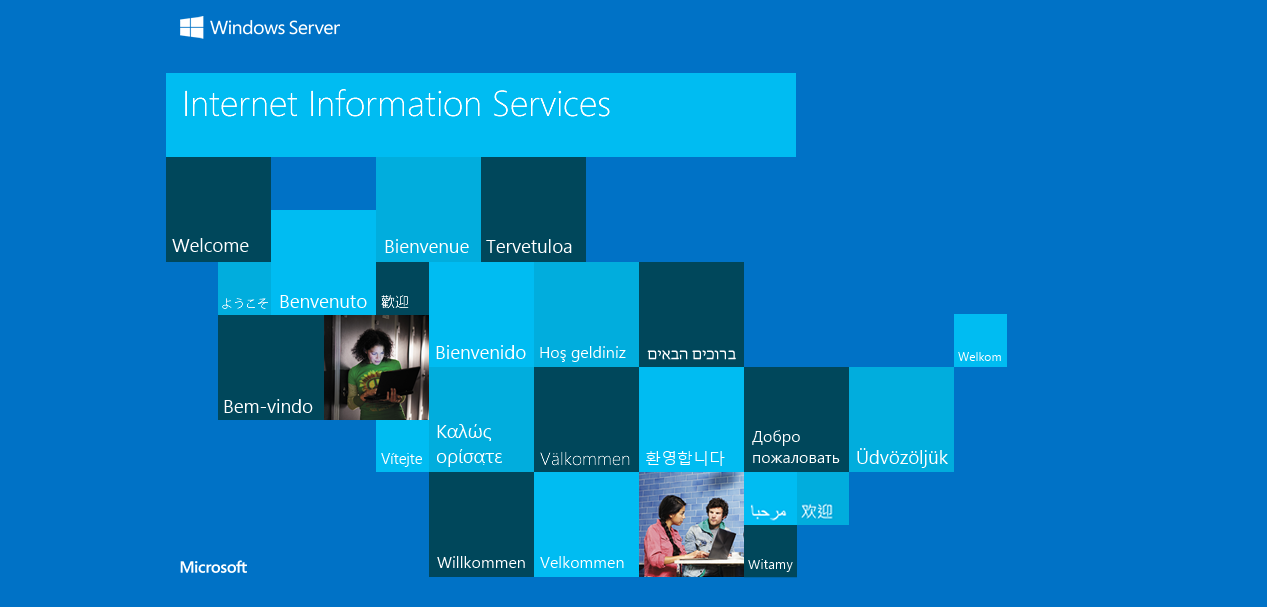
After the installation is finished, open the IP address of your Windows Server inside your default web browser - e.g. http://192.168.2.63. You should be able to see the default IIS start page:
Adding your own static website
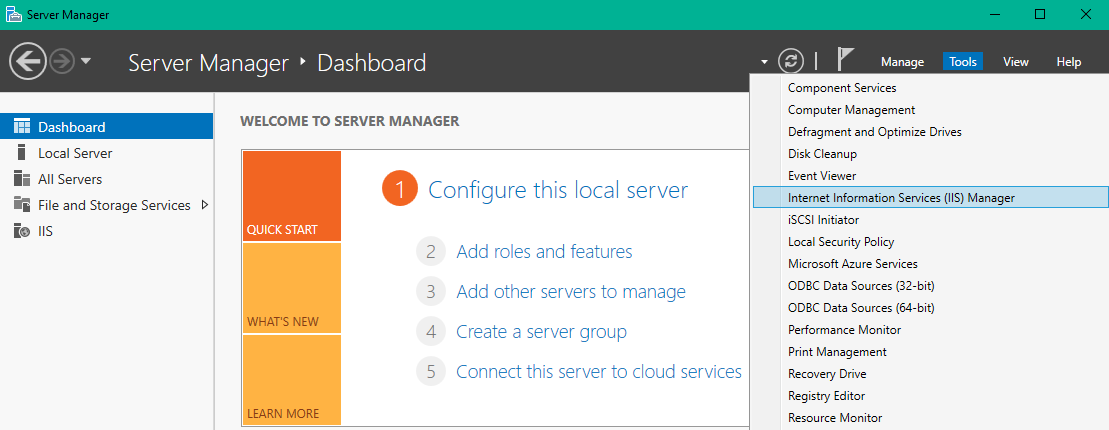
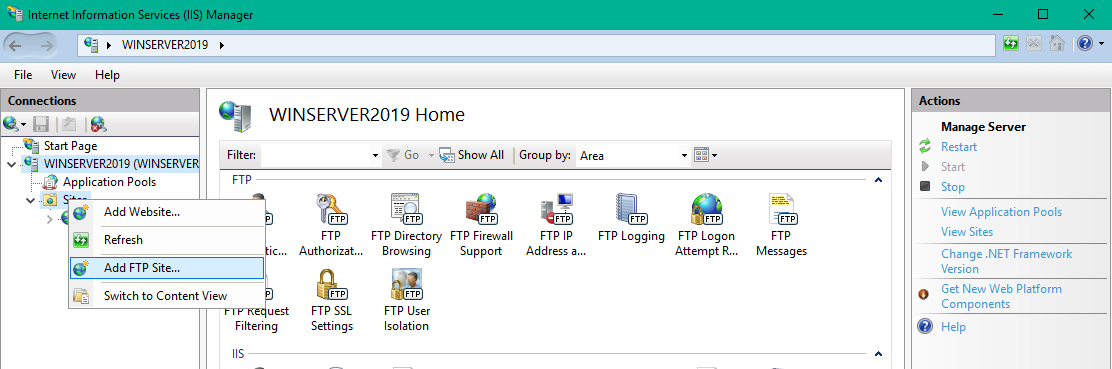
We now have a web server that is serving the default IIS startpage. Let's replace this default content with some more meaningful content. We already installed the FTP Service we now have to create a FTP Site that has access to the directory where IIS stores it's default content. First open the Server Manager and access the Internet Information Services (IIS) Manager:
We can see the default IIS website under Sites. Right-click Sites to add your FTP Site:
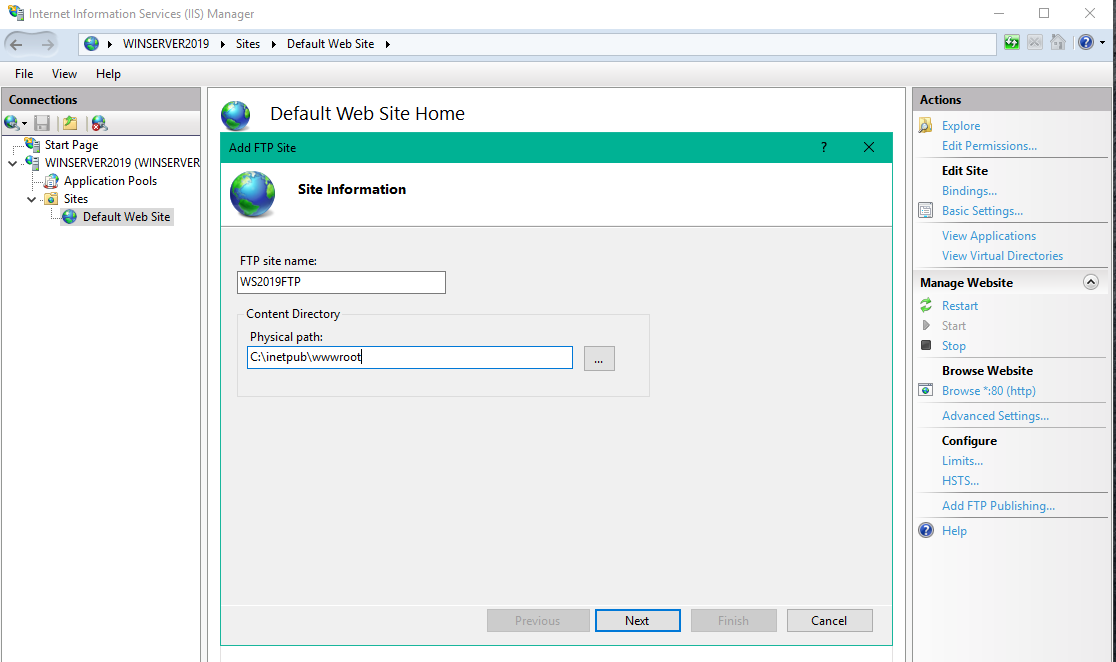
Give your FTP site a name and point it to the default directory where IIS stores it's web content - C:\inetpub\wwwroot:
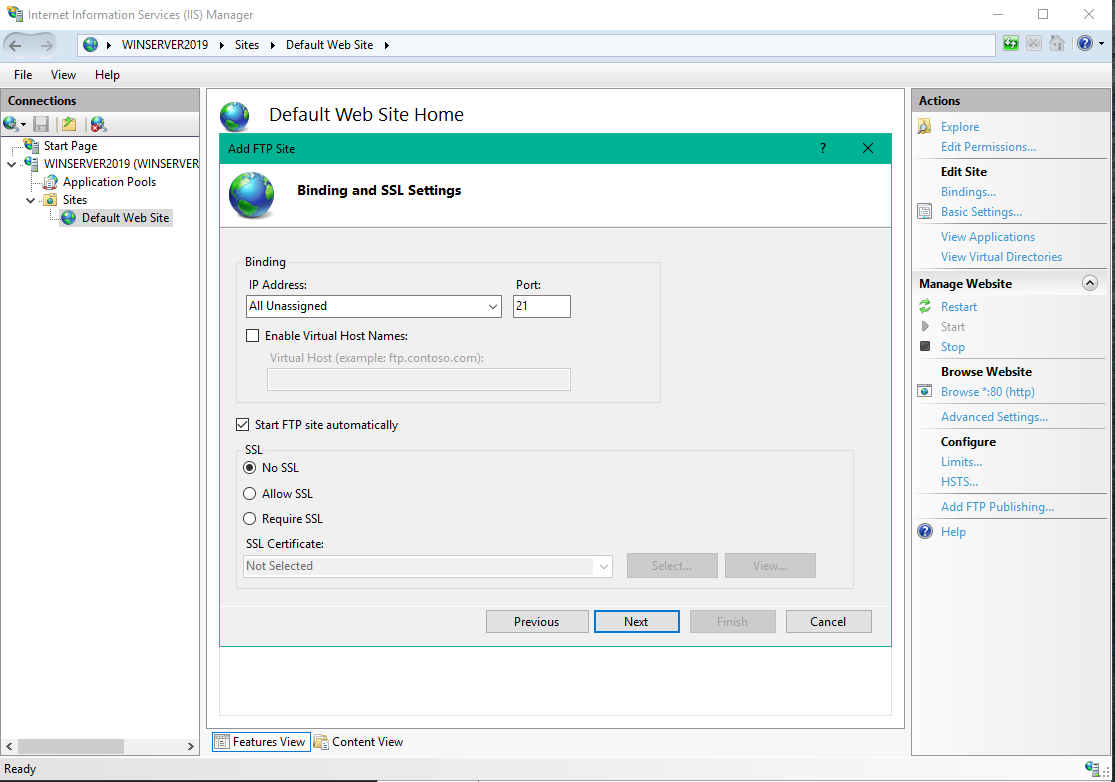
Leave the binding at it's default settings, let the FTP site activate automatically and deactivate SSL (we only want to access the server via FTP over our local network):
For the Authentication choose basic and either allow all users to access this service or create a special ftpuser for it:

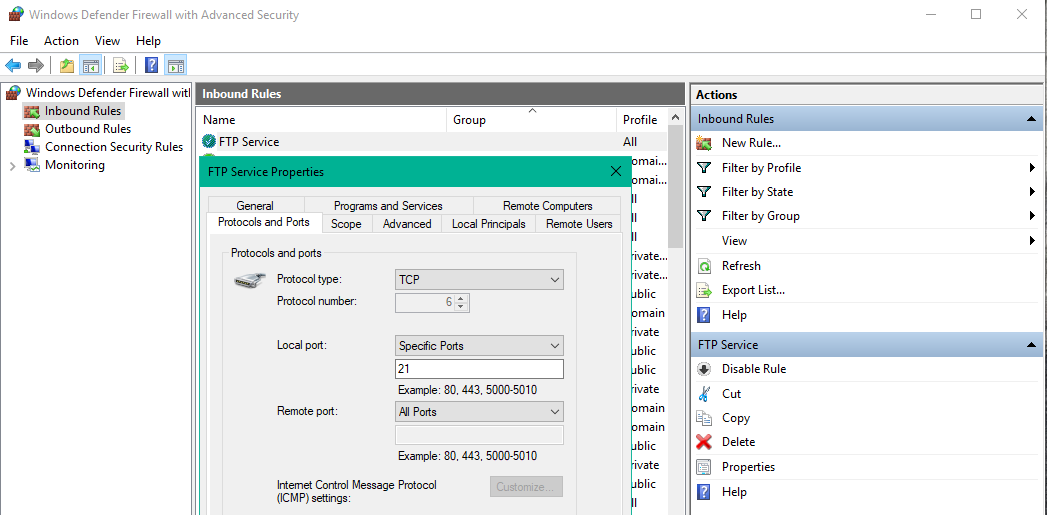
Make sure that the Windows Firewall does not block the FTP service:
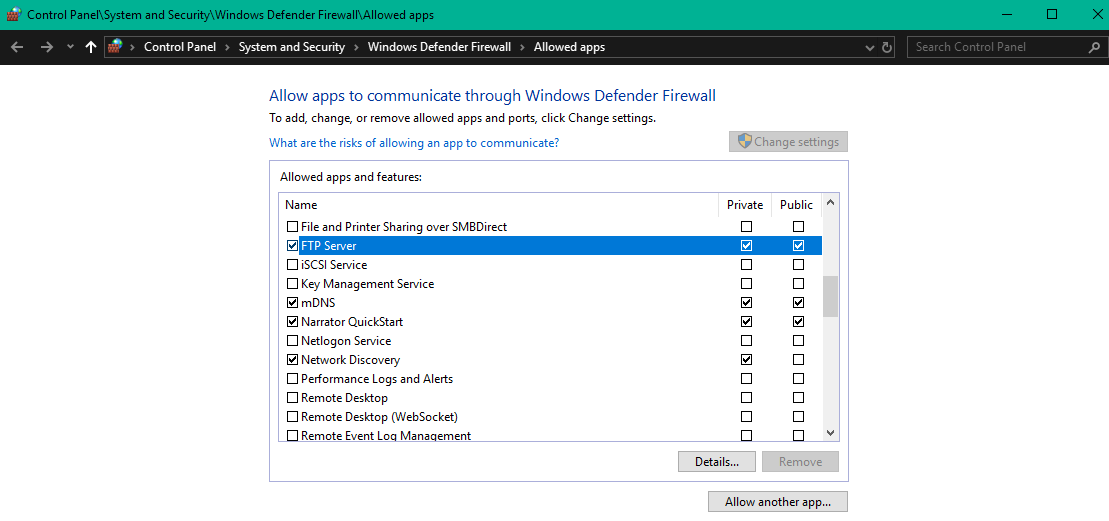
You might also have to add a rule that explicitly opens port 21 for incoming traffic - though, be careful with this setting in case you want to expose your server to the internet. It is fine for a local server:
Here I encountered a little issue. When I tried to access the FTP Server with an FTP client I received an error message 530 User cannot log in, home directory inaccessible:

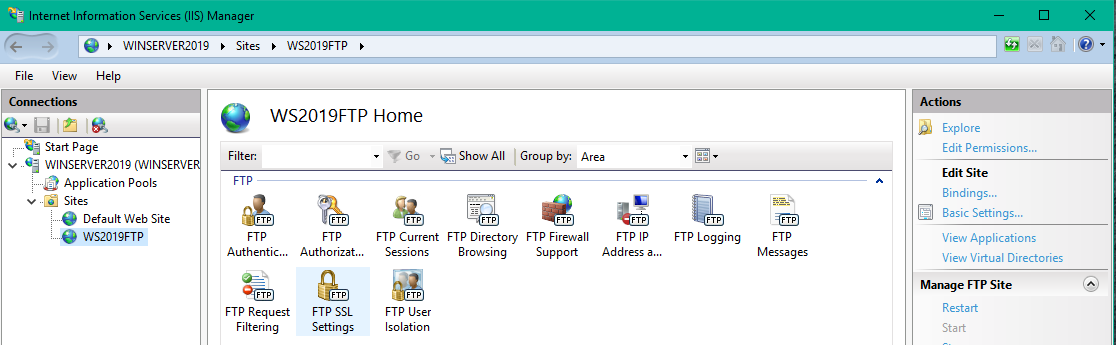
Back in the Internet Information Services (IIS) Manager click on your FTP site and double-click FTP Authorization Rules:
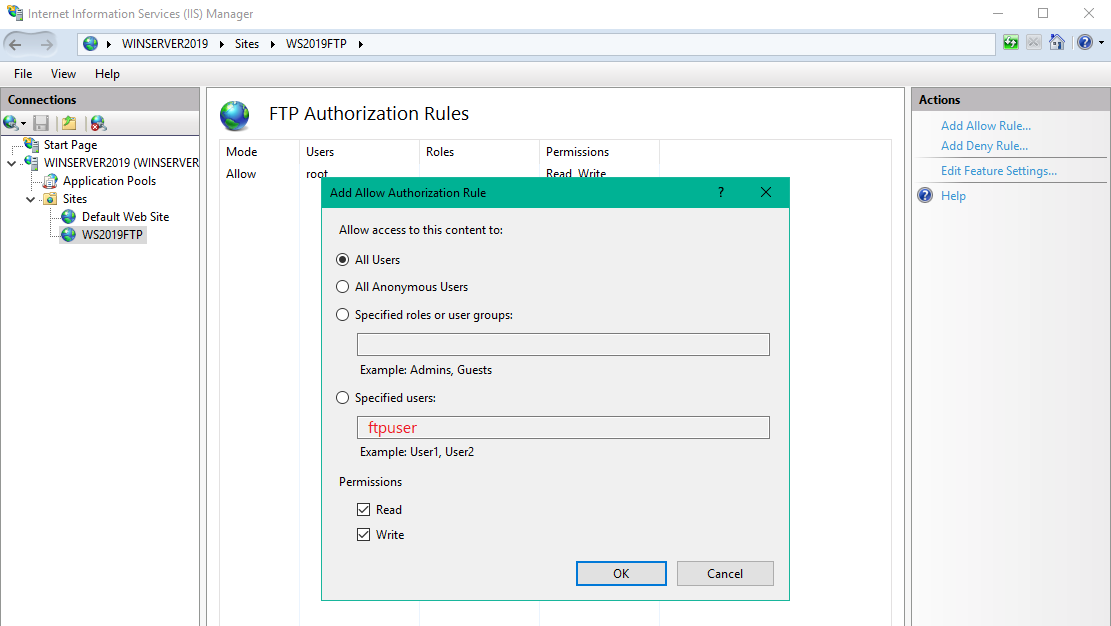
Click on Add Rule in the top right and specify your ftpuser to have Read/Write access:
Then restart the FTP Service from the Services Manager:
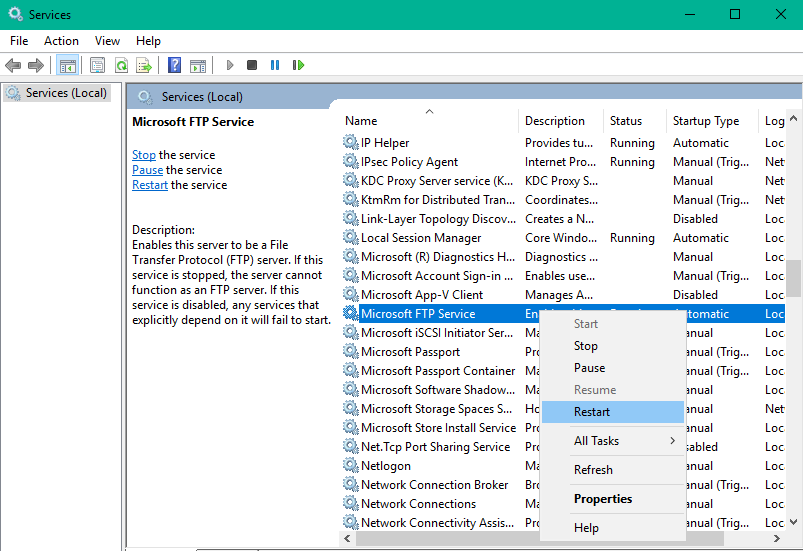
Now it works as expected:

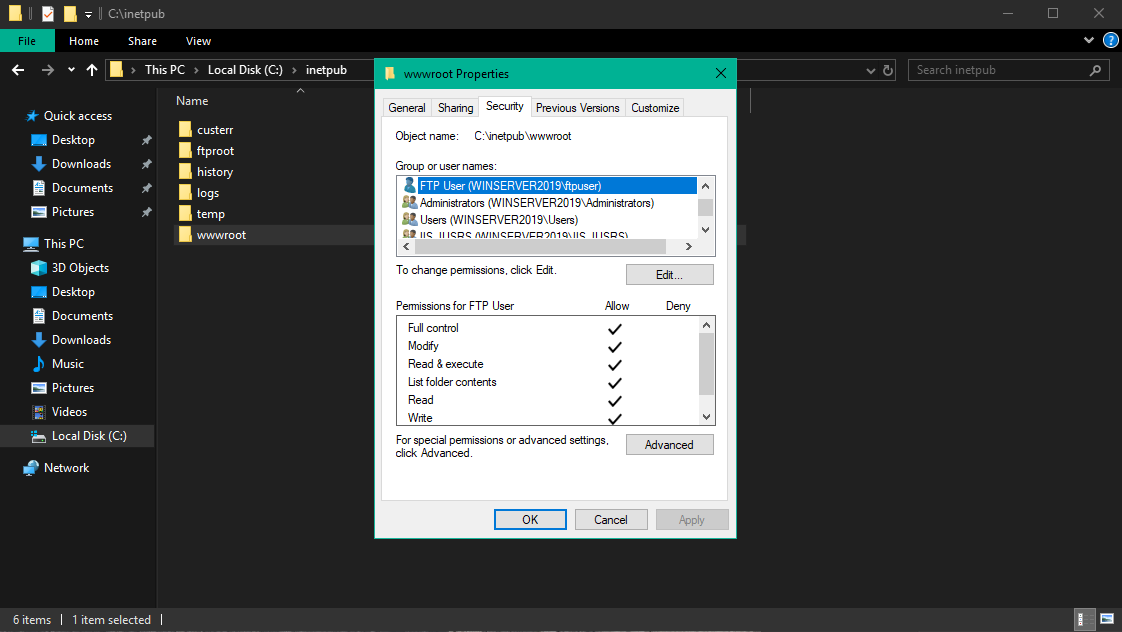
I was now able to read the content of the FTP root directory but I was still lacking the right to write or delete from this directory. So back on the server right-click the directory, select properties and security. Here you can add the FTP User and give him full control over the directory:
Now upload your static website content to the FTP site directory and open web servers IP address inside your browser. You should be able to see your website.
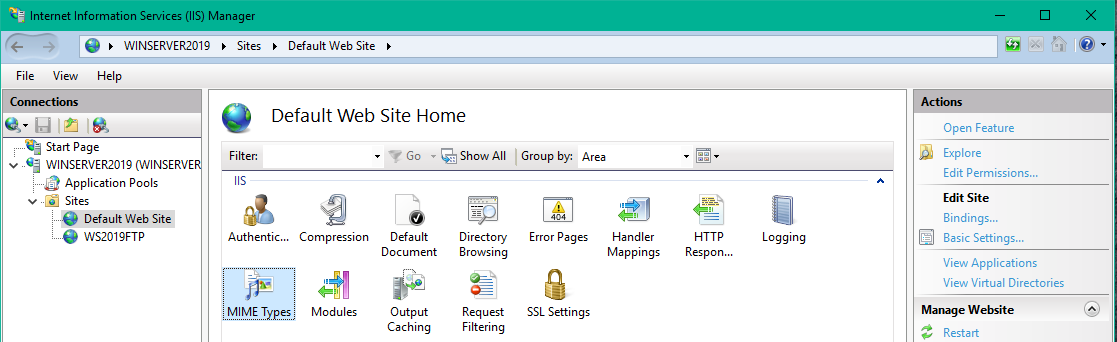
But another issue that I found was that all my images, saved in the .webp image format, were blocked by the webserver. The problem here was the missing MIME Type. Just open the Internet Information Services (IIS) Manager again and click on the Default Web Site and double-click MIME Types:
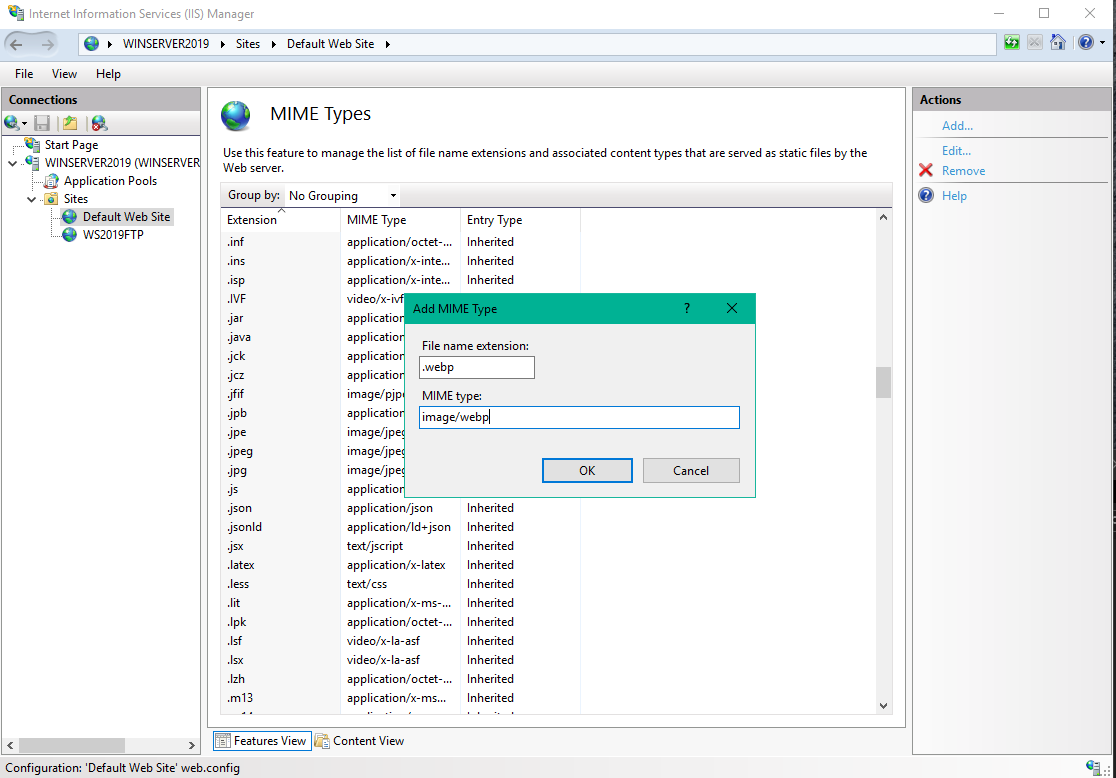
Here you can add the image/webp type manually:
And the website was up and running: