Windows Server 2019 - Scripting and Sharing

Windows Powershell
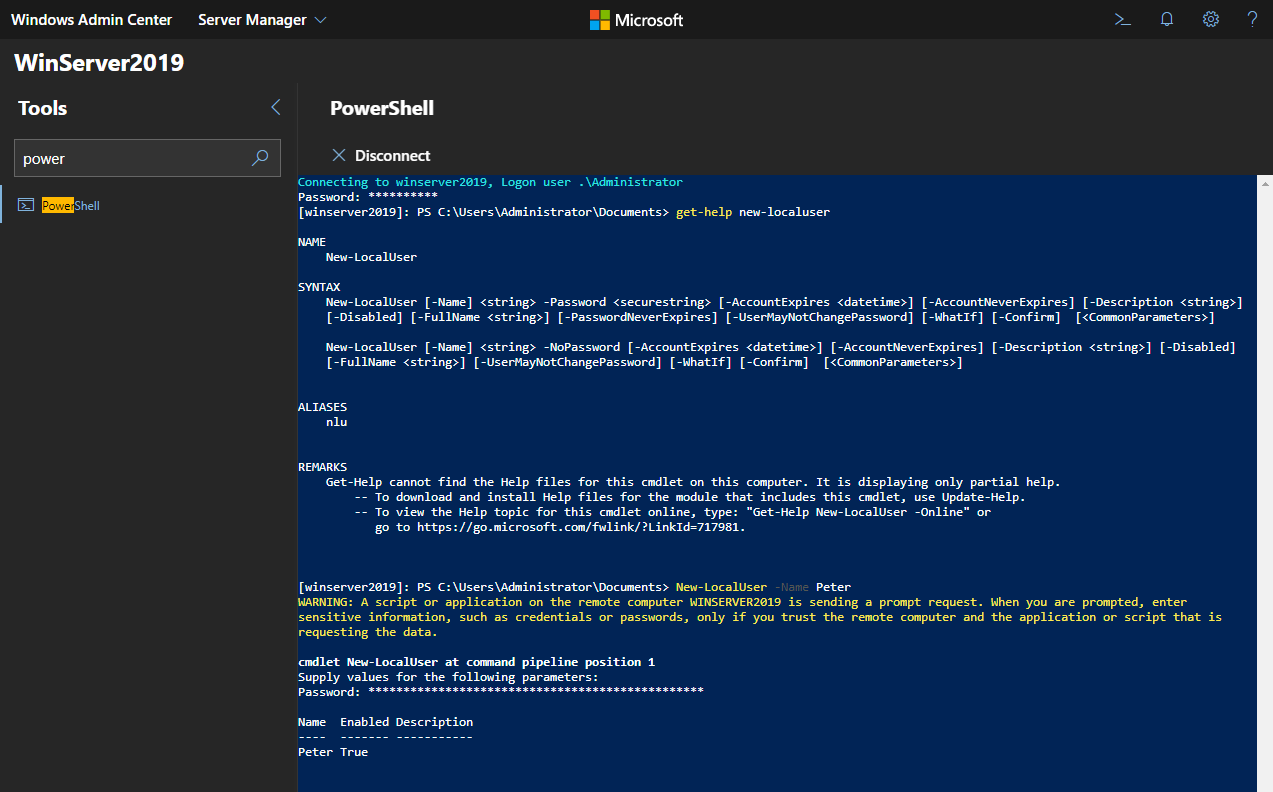
We can access the Microsoft Windows Powershell directly from the Windows Admin Center. Connect the Admin Center to your Windows Server and search for Powershell under Tools you will be asked to log in with your account.
Running Powershell Commands
You can all Powershell Commands directly from this web interface, e.g. creating a new user on your server with New-LocalUser -Name Peter:
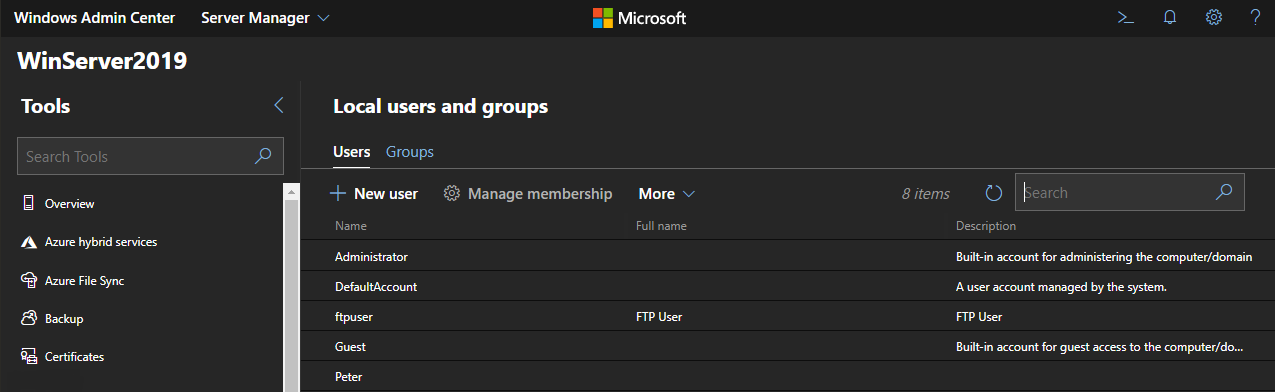
Search for Local user & groups under tools inside the Admin Center and right-ctrl-click it to open the user management in a new tab. You will see that the user has been created:
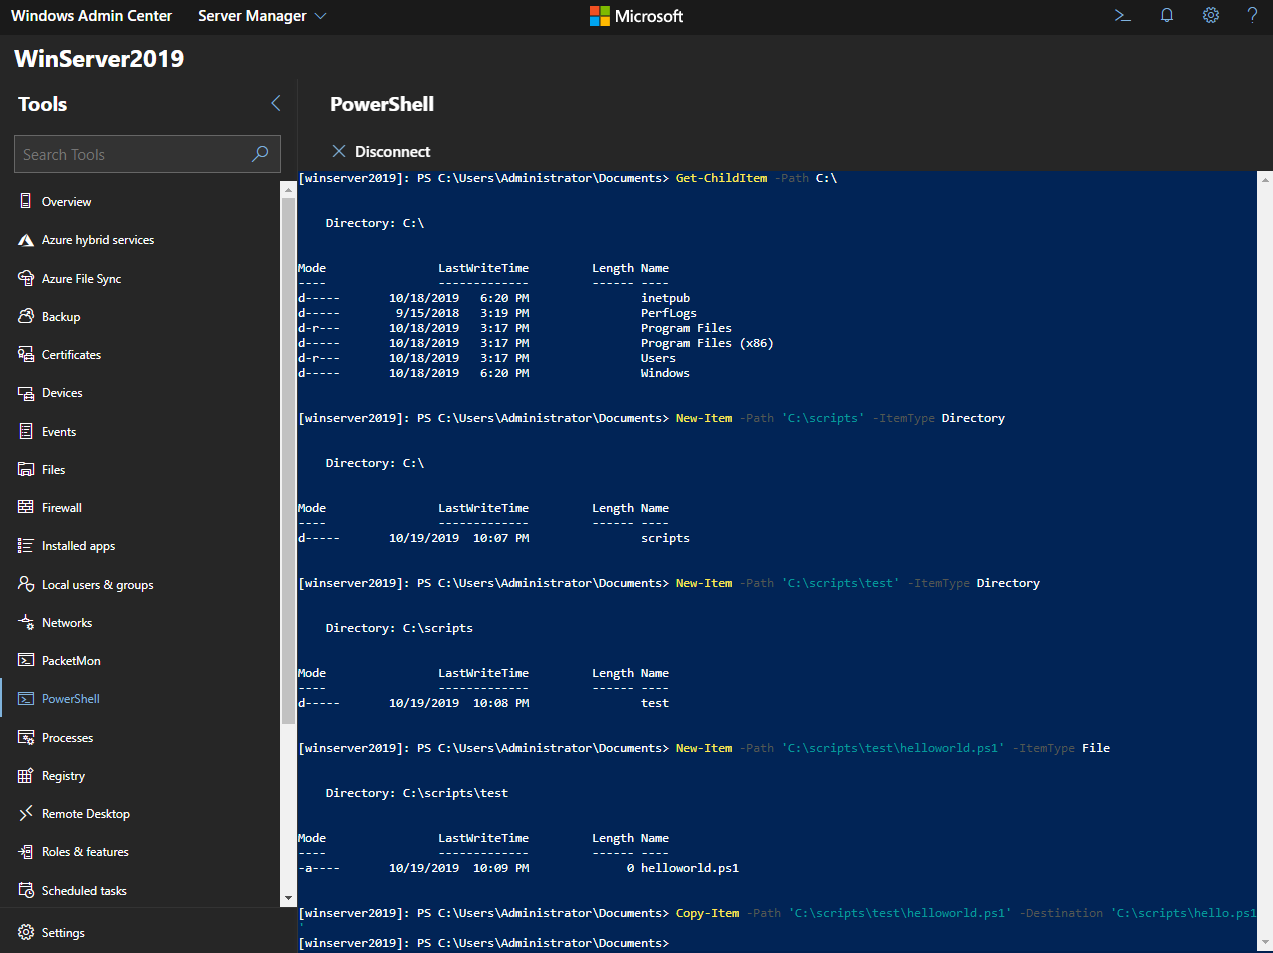
Working with the filesystem works the same way - listing directories, creating folders and files and copying them to other locations:
Get-ChildItem -Path C:\
New-Item -Path 'C:\scripts' -ItemType Directory
New-Item -Path 'C:\scripts\test' -ItemType Directory
New-Item -Path 'C:\scripts\test\helloworld.ps1' -ItemType File
Copy-Item -Path 'C:\scripts\test\helloworld.ps1' -Destination 'C:\scripts\hello.ps1'
Remove-Item -Path 'C:\scripts\test\helloworld.ps1'
Run the following commands to get an overview over all processes and services:
Get-Process
Get-Service
Powershell Scripting
We can also run local shell scripts through Powershell on our server. Those scripts can be stored on our server with the .ps1 file extension. Here is a Hello World:
echo 'Hello World'

sleep 10
Save the file with the name helloworld.ps1, navigate your into the directory and run the script as .\helloworld.ps1:
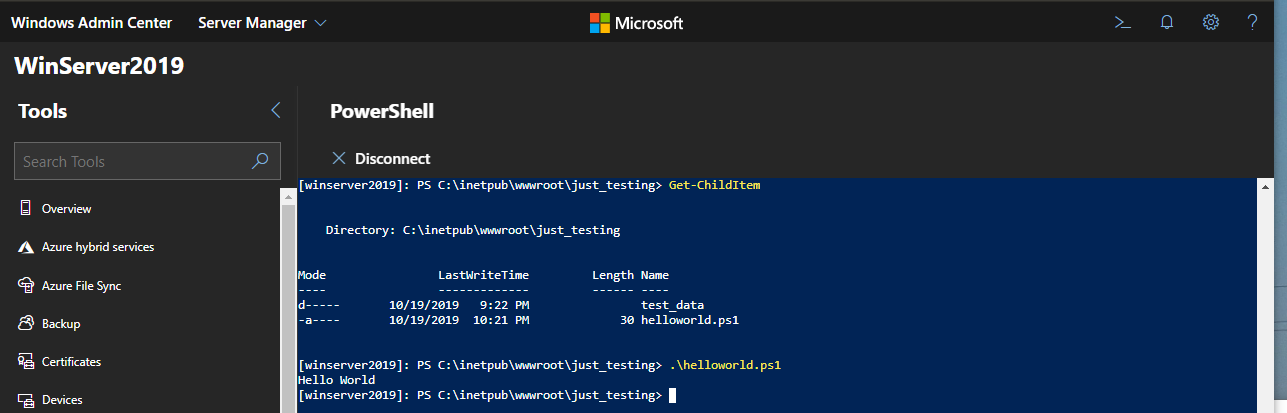
Hello World will be displayed for 10 seconds and then disappear.
An example for a useful shell script would be:
Class DirToBackup
{
    [String]$path
    DirToBackup([String]$path) {
      $this.path = $path
    }
}
$defaultListOfExcluded = 'C:\inetpub\wwwroot\just_testing\listOfBackupExcluded.txt'
$pathFromPrefix = 'C:\inetpub\wwwroot\just_testing\test_data\'
$pathToPrefix = 'C:\inetpub\wwwroot\just_testing\backup_data\'
Write-Output 'Plug external disk drive.'
pause
$dirsToBackup = @(
    New-Object DirToBackup 'backup'
    New-Object DirToBackup 'development'
)
$dirsToBackup | ForEach-Object {
    mkdir -Path $($pathToPrefix + $_.path) -Force
    xcopy $($pathFromPrefix + $_.path) $($pathToPrefix + $_.path) /D /S /Y /H /EXCLUDE:$defaultListOfExcluded
}
pause
The file listOfBackupExcluded.txt in the same directory as our script lists all files, file extensions and directories that we want to exclude from our backup:
\build\
\.gitignore\
.secret\
\notes
\node_modules\
This will exclude the directories build and node_modules, the .gitignore file, every file with the extension .secret and files who's name starts with notes.
The script will then copy the content of the directory test_data to backup_data. Ideally backup_data has to be on an external drive - so we added a prompt for the user to plugin the backup drive. But for testing we will leave both directories on the same harddrive. The main part of the script is a loop that goes through all dirsToBackup elements and executes mkdir and xcopy functions. mkdir creates directories in the target location. Flag -Force makes possible to not error the script when directory’s already exists.
There are few flags that are very important:
- /D — Copies only those files whose source time is newer than the destination time.
- /S — Copies directories and subdirectories except empty ones.
- /Y — Suppresses prompting to confirm you want to overwrite an existing destination file.
- /H — Copies hidden and system files also.

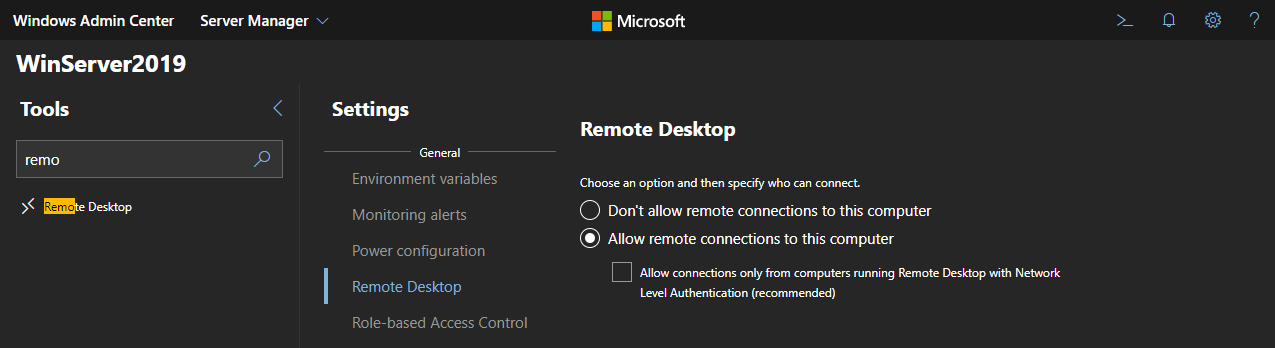
Creating a Samba Share
This time we want to use the Microsoft Remote Desktop App to connect to our Windows Server and enable the Samba Share Functionality. To be able to connect we first have to ensure that Remote Desktop is enabled on our server:
Now we can Add a Desktop on our host machine inside Remote Desktop. Type in the server name or IP address and add the user account you want to use to connect to the remote server:
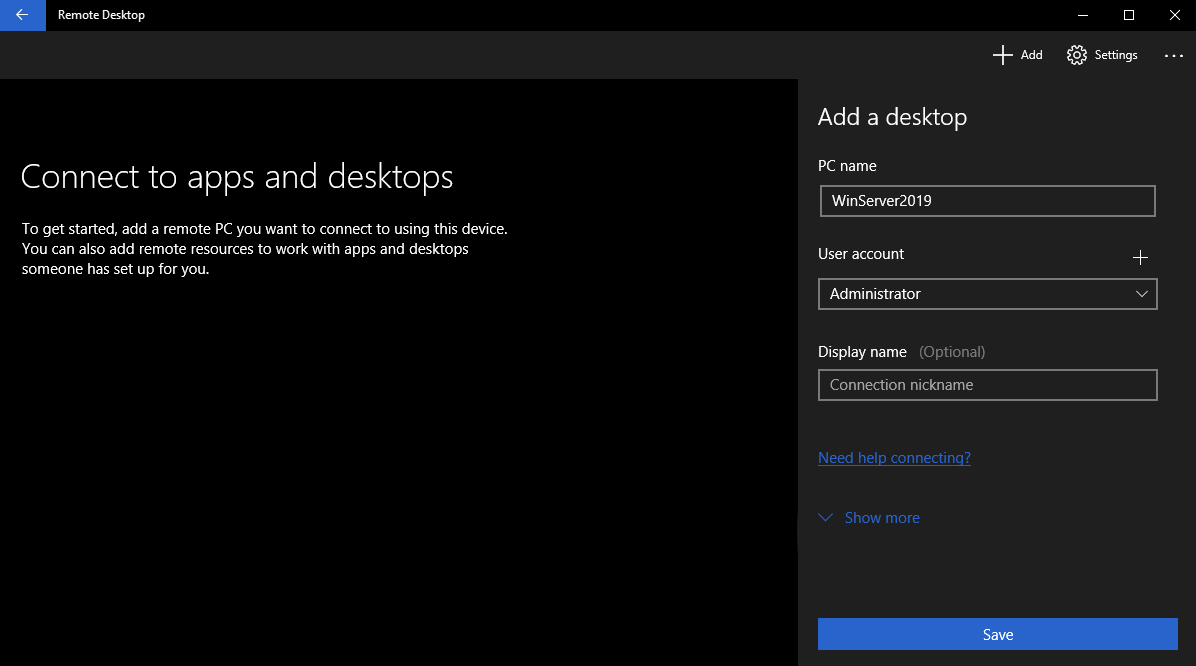
Then click to connect to the remote server. If the connection fails, try to ping your server from your command prompt, e.g. ping WINSERVER2019. You should be able to get a ping here - if not you need to troubleshoot your network:
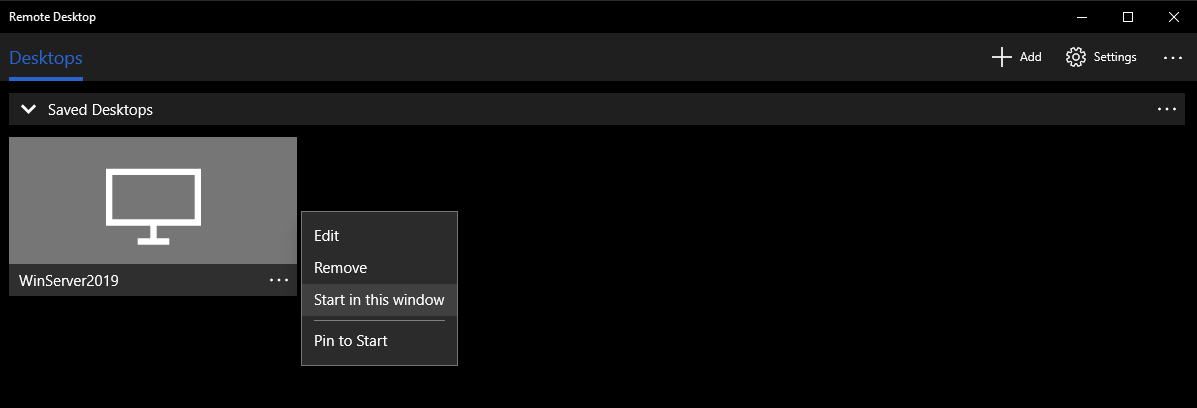
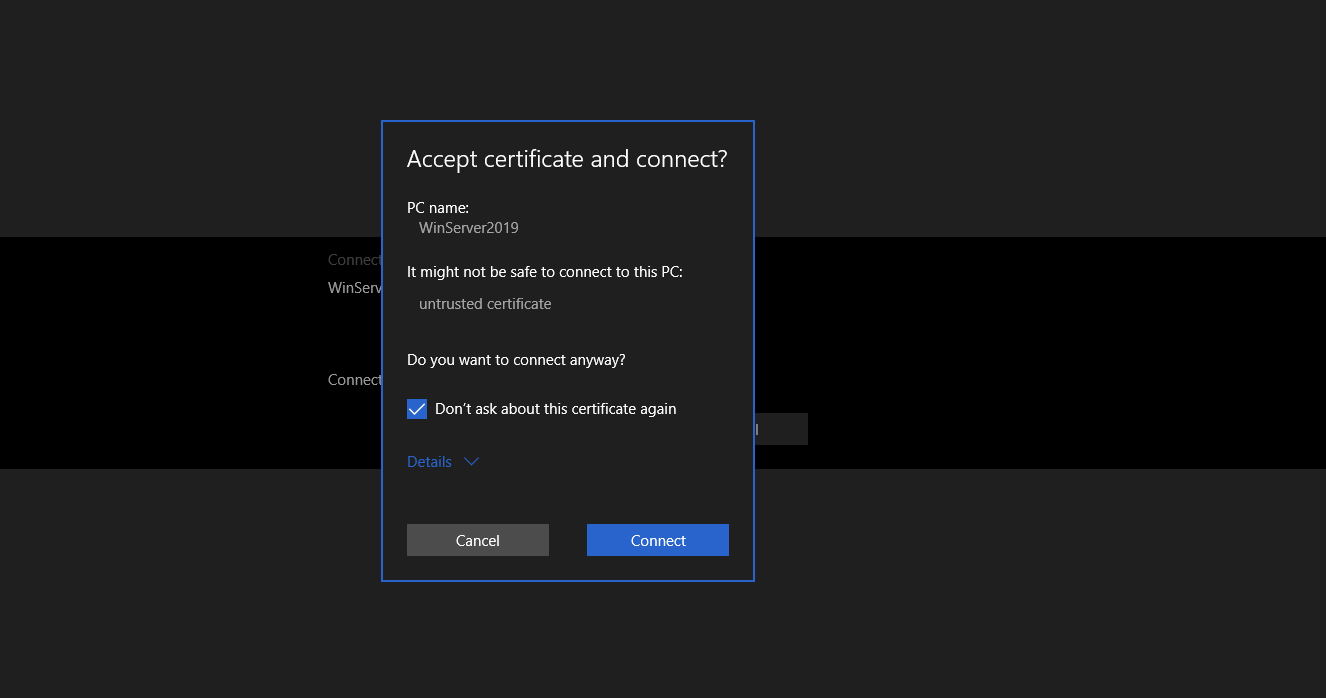
Accept the self-signed certificate we used for our server and you should be able to see the server desktop in front of you:
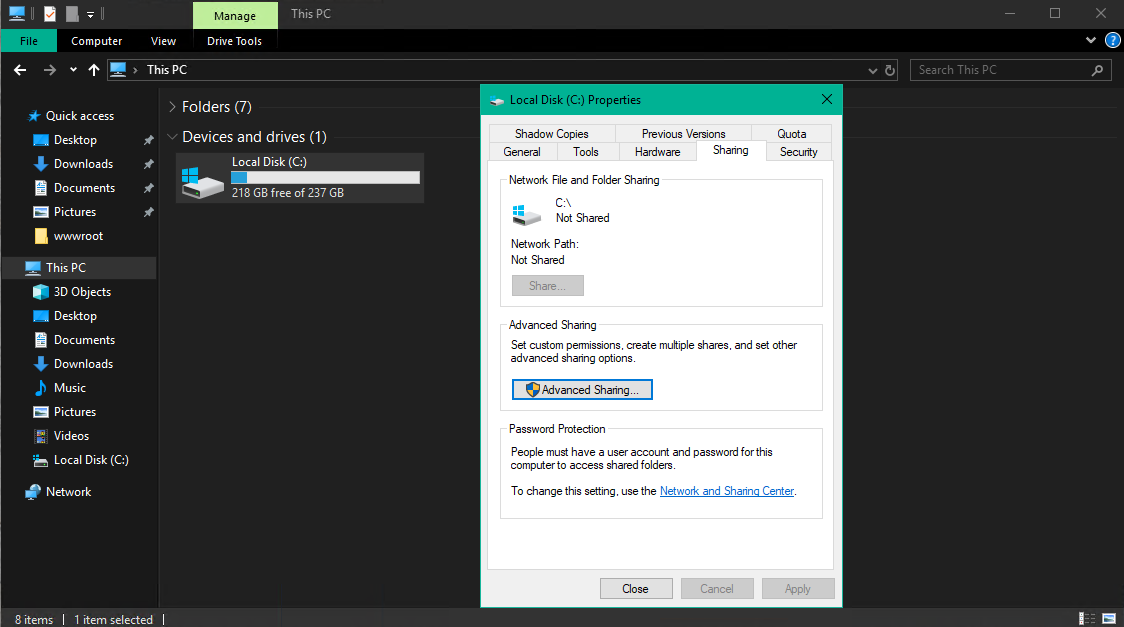
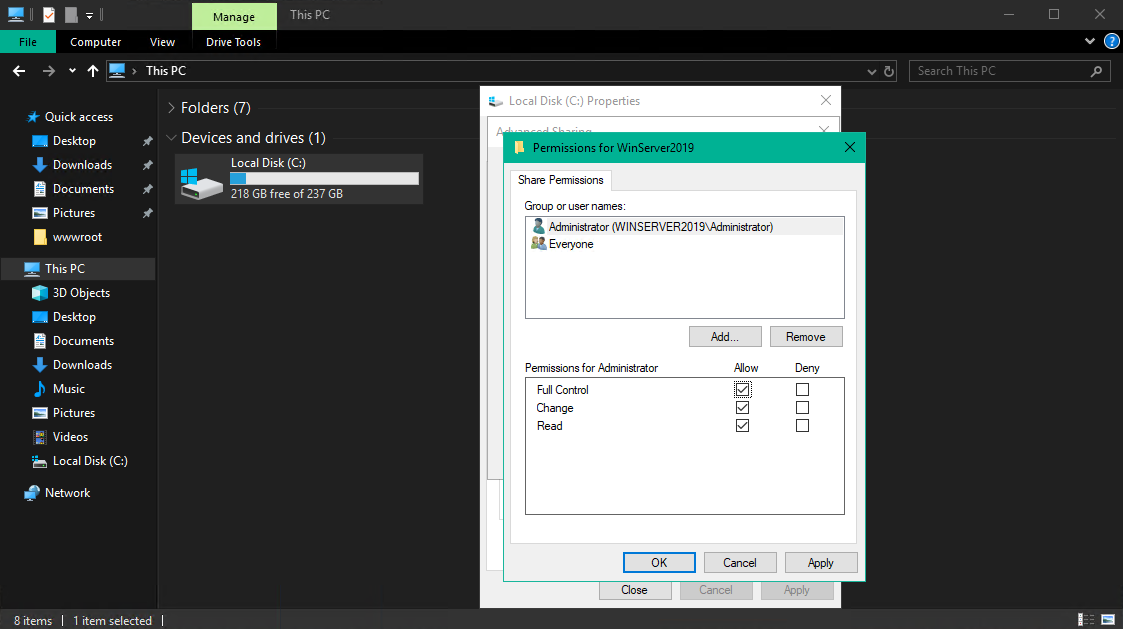
On the server right-click the directory you want to share, choose Properties, Sharing Advanced Sharing:
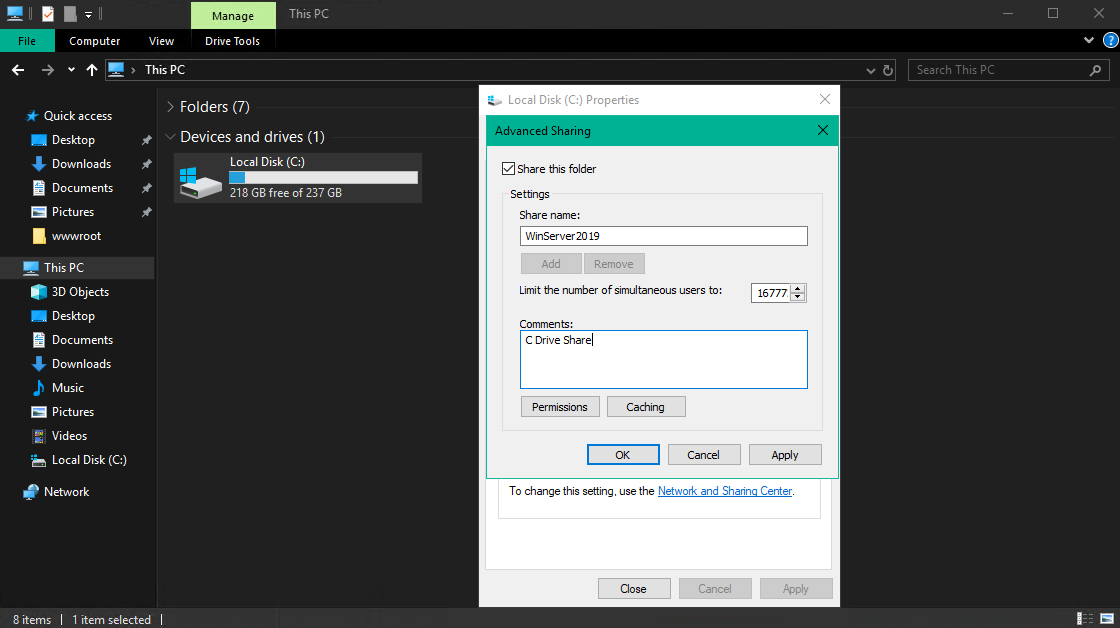
Name the share and click on Permissions:
Add the user you want to use to connect to the share:
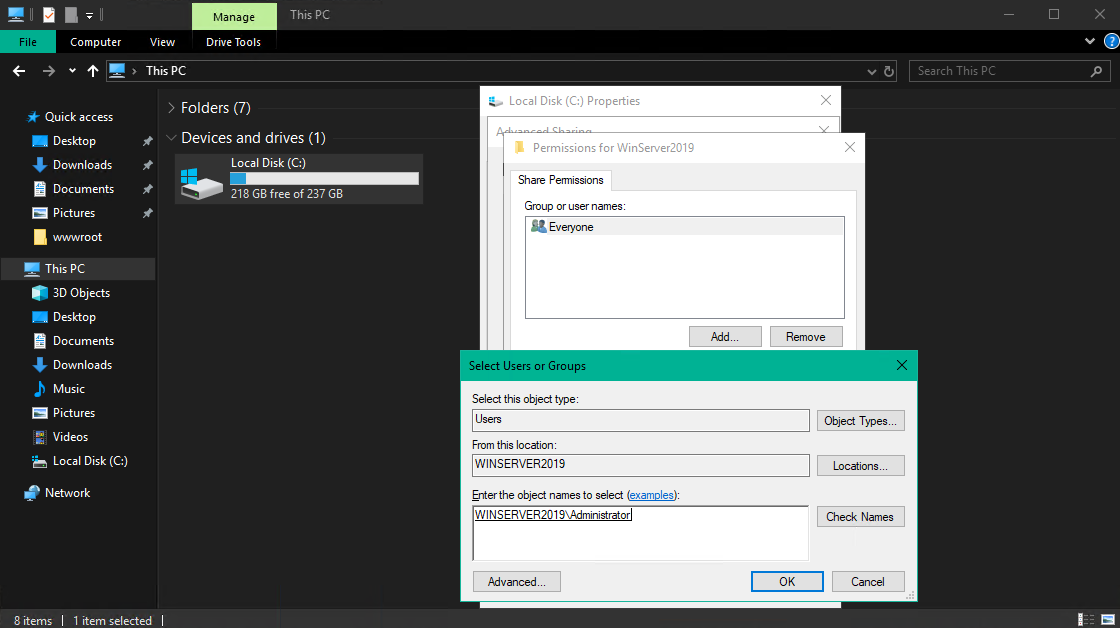
And give him the Full Control over the share:
Everything is set up and you should be able to discover the share from your host machine and connect to it with the user you specified:

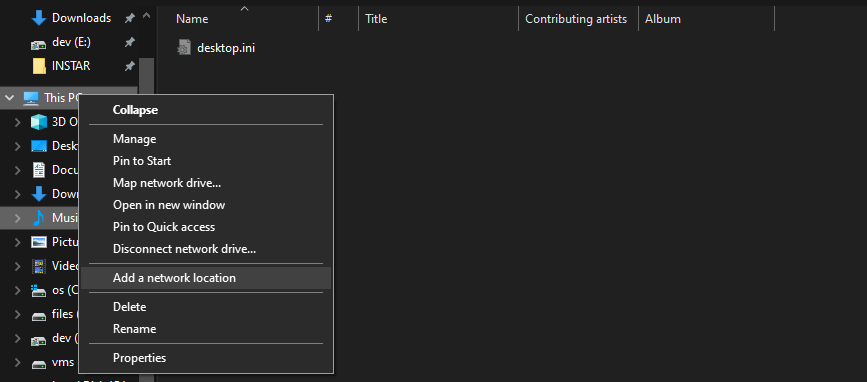
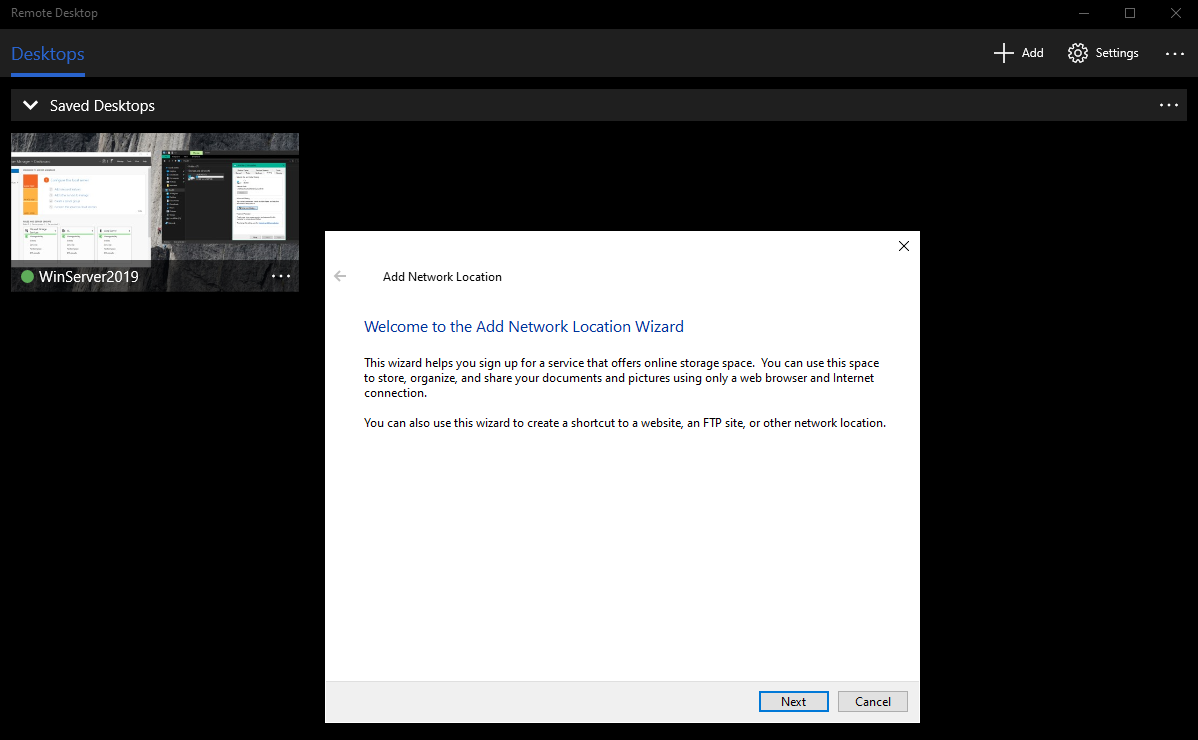
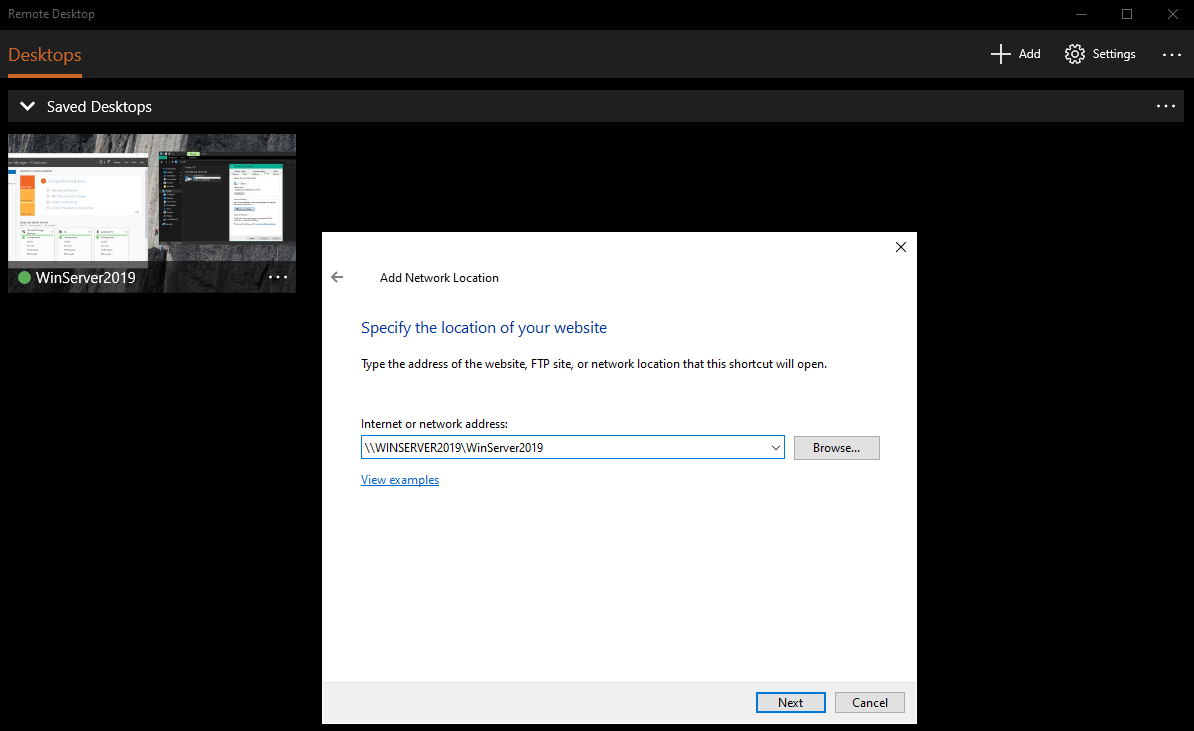
Back on your host machine right-click This PC and click on Add a network location and follow the assistant:
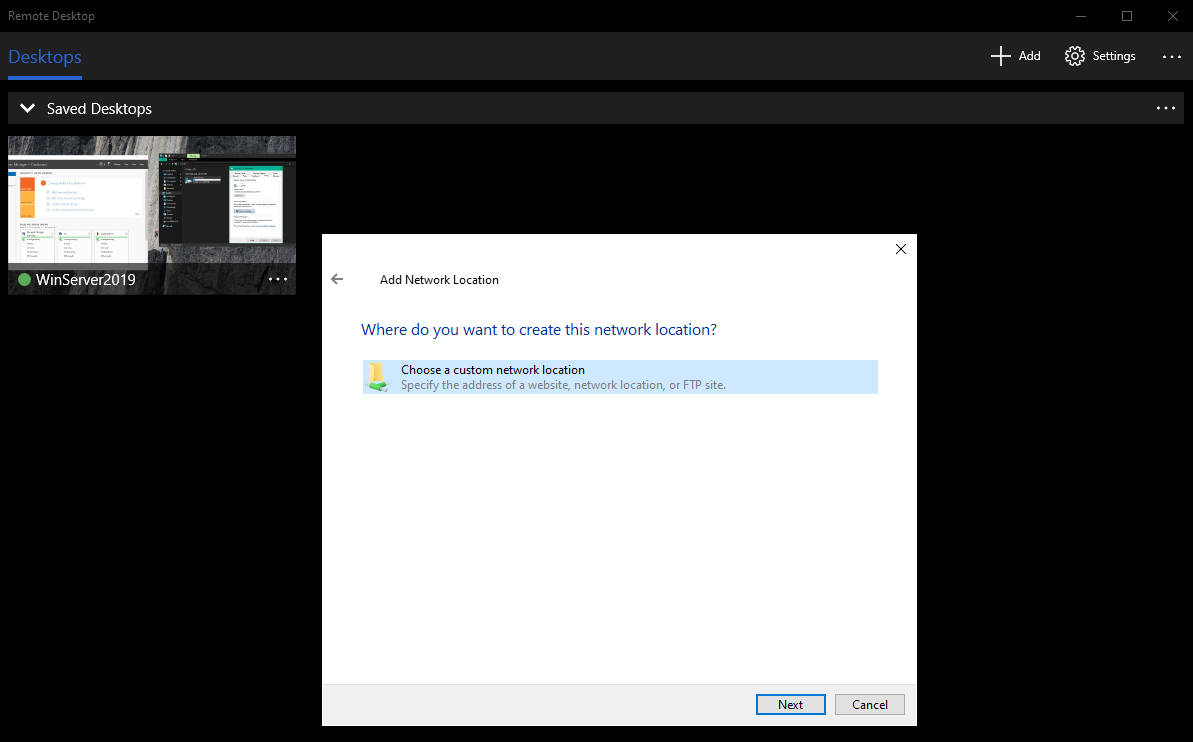
Type in the network address as follows:
- 2 x
\ - Your server name in capital letters, e.g.
WINSERVER2019followed by a\ - The name you gave the share, e.g.
WinServer2019
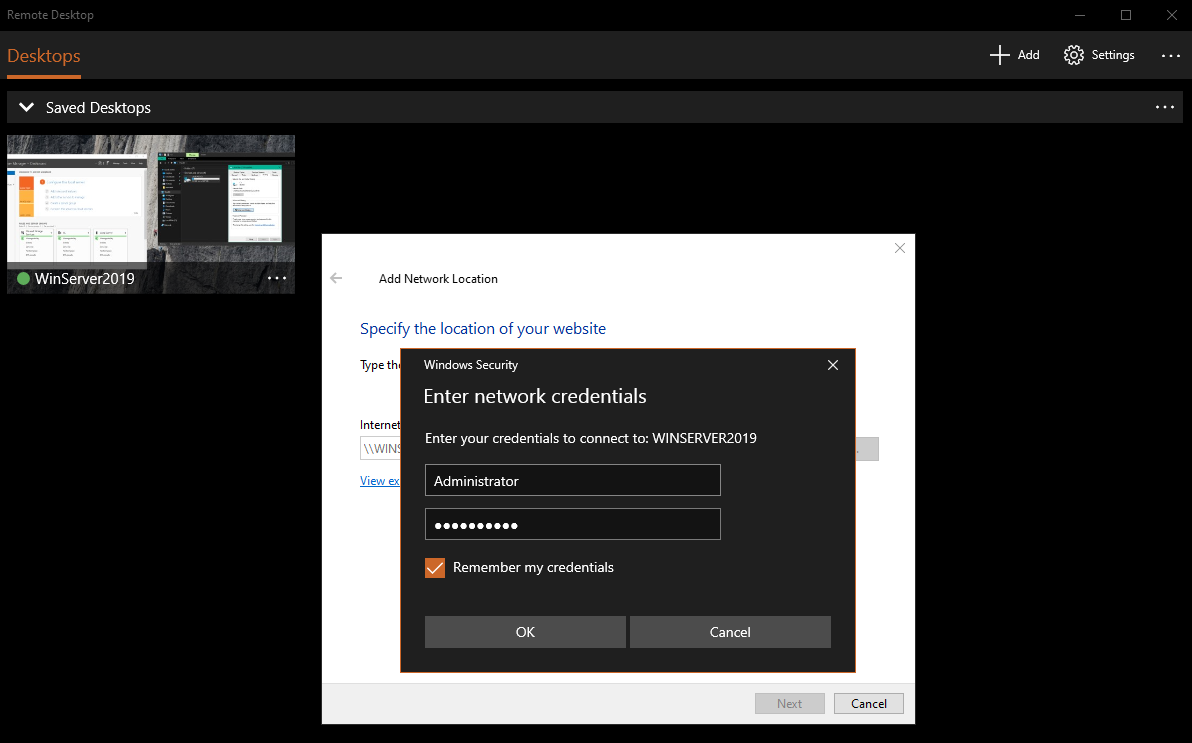
After confirming you will be asked to sign in - use the user login that you specified in the share options and click on Finish:
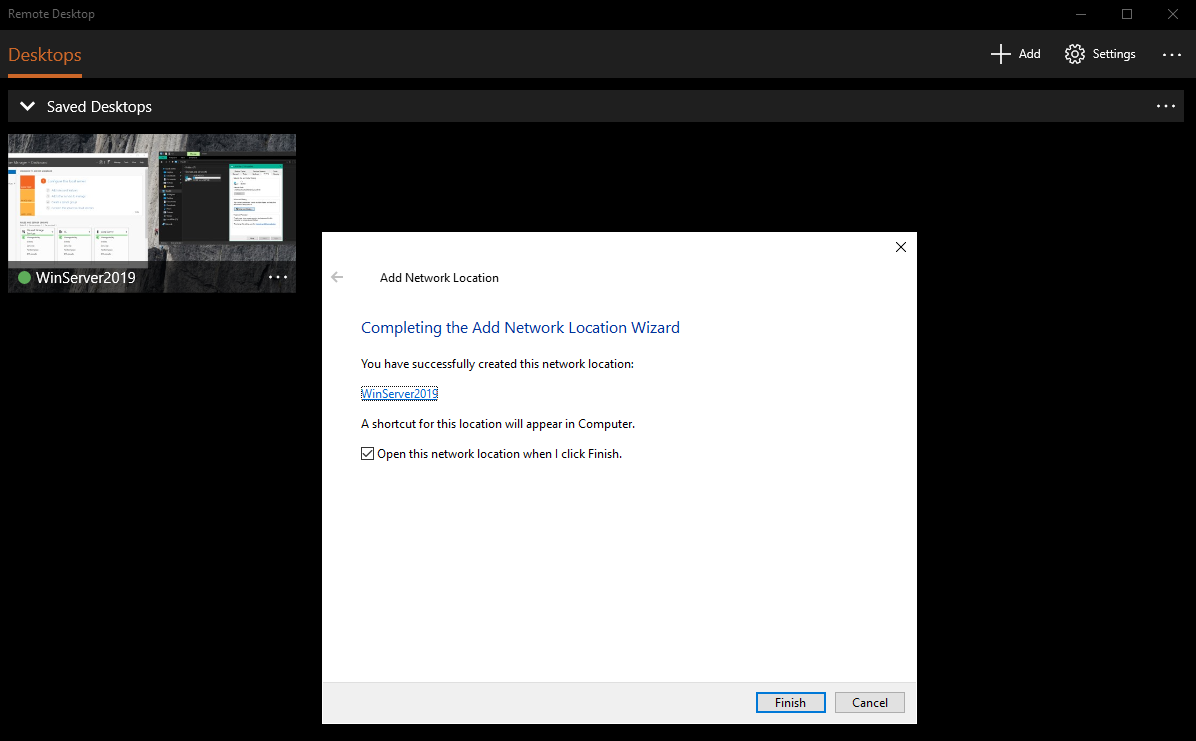
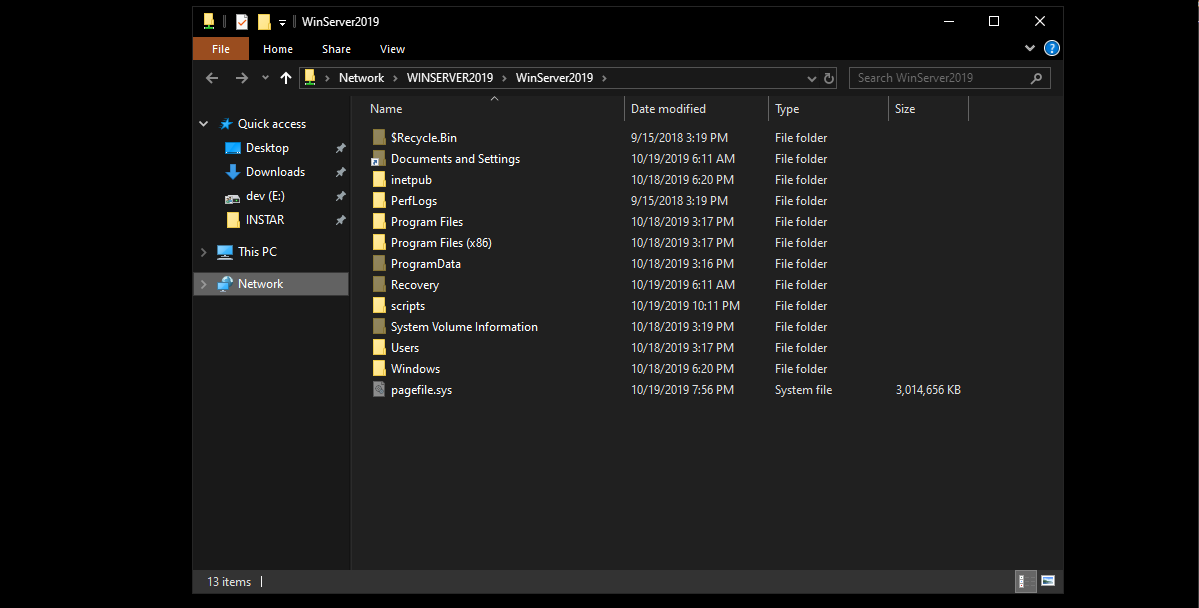
The share should now be listed under Network: