Windows Server 2019 - Active Directory Installation

Prerequisites
To be able to set up an Active Directory on our domain controller we have to first set up:
- A DNS service
- A static IP address for our Server
- A name for our domain controller that can be resolved by the DNS service
- A NetBIOS Domain Name that has to be prepend to every username on login
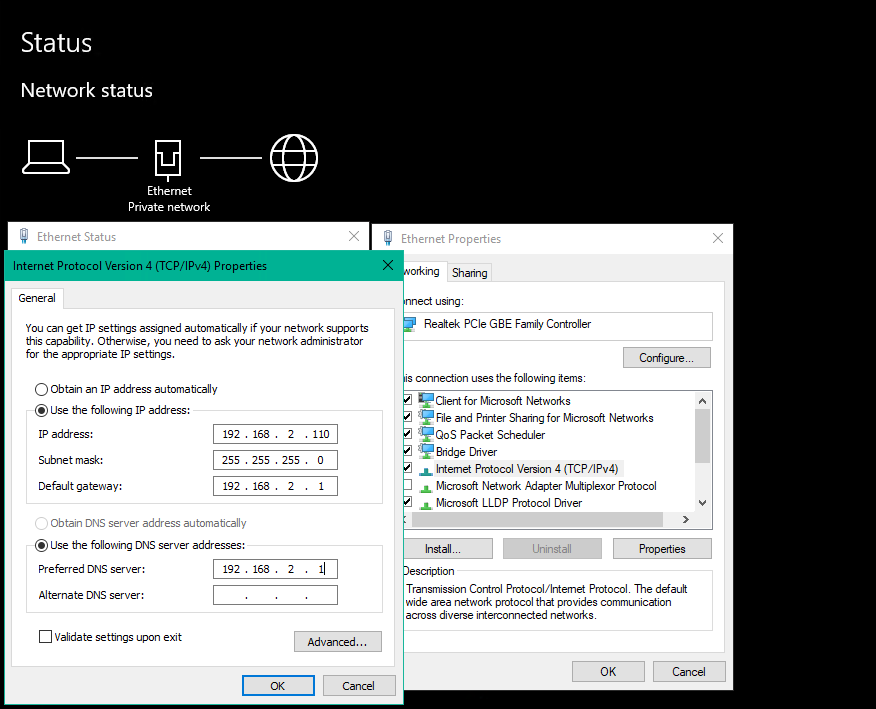
Let's start with adding a static IP. This setting can be found under Network & Internet. Click on Change adapter options and in the next window on Properties. Open the Internet Protocol Version 4 settings and assign an IP address from your personal local network that is not currently in use:
Installation
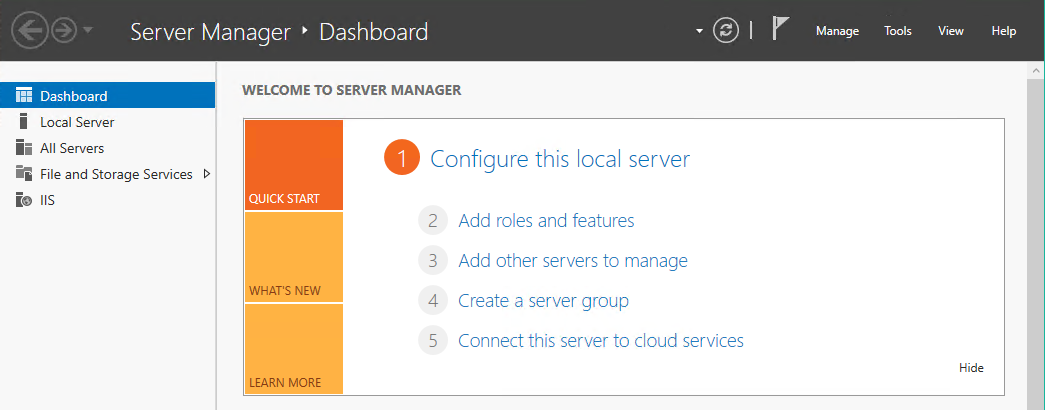
Now we are able to add Active Directory to our domain controller by opening the Server Manager and clicking on Add roles and features:
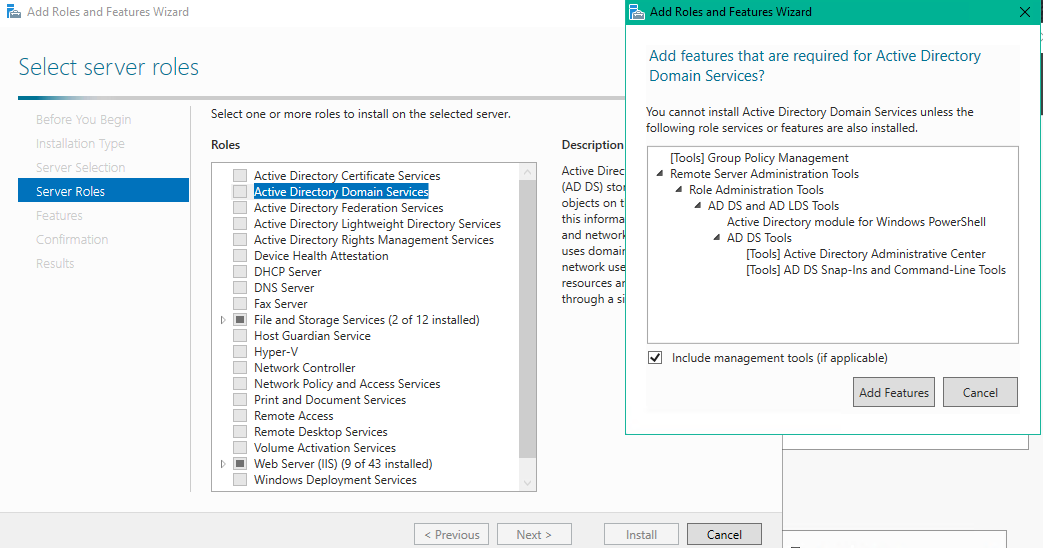
Checking Active Directory Domain Services will show you a list of all the features that are required. Click on Add Features. Secondly we need to add the DNS Server in the same way:
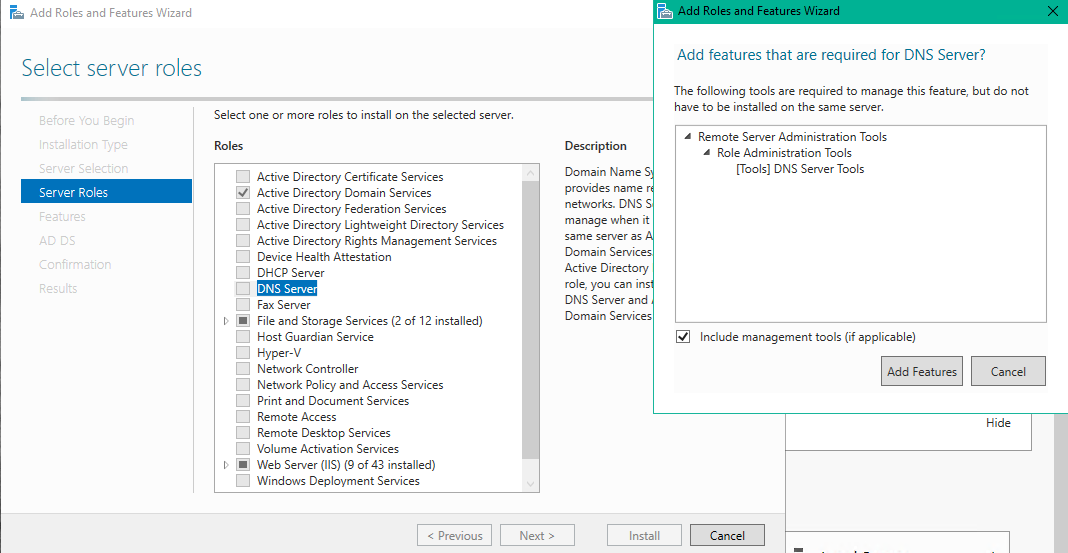
Now click Next until you reached the Confirmation tab then click Install. Once the Installation process is done head back to the Server Manager and click on the notification button. You should see a notification that you now have to promote your server to Domain Controller.

Now choose a Domain Name for your network:
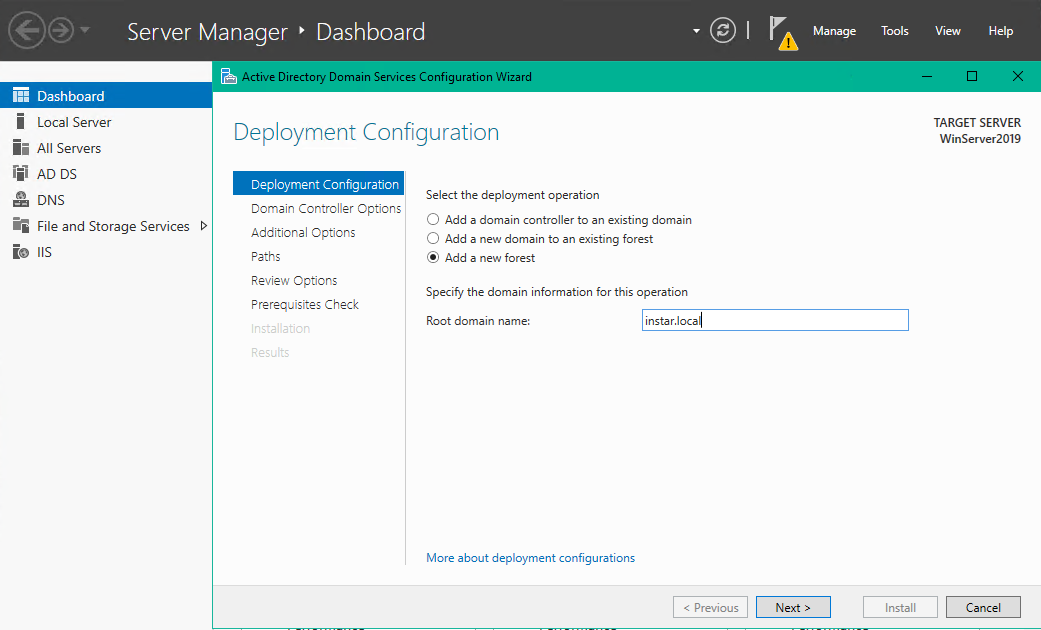
Type in a Directory Service Restore Mode (DSRM) password:
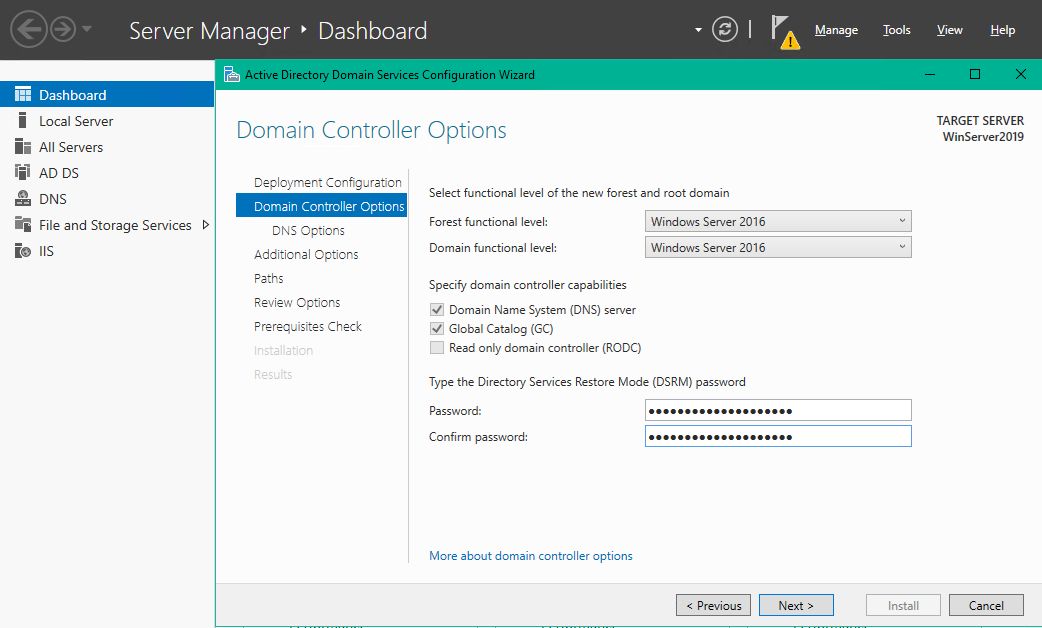
Now click Next a couple of times (only change the NetBIOS domain name, if desired):
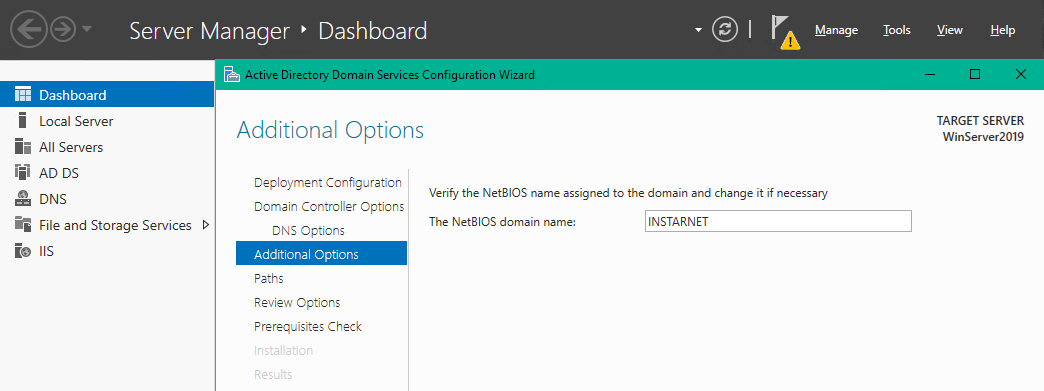
Hit Install once your Prerequisite Check gives you a green light:
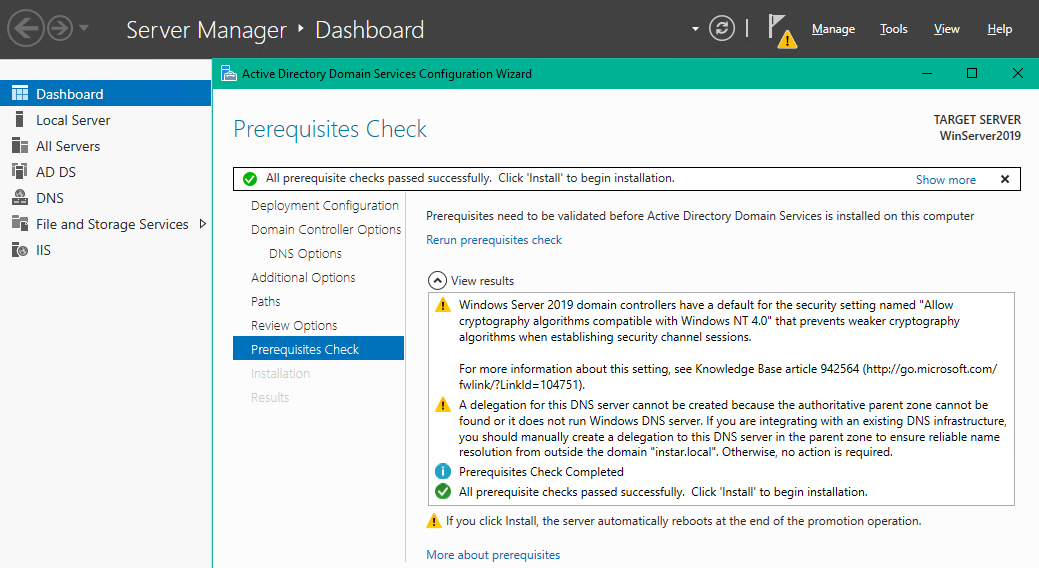
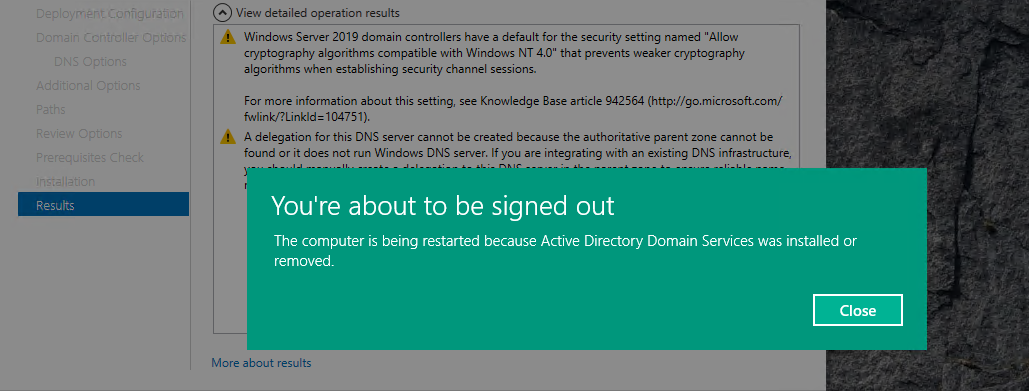
Your server should restart automatically once the installation finished and you have to reconnect to your server afterwards:
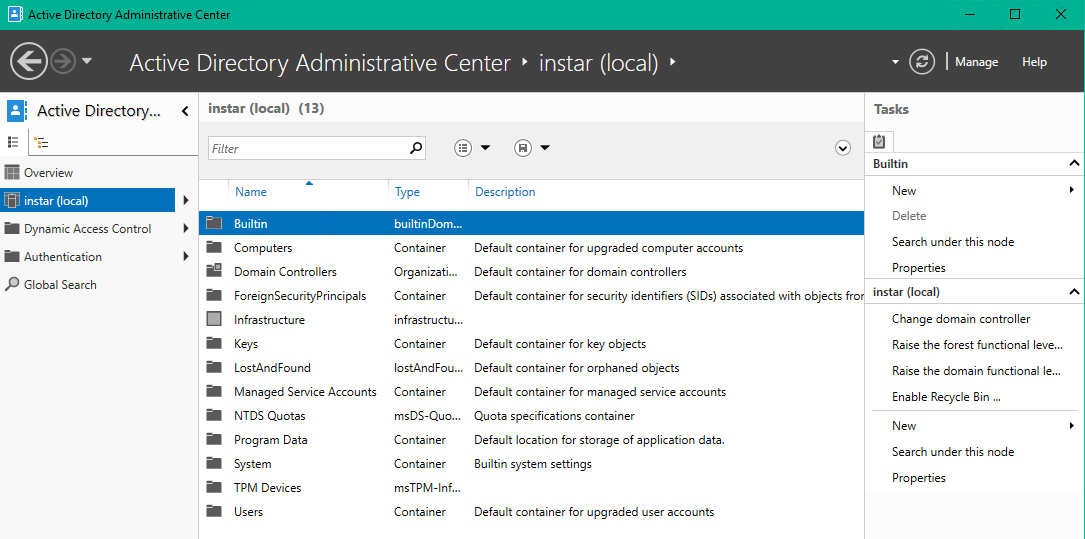
Once you are back in verify that Active Directory was installed successfully - you should now be able to find the Active Directory Administrative Center in your start menu:
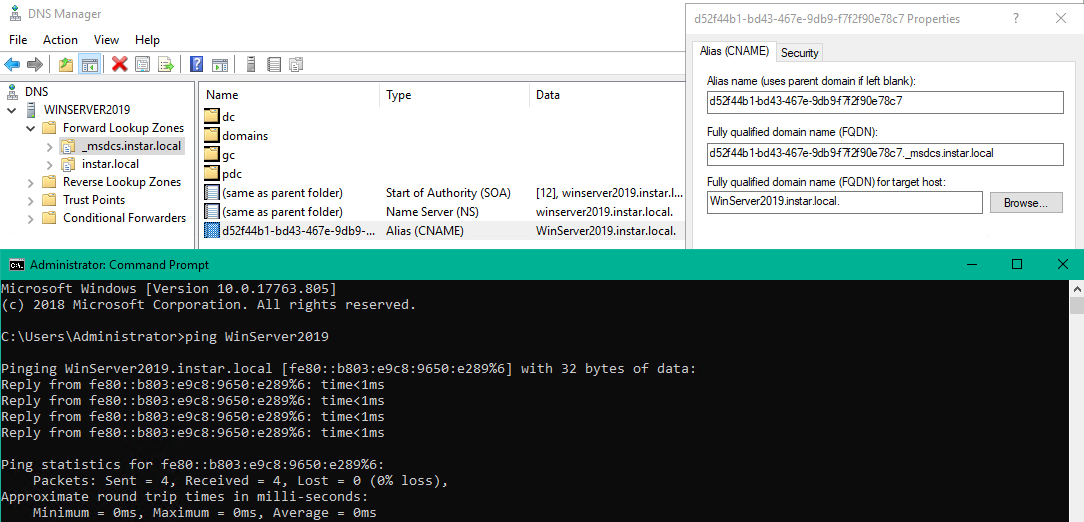
Searching for DNS inside the start menu should also bring up the DNS Manager. A quick ping should show you that the server name is resolved correctly:
