Magento 2 Docker Development

I want to try set up a Magento 2 Store in Docker on a Windows 10 PC.
Docker on Windows
Start by installing Docker on your Windows PC. Note that you need:
- Windows 10 64-bit: Pro, Enterprise, or Education (Build 15063 or later).
- Hyper-V and Containers Windows features must be enabled.
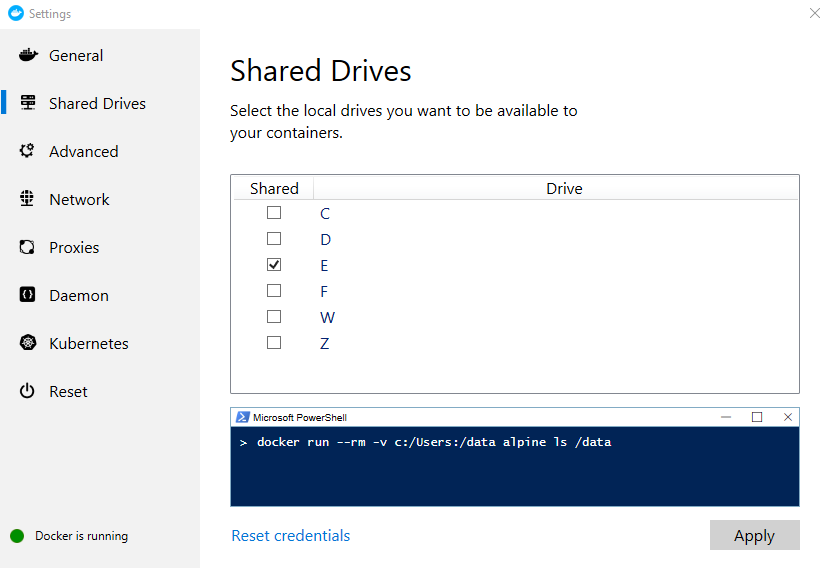
After the installation sign in with your Docker Hub ID. Start the Docker Settings and select a drive you want to be available for your docker containers - this is the drive we need to store our source code on:
Setting up the Environment
Now we need to create a docker-compose.yml file that will help us setting up the Magento2/LAMP environment:
mysql:
  image: mysql:5.7
  ports:
    - 3306:3306
  environment:
    MYSQL_ROOT_PASSWORD: mypassword
  volumes:
    - ./src/db:/var/lib/mysql
  container_name: mysql_5.7
phpmyadmin:
  image: phpmyadmin/phpmyadmin:4.8
  ports:
    - 8080:80
  links:
    - mysql
  environment:
    PMA_HOST: mysql
    PMA_PORT: 3306
  container_name: phpmyadmin_4.8
apache2:
  image: phpcuong/magento2-apache2:3.0
  ports:
    - 80:80
    - 10000:10000
    - 443:443
  links:
    - mysql
  volumes:
    - ./src/html:/var/www/html
  container_name: magento2.3
Create two folders named html and db and point the two volumes declared above to those directories. In my case there is a src folder in the same directory as the compose YAML file. This folder contains both the db and html folder.
Those instruction will set up a MySQL database, PHPMyAdmin and a Ubuntu container with Apache2, PHP 7.1.26, Webmin, Composer and Git.
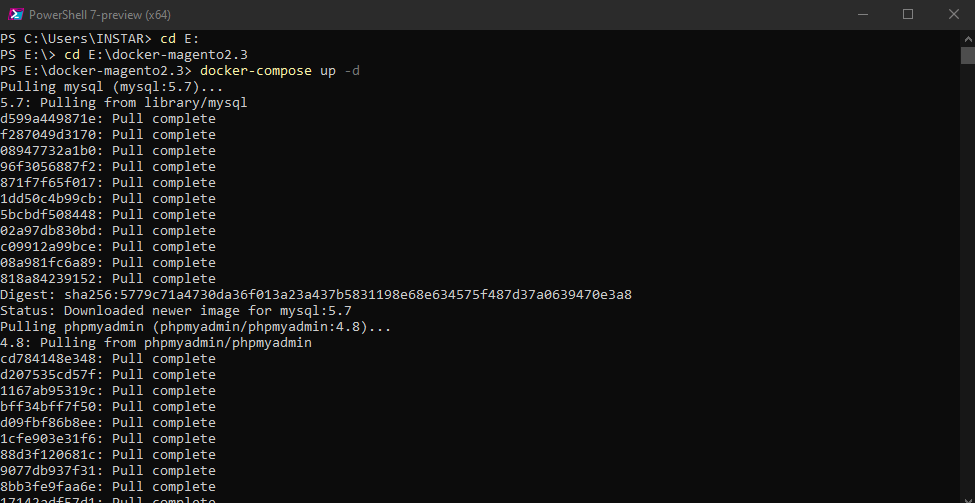
Now open PowerShell in the directory where you created the YAML file and run the command docker-compose up -d to set everything up:
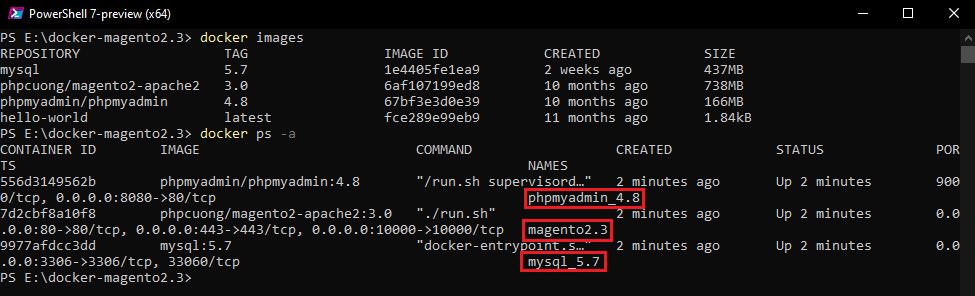
Once Docker finishes you can run docker images to see the downloaded images and docker ps -a to see that all 3 are now running in the background:
Installing Magento
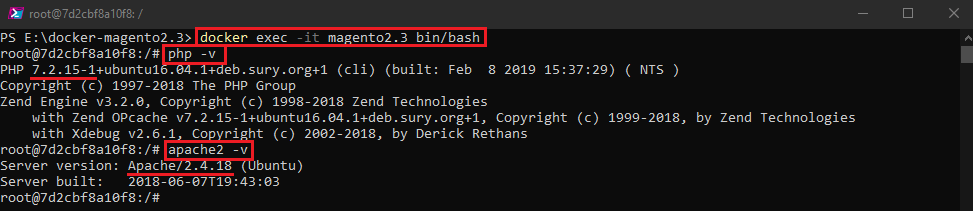
We can now verify that the virtual environment inside the Docker container full fills the requirements for Magento 2.2.6:
- Apache 2.4
- MySQL 5.7
- PHP 7.0.13 or higher
To do this run the following command docker exec -it magento2.3 bin/bash to access the Docker container that we want to use to install Magento in (Note that you can get the container name magento2.3 from the screenshot above):
Webmin
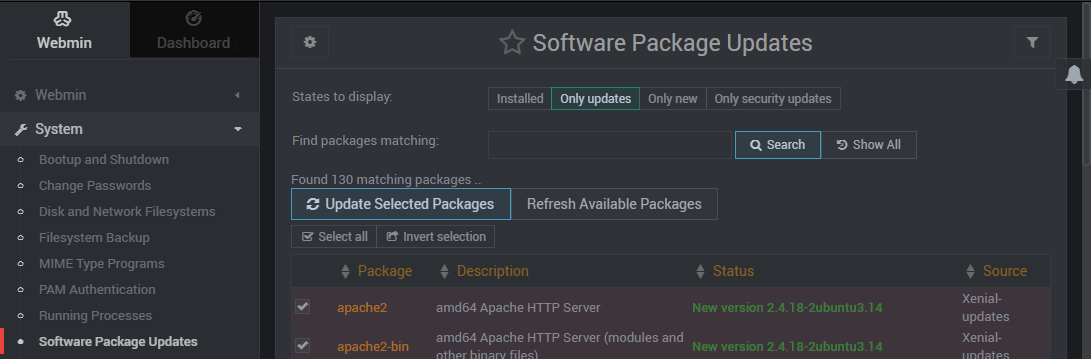
As mentioned above this container comes with Webmin pre-installed. Webmin is a web-based interface for system administration for Unix. You can setup user accounts, Apache, DNS and much more. Webmin removes the need to manually edit Unix configuration files like /etc/passwd, and lets you manage a system from the console or remotely.
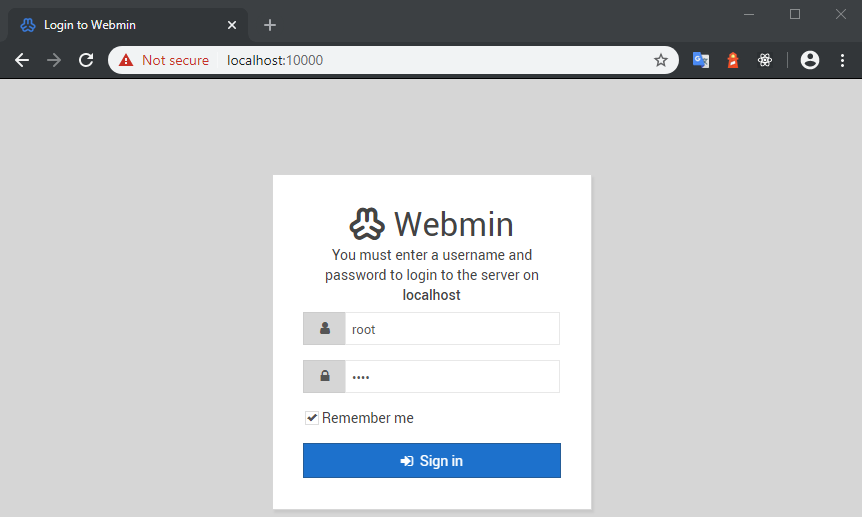
The Webmin dashboard is exposed on Port 10000 and can accessed via localhost on your Windows machine:
https://127.0.0.1:10000
- username: root
- password: root
You can use it to make changes to your virtual server take care of outdated packages. Note that changes you make here will be wiped if you rebuild the container:
MySQL
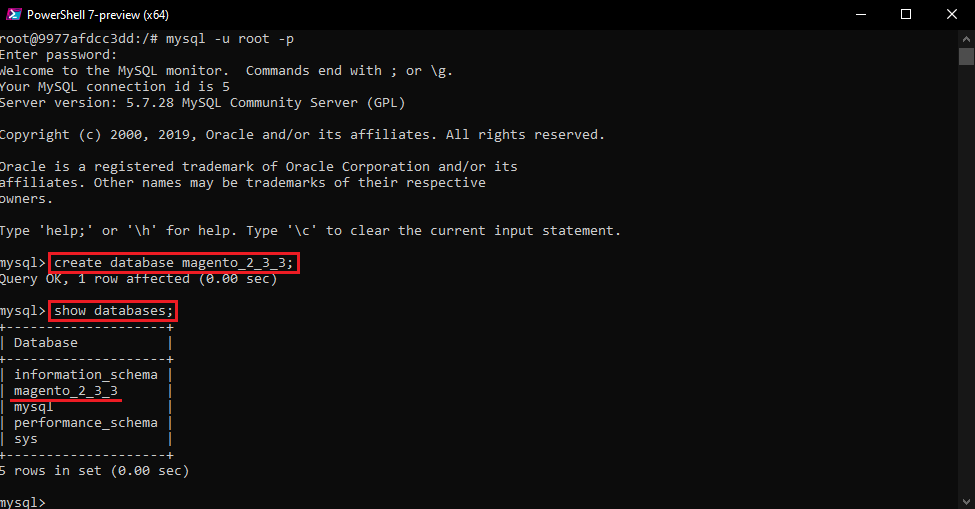
To check your MySQL version run the same command as before to enter the container docker exec -it mysql_5.7 bin/bash:
Note that you now have to enter the MYSQL_ROOT_PASSWORD you defined in the compose YAML file with the following command mysql -u root -p to enter the database:
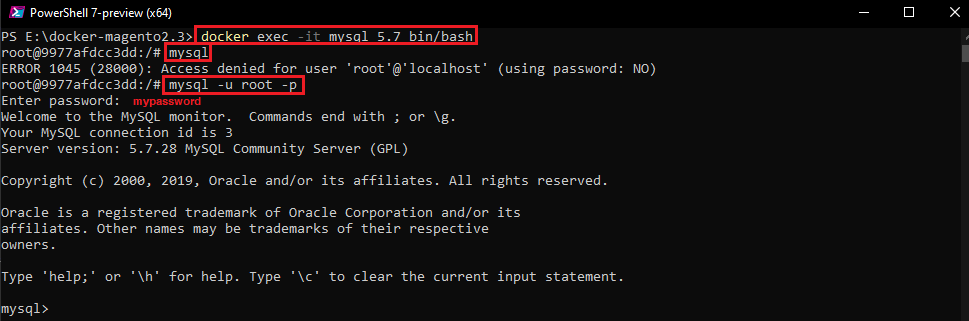
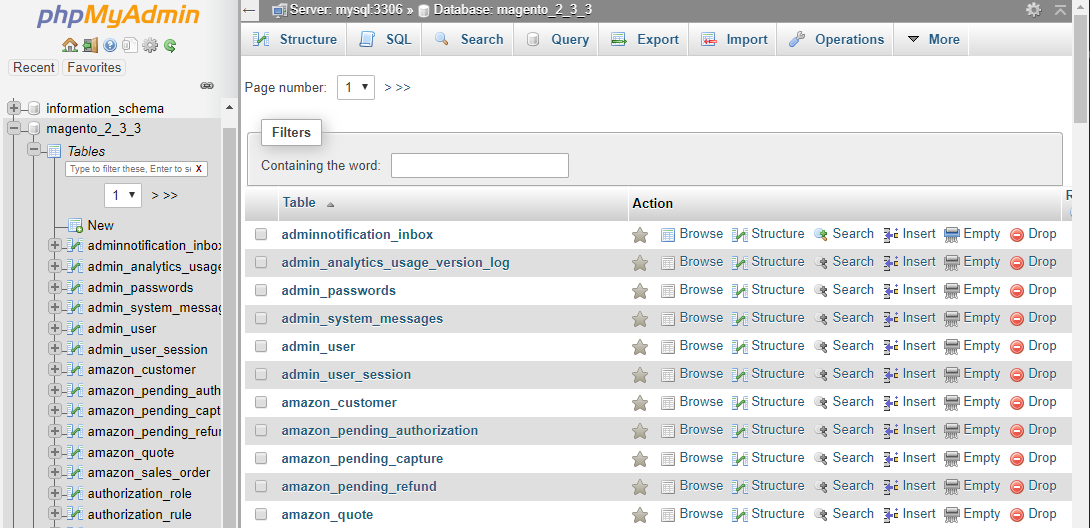
We can now create a database for Magento called magento_2_3_3 - rename depending on the version you wish to install:
create database magento_2_3_3;
show databases;
Magento & Apache
You can download the Magento Source code from the Tech Resources page. Unzip all files to the src/html folder we created earlier.
While we wait for those files to be unzipped we can already set up a host name for our shop, e.g. magento-2-3-3.instar.com. To do this we can edit the Windows hosts file in \Windows\System32\drivers\etc\ and add the following line:
127.0.0.1 magento-2-3-3.instar.com
So now when we type in magento-2-3-3.instar.com to our browsers address bar the address will be resolved to localhost.
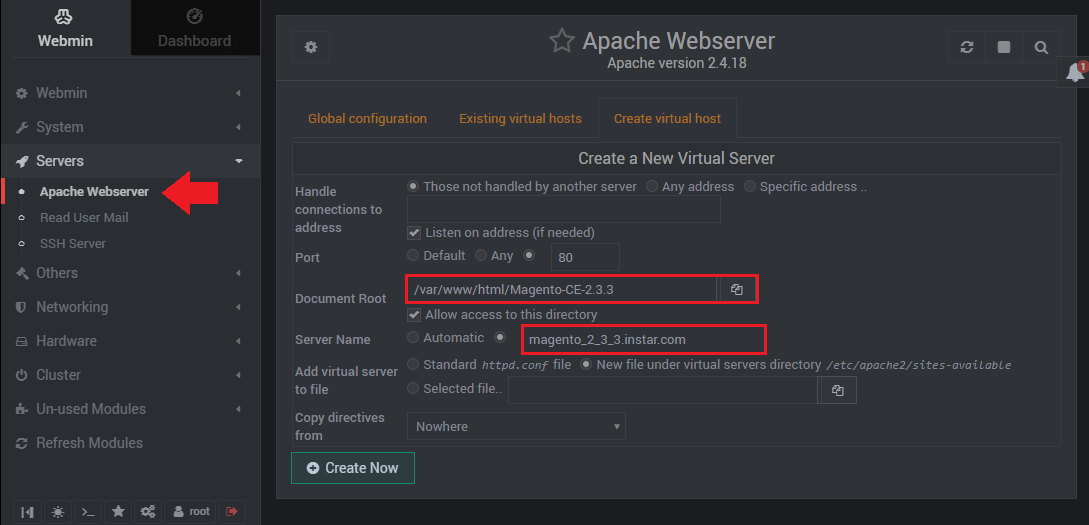
Now go back to the Webmin interface and point a virtual server to the Magento HTML code and assign the address that you just created your host for:
To activate the new configuration we need to restart Apache:
docker exec -it magento2.3 bin/bash
service apache2 restart
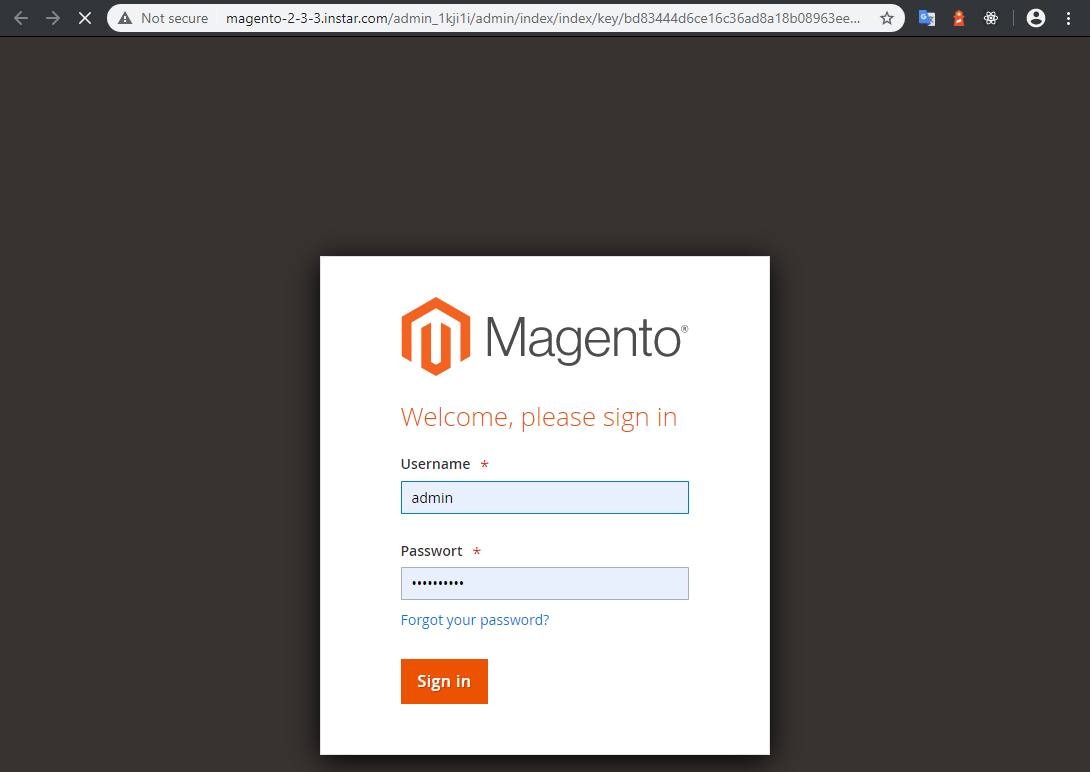
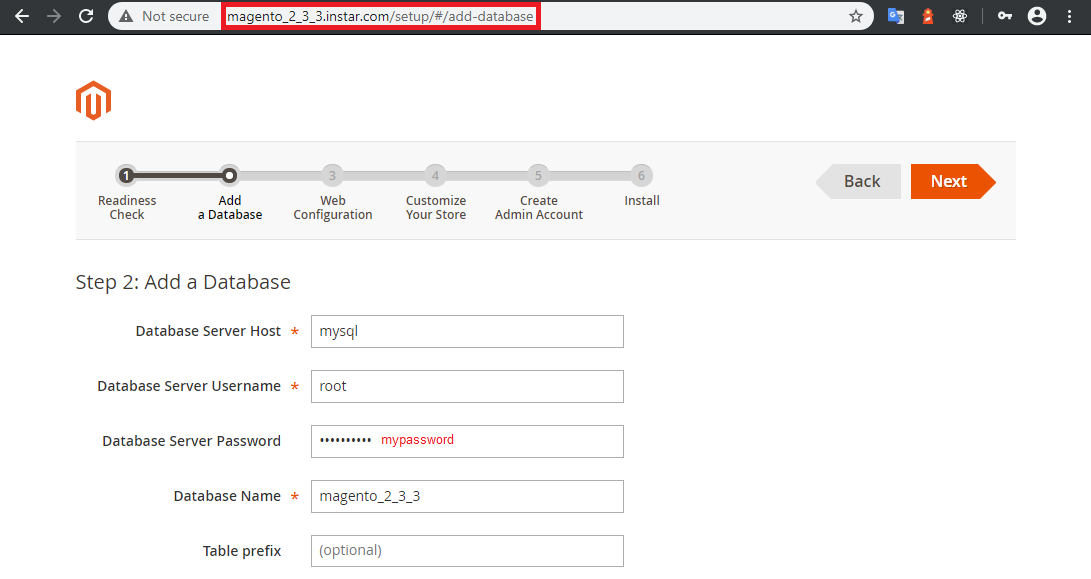
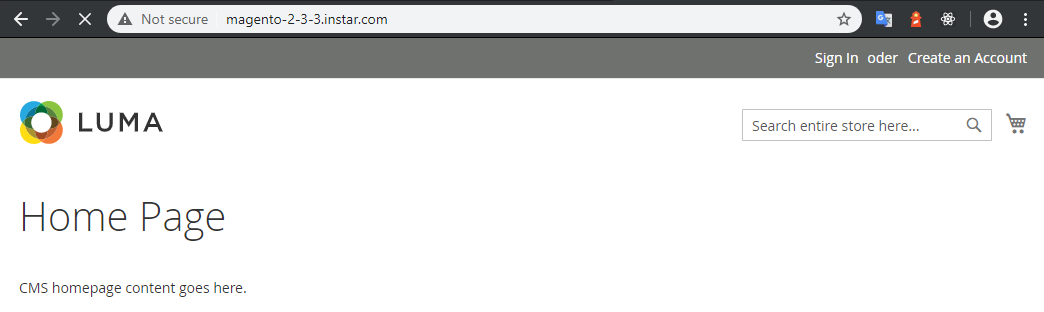
Apache is now hosting our Magento site on magento-2-3-3.instar.com and port 80. Access it through your web browser and start the configuration wizard:
Note that the Magento admin panel can now be reached under http://magento-2-3-3.instar.com/admin_1kji1i with the password that you set during the setup process :

To deploy the frontend run the following command from the magento container inside the Magento source folder (path depends on how you named the folder after extracting the Magento source):
docker exec -it magento2.3 bin/bash
cd /var/www/html/Magento-CE-2.3.3
php bin/magento setup:static-content:deploy -f
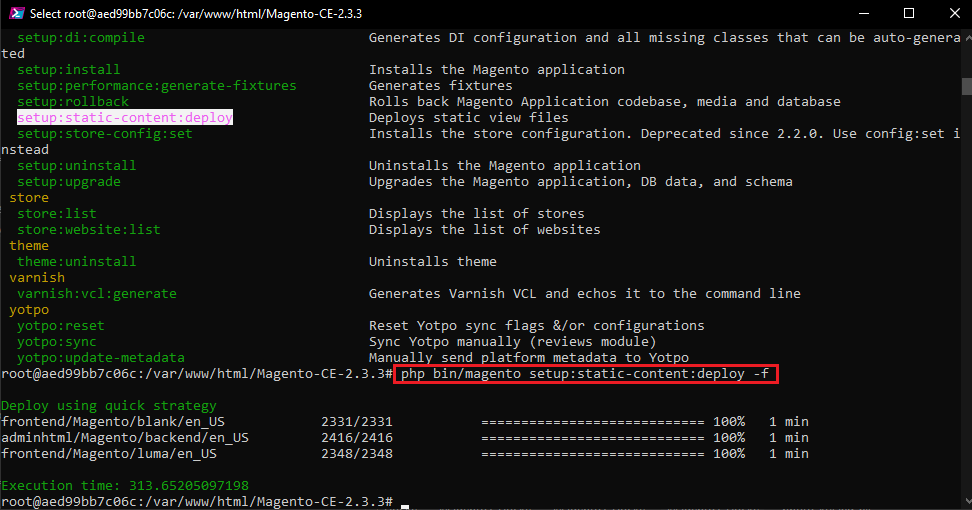
You can find the frontend source code that is being deployed in \src\html\Magento-CE-2.3.3\pub\static\frontend\Magento\blank\en_US. The frontend is now available on port 80 with the set URL:
PHPMyAdmin
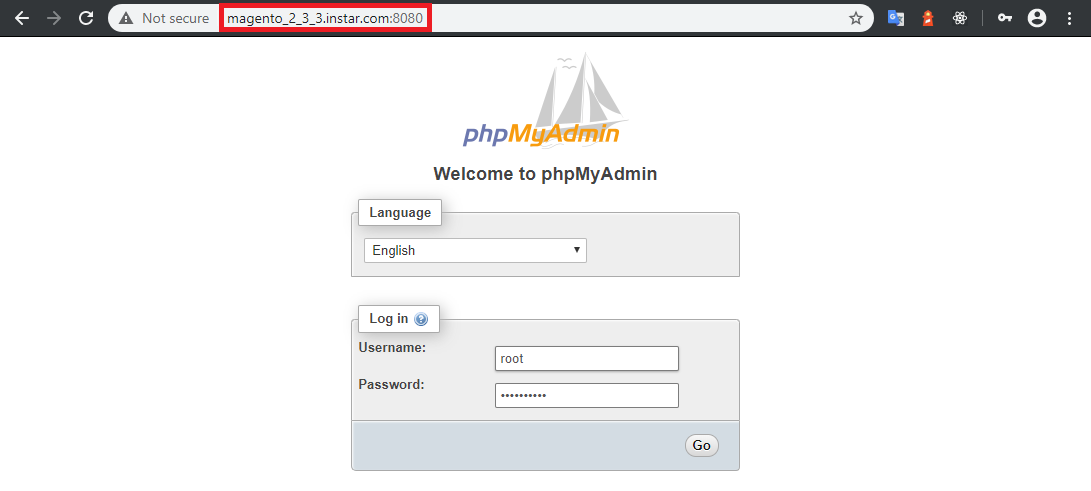
We can now access the PHPMyAdmin interface over port 8080 with the domain name we set up magento-2-3-3.instar.com:
- username:
root - password:
mypassword(as set by MYSQL_ROOT_PASSWORD)
The installation process populated our database successfully:
Configuring Magento
Start by opening the Admin Dashboard through the URL and Login you set in the steps before: