CentOS 8 Cockpit Web Console

- Installing Cockpit Web Console
- System Performance Logging
- Changing the Hostname
- Changing the Timezone
- User Management
- Networking
- Podman Containers
Installing Cockpit Web Console
Install it on your system by using the command below, which will install the cockpit with its required dependencies.
yum install cockpit cockpit-storaged cockpit-podman cockpit-dashboard
Enable and start the cockpit.socket service to connect to the system through the web console
systemctl start cockpit.socket
systemctl enable --now cockpit.socket
systemctl status cockpit.socket
If you are running a firewalld on the system, you need to open the cockpit port 9090 in the firewall.
firewall-cmd --permanent --zone=public --add-service=cockpit
firewall-cmd --reload
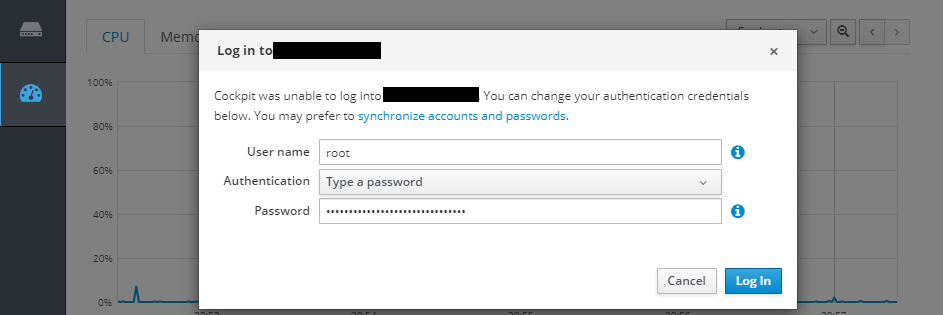
Open the Cockpit web console in your web browser on port 9090, proceed past the NET::ERR_CERT_AUTHORITY_INVALID warning (or install a CA certificate on your CentOS server) and login with your LINUX user:
The console uses a .cert file certificate from
/etc/cockpit/ws-certs.ddirectory. To avoid having to prompt security warnings, install a signed certificate - e.g. LetsEncrypt. Check documentation for details.
System Performance Logging
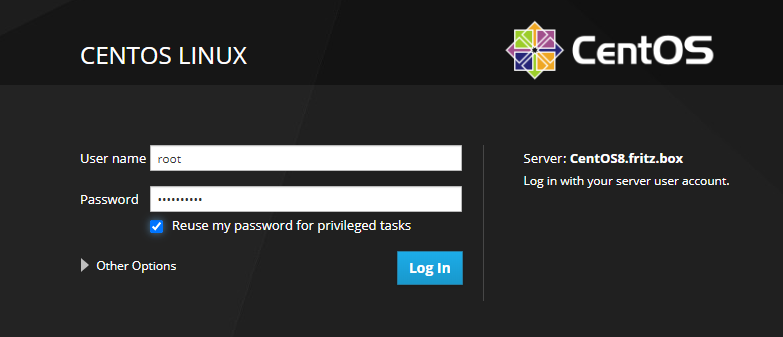
You can activate System Logging from the Interface:
Changing the Hostname
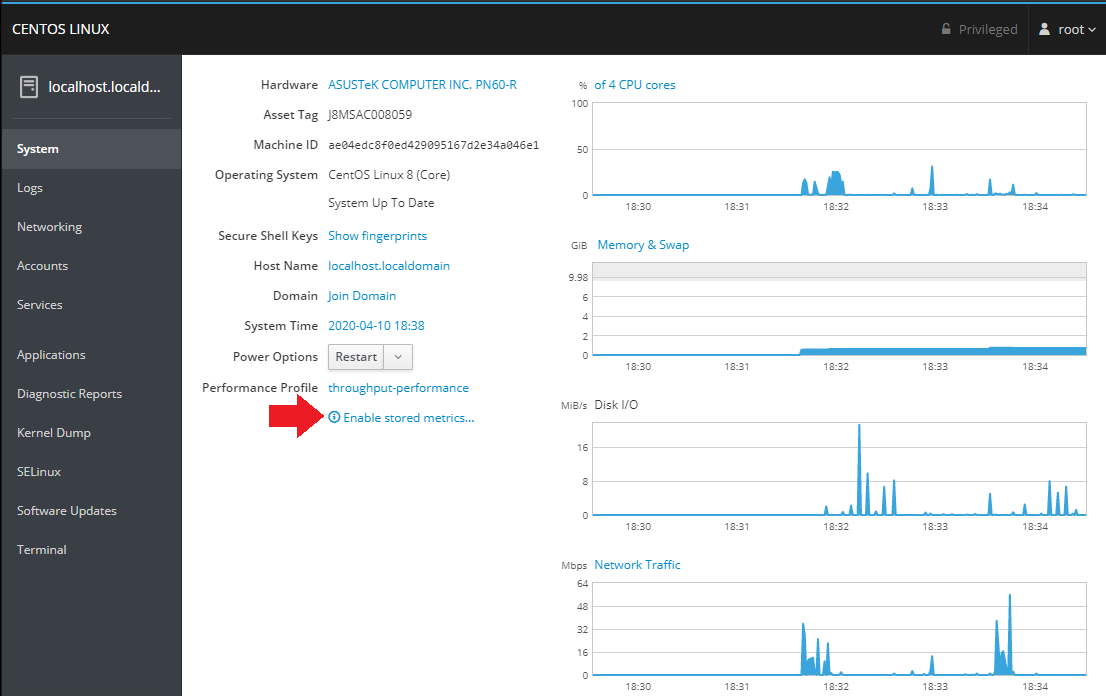
You can change your system hostname by selecting the option inside the System tab and typing in a name:
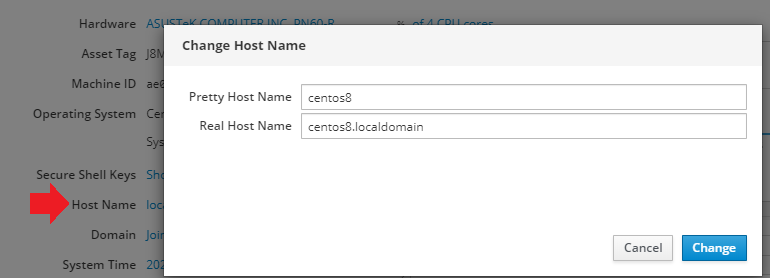
To verify that the hostname was changed switch to the Terminal tab and type hostnamectl:
hostnamectl
   Static hostname: centos8.localdomain
   Pretty hostname: centos8
Transient hostname: CentOS8.fritz.box
         Icon name: computer-desktop
           Chassis: desktop
        Machine ID: ae04edc8f0ed429095167d2e34a046e1
           Boot ID: e58f2916a4b94f6ea365ae1296e7493c
  Operating System: CentOS Linux 8 (Core)
       CPE OS Name: cpe:/o:centos:centos:8
            Kernel: Linux 4.18.0-147.5.1.el8_1.x86_64
      Architecture: x86-64
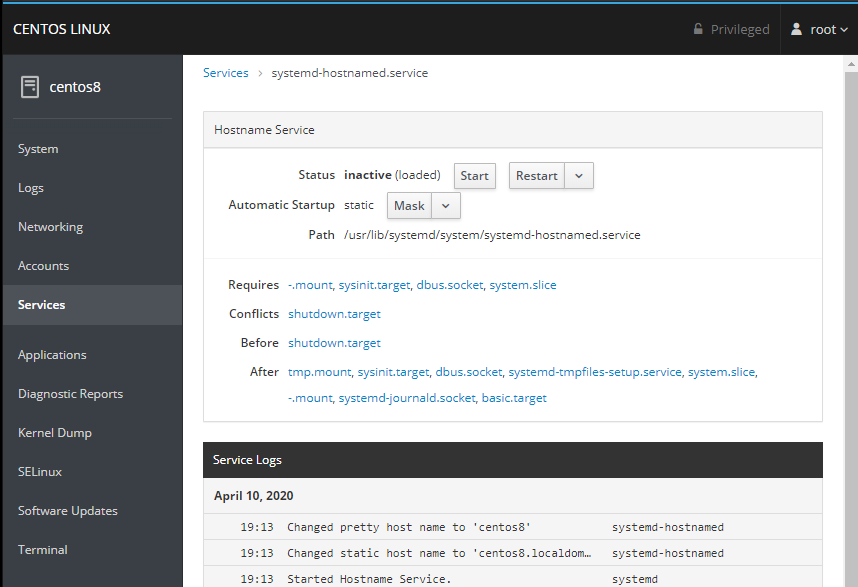
You can also use the Services tab to see that systemd-hostnamed.service did it's job:
Changing the Timezone
You can change your system time settings by selecting the option inside the System tab and typing in your time zone:
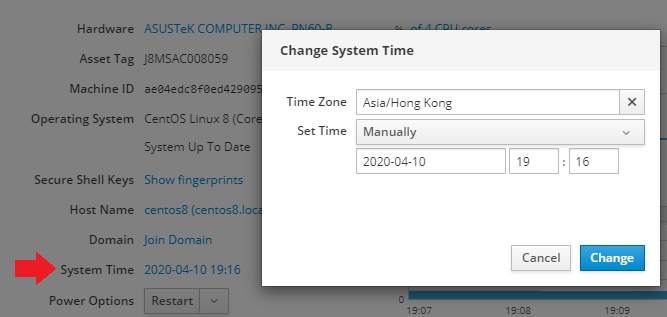
Again, you can verify your settings inside the Terminal:
timedatectl
               Local time: Fri 2020-04-10 19:18:43 HKT
           Universal time: Fri 2020-04-10 11:18:43 UTC
                 RTC time: Fri 2020-04-10 11:18:43
                Time zone: Asia/Hong_Kong (HKT, +0800)
System clock synchronized: no
              NTP service: n/a
          RTC in local TZ: no
User Management
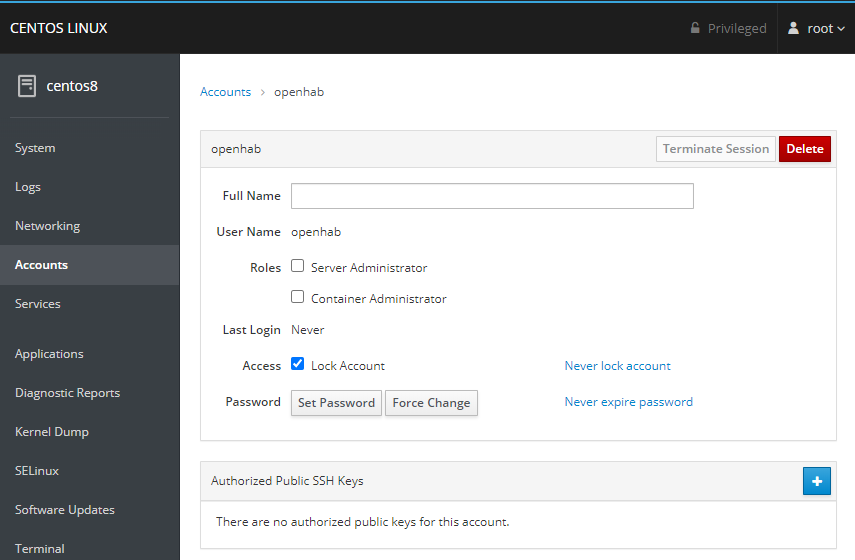
Create and manage user accounts from the Account tab:
Networking
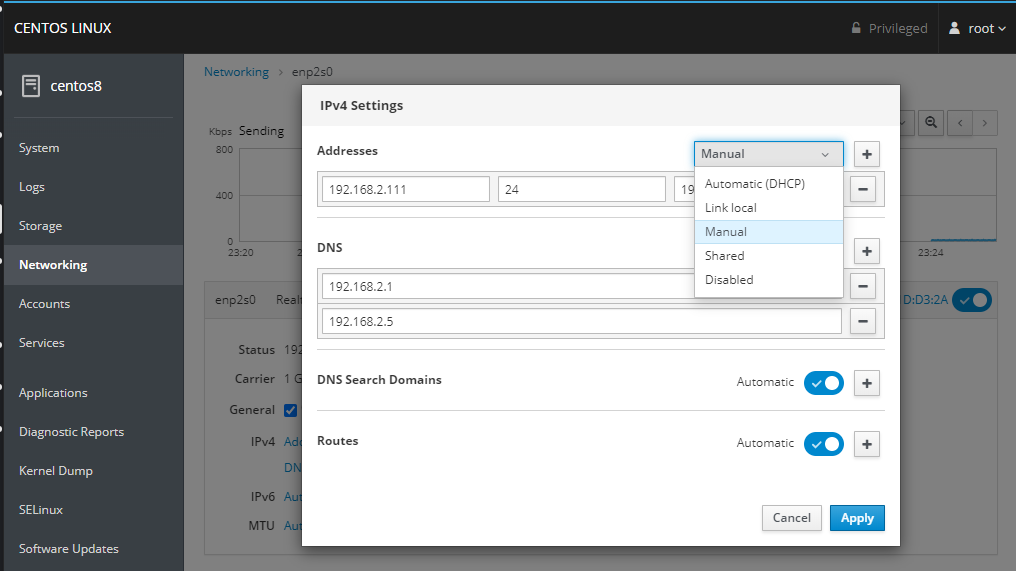
Set your servers IPv4 configuration - DHCP, static IP, DNS Server and Gateway:
Podman Containers
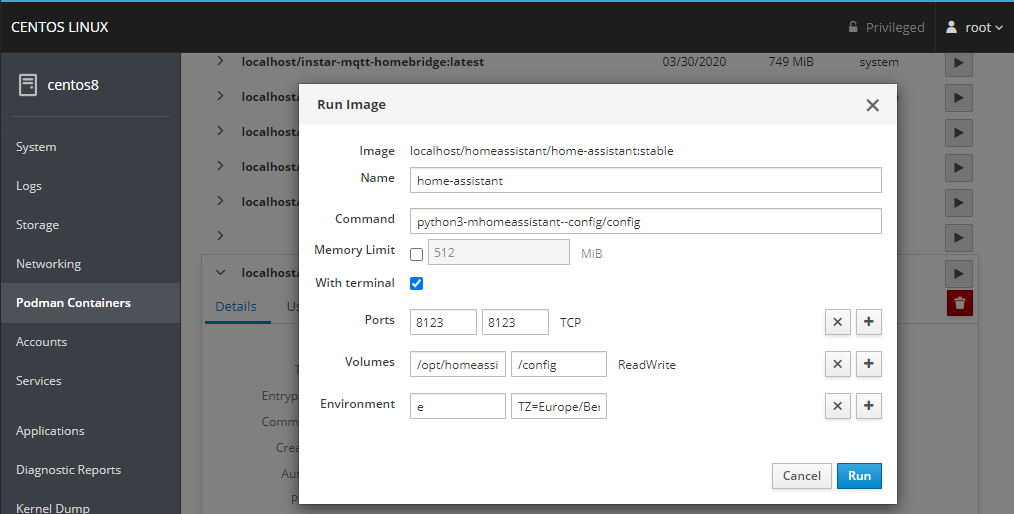
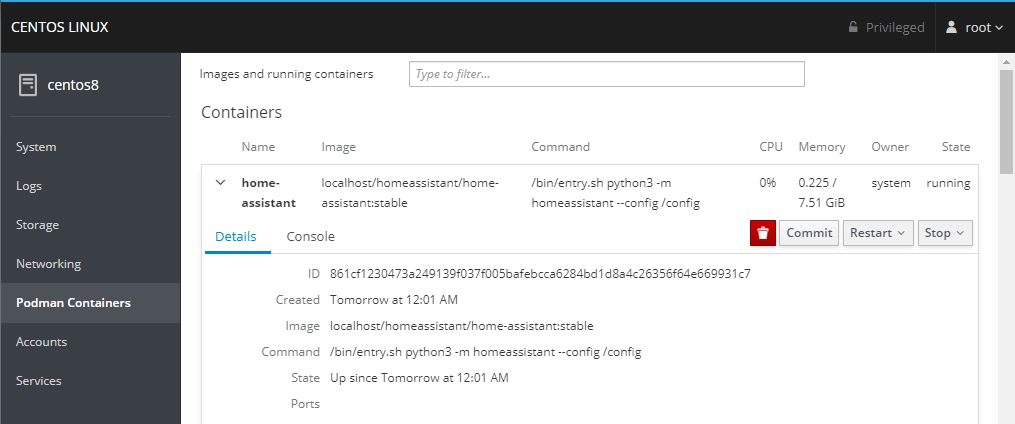
We already installed cockpit-podman on our machine - if you are using Docker install cockpit-docker instead!


Remote Server Management
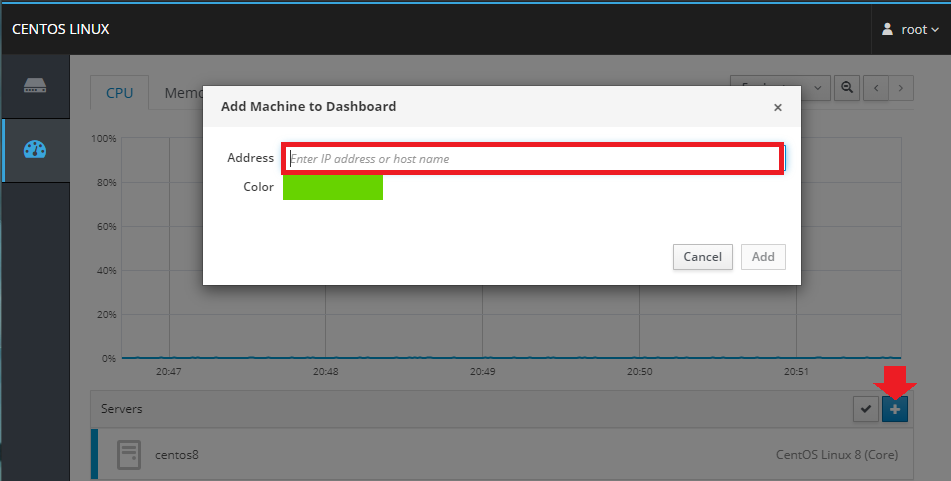
Make sure that you have cockpit-dashboard installed and click on the Dashboard button:

Click on the Add Server button and tyoe in your remote server's IP address (if you don't use the default SSH port, add it behind the IP e.g. 123.123.123.45:6969):
And type in your user login:
