User Login with Google OAuth2 for Discourse

Configure Discourse to allow login and registration with Google OAuth2.
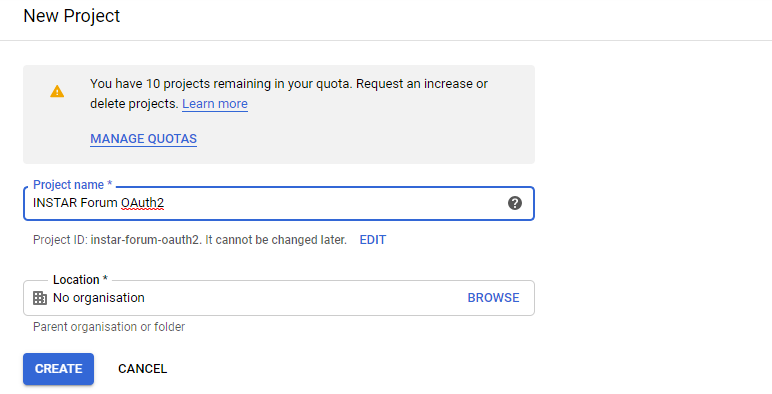
Creating a new Google Cloud Platform Project
Open the Google Developer Console and Select to Create a new Project:

Fill in the Project Name field, then click on Create:
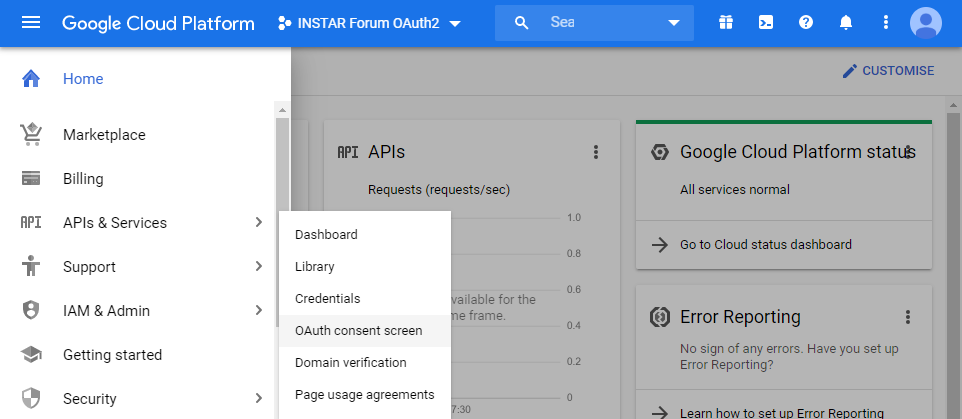
Setup OAuth2
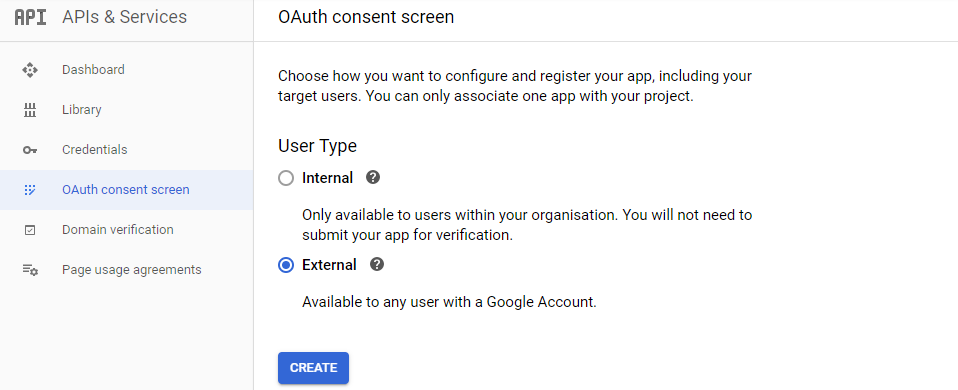
Under APIs and Services and select the OAuth consent screen:
Select External and then click on Create:
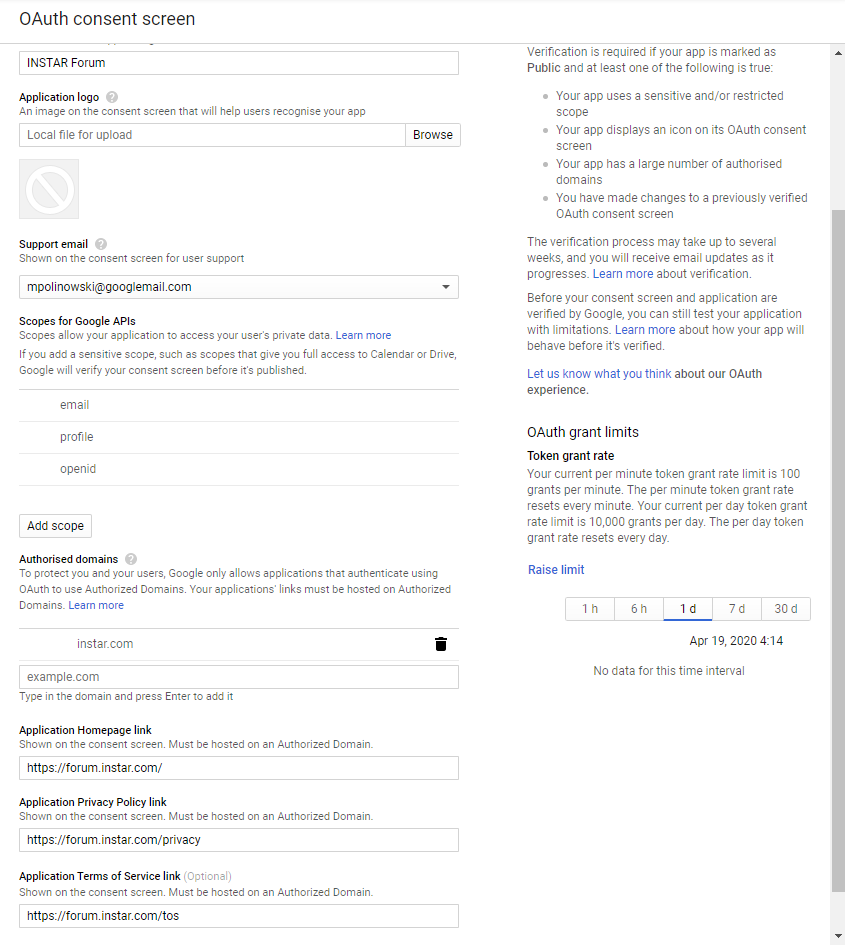
Fill out the form then click Save:
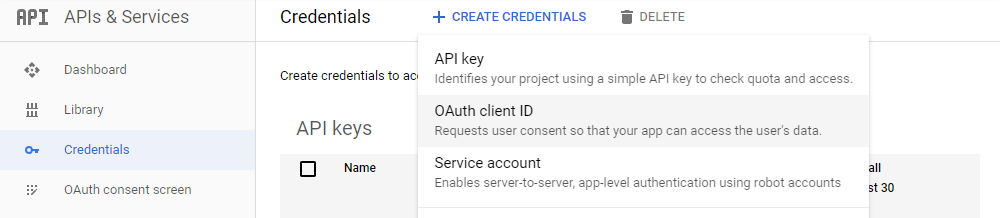
Go to the Credentials tab on the left, click on + CREATE CREDENTIALS then click on OAuth client ID:
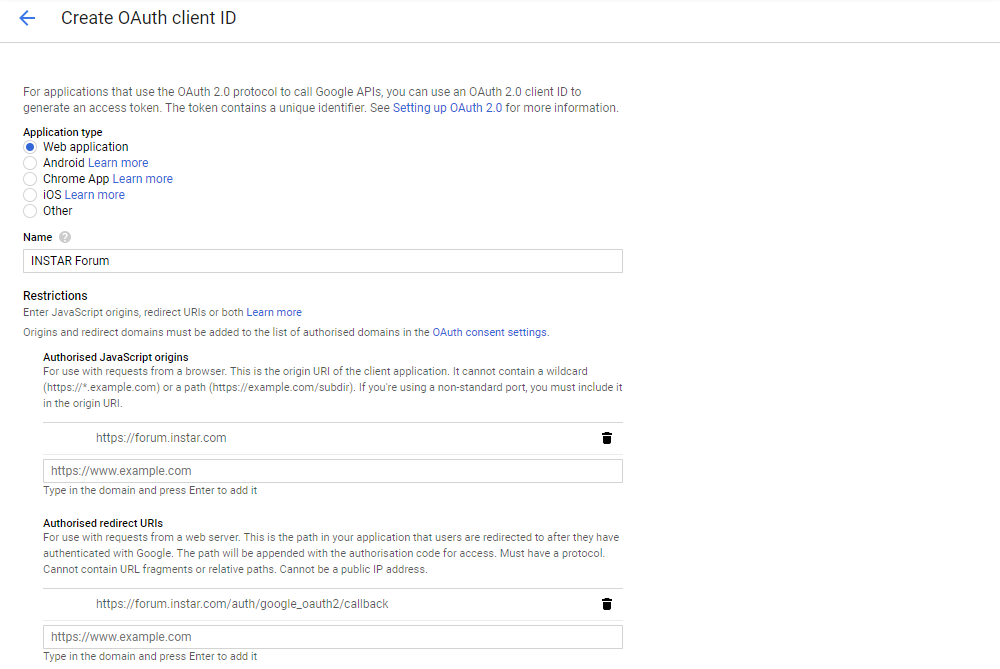
Choose Web application as the Application Type. In the Authorized JavaScript Origins section, add your site’s base url, including http:// or https://. In the Authorized Redirect URI section, add the base url with /auth/google_oauth2/callback. Click the Create button:
The OAuth client dialog will appear with client ID and secret:
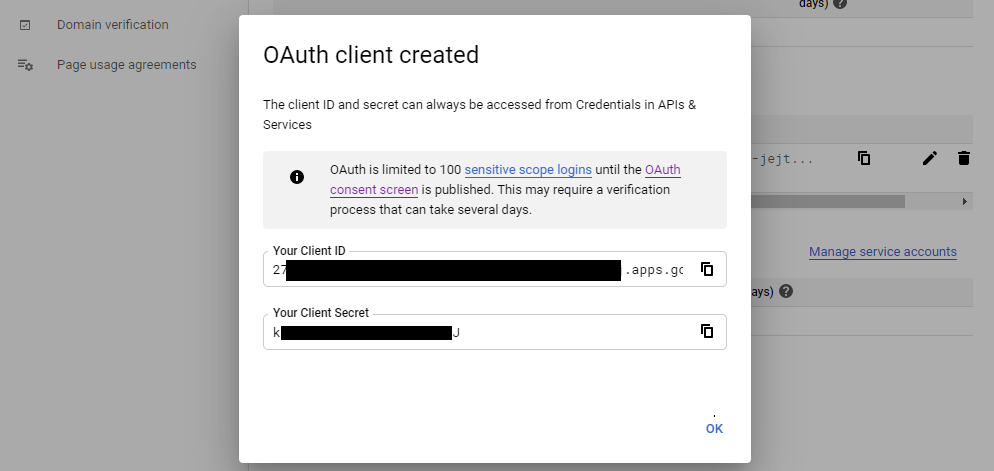
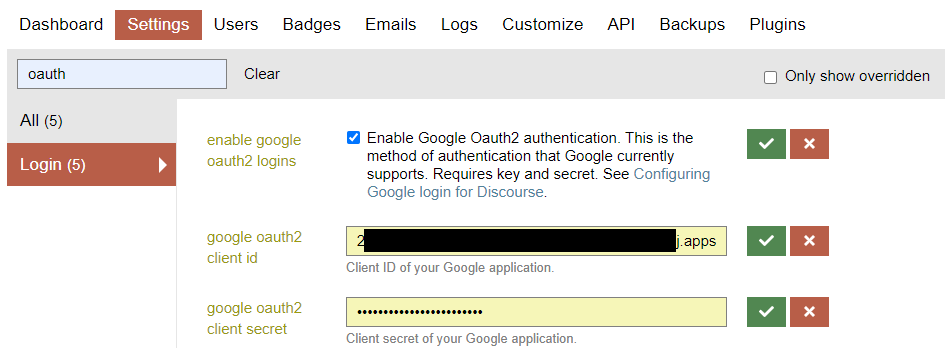
In your Discourse site settings, check enable google oauth2 logins, and fill in your google oauth2 client id and google auth2 client secret provided earlier:
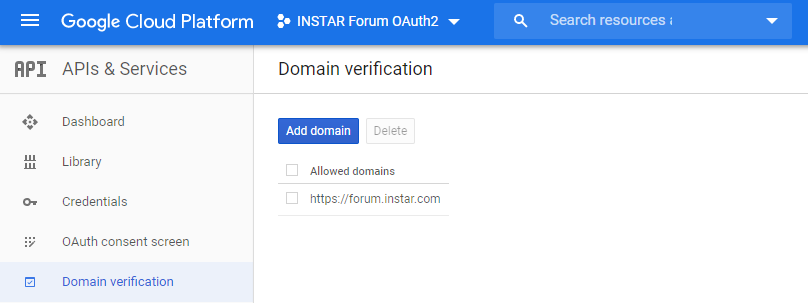
Verify your Domain
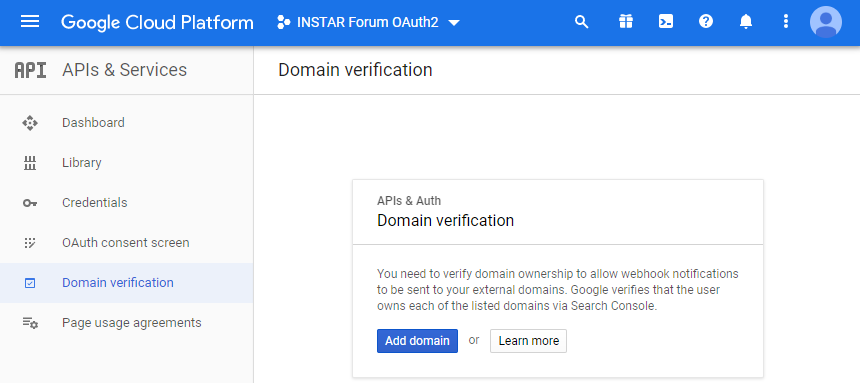
Your site must be registered on Search Console with an https:// URL or with the domain name provider verification method before you can proceed:
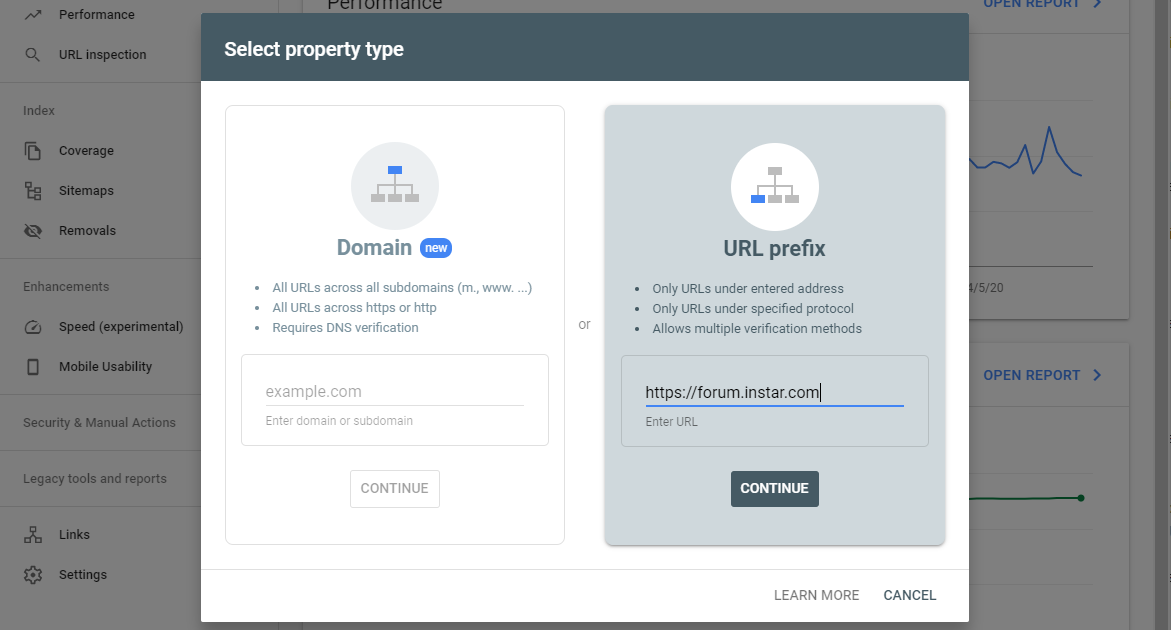
Add your domain to your Search Console properties:
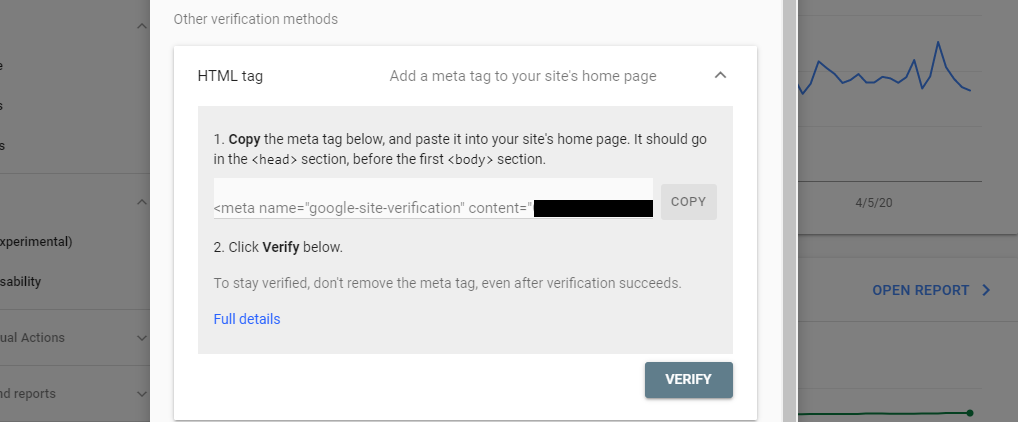
You can now add a HTML Tag to your Discourse page template to verify your ownership over the domain. To do this copy the meta tag Google provides for you:
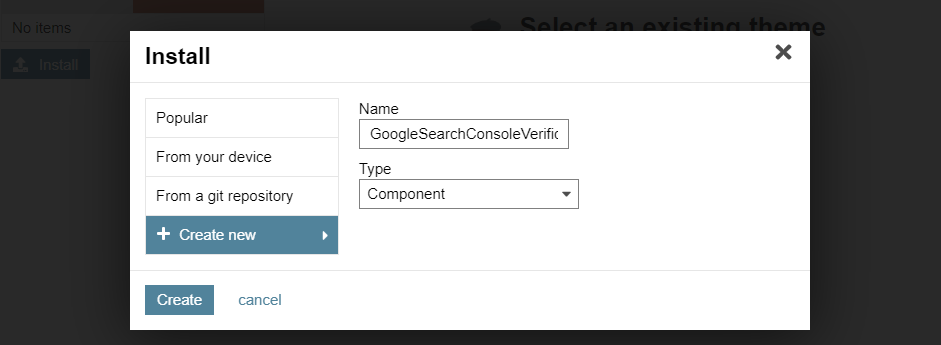
Go to the Discourse Admin and go to the following page: Admin>Customize>Themes, then select Components. Click on Install, then + Create new:

Give it a meaningful name (i.e. GoogleSearchConsoleVerification):
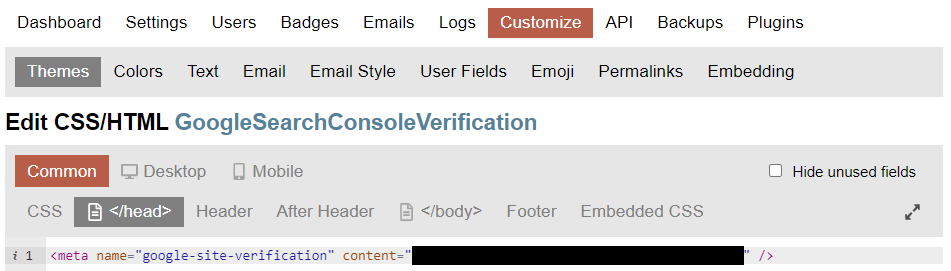
In your new component, select Edit CSS/HTML, under Custom CSS/HTML. In the </head> section, paste the HTML tag generated by GSC Verification Wizard, then Save this change:
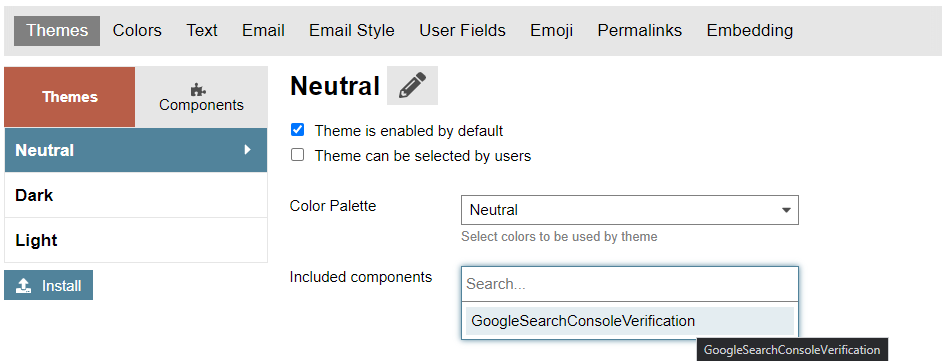
Back in the Theme menu add your new component to your default Discourse theme:
Back in GSC click on Verify to add your domain to your properties:
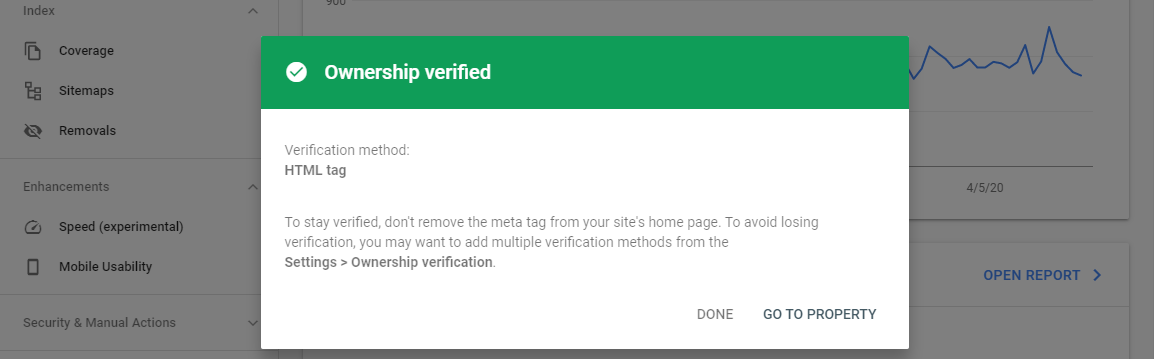
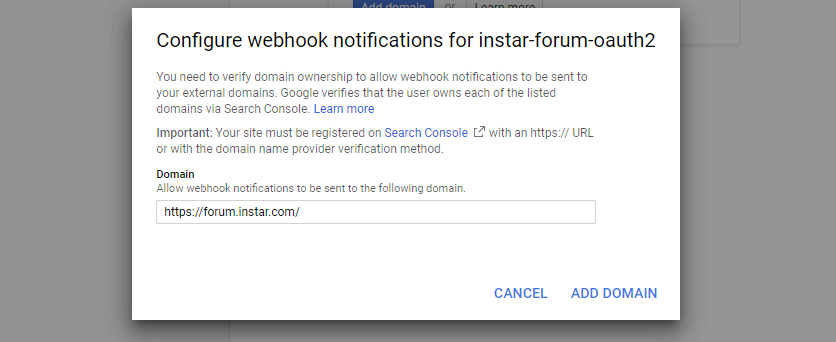
Back in the OAuth2 configuration you can now add your verified domain without further issues!