Random Password Generator

This is a create-react-app demo based on the article Create React App with Express in Production by Dave Ceddia. We want to use the React App generator to create static pages from our React Pass-Gen App, routed through a Node/Express Server.
The original article went on to deploy the app to Heroku - please refer to the original article about that. What we do differently here, is adding a way to comfortably edit (hot reloading) our app in an development environment using the package Concurrently. This allows us to run both, the Express and React App, inside one terminal and automatically switch to serving a static representation of our React App inside Express, once we switch to a production environment.
Create the Express App
Create a directory and cd in to it with your Terminal or Git Bash. You can initialize your app with npm:
npm init
Now we need to add two packages through npm: our express router and a password generator, and we will use Express to provides a single API endpoint, /api/passwords. We use the --save to add those dependencies to our package.json file.
npm install --save express password-generator
Create a file called index.js, which will be the Express app, and type this in:
const express = require('express');
const path = require('path');
const generatePassword = require('password-generator');

const app = express();

// Serve static files from the React app
// Use this to just simulate a production environment - it always! serves the static files /client/build
// ------------------------------------------------
// app.use(express.static(path.join(__dirname, 'client/build')));
// ------------------------------------------------
// this statement will use the live react app in development,
// but will expect you to have a static version of the app in /client/build once you switch to production
// remove if above case is uncommented!
if (process.env.NODE_ENV === 'production') {
  app.use(express.static('client/build'));
}

// Put all API endpoints under '/api'
app.get('/api/passwords', (req, res) => {
  const count = 5;

  // Generate some passwords
  const passwords = Array.from(Array(count).keys()).map(i =>
    generatePassword(12, false)
  )

  // Return them as json
  res.json(passwords);

  console.log(`Sent ${count} passwords`);
});

// The 'catchall' handler: for any request that doesn't
// match one above, send back React's index.html file.
app.get('*', (req, res) => {
  res.sendFile(path.join(__dirname+'/client/build/index.html'));
});

const port = process.env.PORT || 5000;
app.listen(port);

console.log(`Password generator listening on ${port}`);
We’re also going to need a “start” script in package.json, to be able to start our app with the npm start command. Open package.json and add a scripts section at the bottom. The full file should look something like this:
{
  'name': 'random-pass-gen',
  'version': '1.0.0',
  'description': 'create-react-app demo',
  'main': 'index.js',
  'scripts': {
    'test': 'echo \'Error: no test specified\' && exit 1'
  },
  'author': 'Mike Polinowski',
  'license': 'ISC',
  'dependencies': {
    'express': '^4.15.4',
    'password-generator': '^2.1.0'
  },
  'scripts': {
    'start': 'node index.js'
  }
}
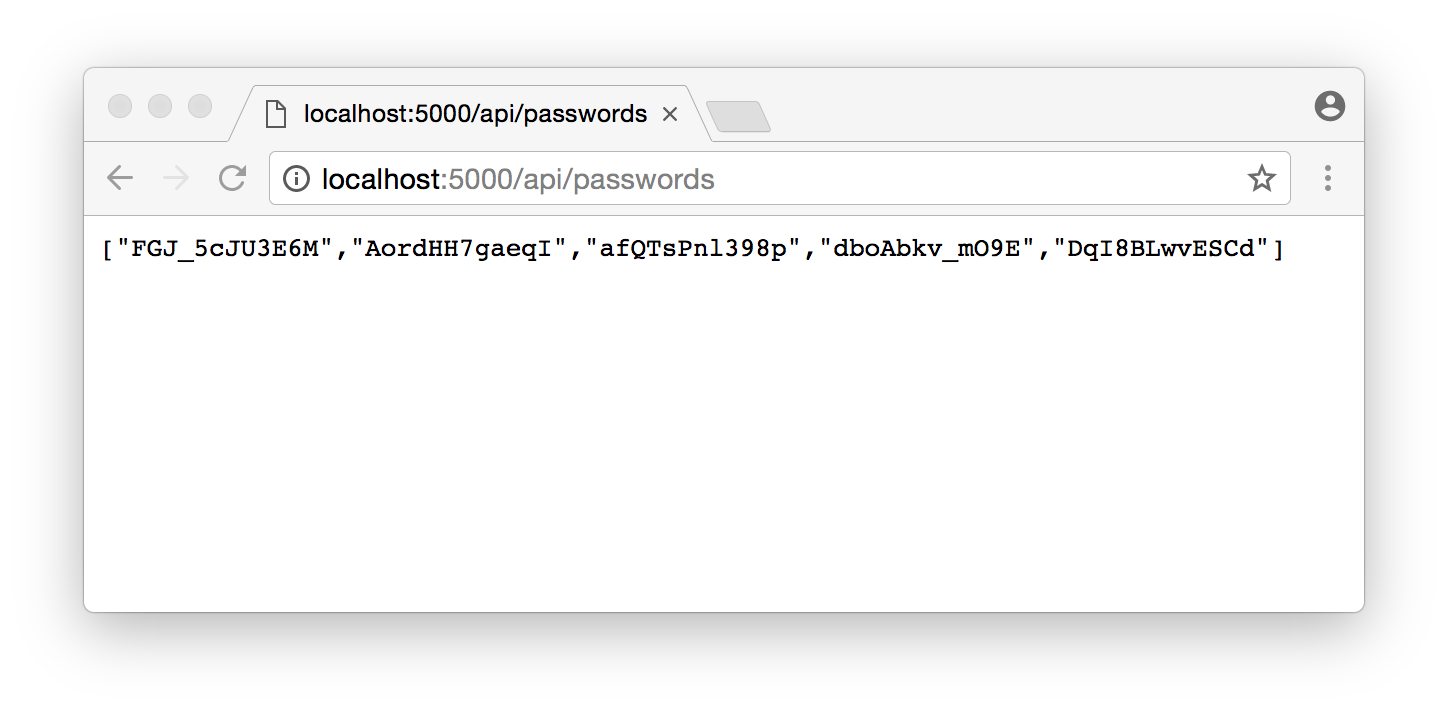
We can test our app with npm start and opening the following URL inside our Browser (or CURL): http://localhost:5000/api/passwords. The start command starts our Node/Express Server on our localhost with the port defined inside index.js (5000). Calling the API endpoint /api/password gives us access to the password generator.
Create the React App
We’re going to use Create React App to generate a project. We will run this React App in our dev environment inside the subfolder /client. But we will create a static version of our app inside client/build (as already defined inside index.js of our Express App) once we move to a production environment. This generation of a static version is part of the functionality offered by create-react-app.
If you don’t have Create React App installed yet, do that first:
npm install -g create-react-app
Generate the React app inside the Express app directory:
create-react-app client
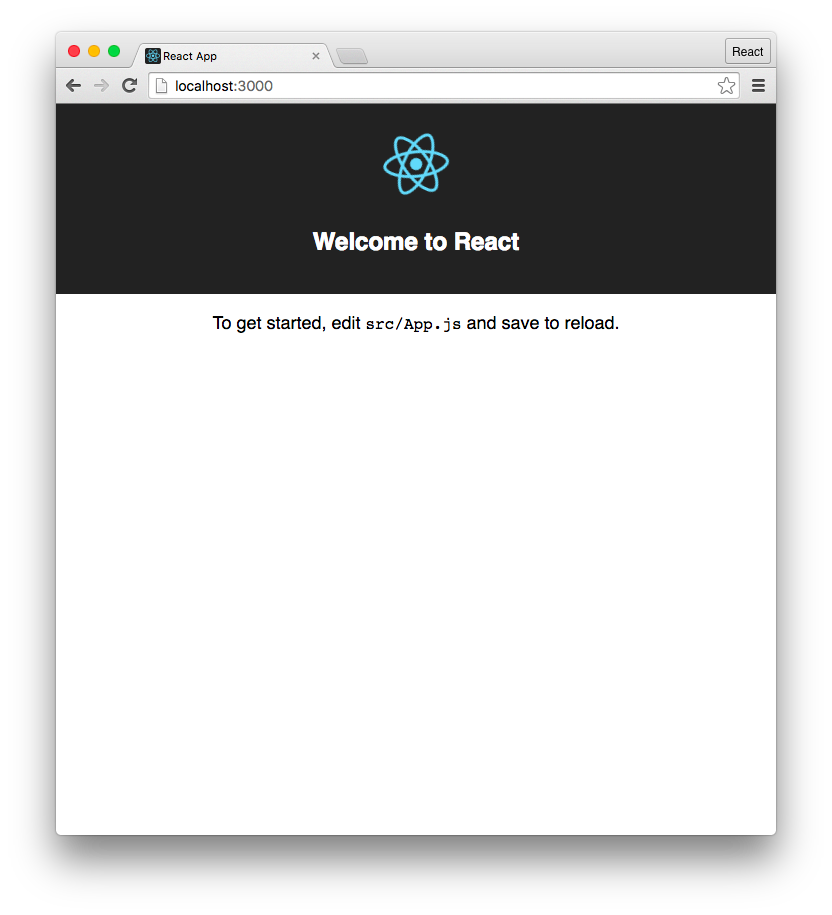
To test the app, cd in to the /client directory and run npm start. This will run the create-react-app starter app with some boilerplate code on port 3000:
Create React App will proxy API requests from the React app to the Express app if we add a “proxy” key in package.json like this:
'proxy': 'http://localhost:5000'
This goes in client/package.json, not in the Express app’s package.json!
Now we want to replace the boilerplate app with our own - the code is located inside /client/src/app.js. We will replace it with the following code:
import React, { Component } from 'react';
import './App.css';

class App extends Component {
  // Initialize state
  state = { passwords: [] }

  // Fetch passwords after first mount
  componentDidMount() {
    this.getPasswords();
  }

  getPasswords = () => {
    // Get the passwords and store them in state
    fetch('/api/passwords')
      .then(res => res.json())
      .then(passwords => this.setState({ passwords }));
  }

  render() {
    const { passwords } = this.state;

    return (
      <div className='App'>
        {/* Render the passwords if we have them */}
        {passwords.length ? (
          <div>
            <h1>5 Passwords.</h1>
            <ul className='passwords'>
              {/*
                Generally it's bad to use 'index' as a key.
                It's ok for this example because there will always
                be the same number of passwords, and they never
                change positions in the array.
              */}
              {passwords.map((password, index) =>
                <li key={index}>
                  {password}
                </li>
              )}
            </ul>
            <button
              className='more'
              onClick={this.getPasswords}>
              Get More
            </button>
          </div>
        ) : (
          // Render a helpful message otherwise
          <div>
            <h1>No passwords :(</h1>
            <button
              className='more'
              onClick={this.getPasswords}>
              Try Again?
            </button>
          </div>
        )}
      </div>
    );
  }
}

export default App;
And while we are add it, just add some styling in /client/src/app.css to make our app look pretty:
.App {
  text-align: center;
  font-family: 'Courier New', monospace;
  width: 100%;
}

h1 {
  font-weight: normal;
  font-size: 42px;
}

.passwords {
  list-style: none;
  padding: 0;
  font-size: 32px;
  margin-bottom: 2em;
}

.more {
  font-size: 32px;
  font-family: 'Courier New', monospace;
  border: 2px solid #000;
  background-color: #fff;
  padding: 10px 25px;
}
.more:hover {
  background-color: #FDD836;
}
.more:active {
  background-color: #FFEFA9;
}
When you restart your app now (inside the client director), you will see our Password Generator in all it's glory on localhost:3000.
Concurrently
Our React app (on Port 3000) is already proxying to our Express App (on Port 5000). But we would have to use two terminals to run both apps at once - which is something you can try now, if you like. Our React app is already up. Now open a second terminal inside the top-level directory and npm start the express app. When you open your browser on Port 5000, you will see our app!
This setup is nice, because it allows you to edit your app and have it hot-reloading inside your browser!
But we want to have this dev-environment run with a single command. As well as have our app decide whether to serve directly from the React App or look for a static build instead, based on the NODE_ENV (Production or Development). This is where Concurrently comes to the rescue. We already explained how this works here - so we don't have to go into too much details.
We first have to install the package on the top-level directory:
npm install --save-dev concurrently
Then add npm start scripts to the top-level package.json file:
'scripts': {
  'start-dev': 'concurrently \'npm run server\' \'npm run client\'',
  'server': 'node index.js',
  'client': 'node start-client.js',
  'start': 'node index.js'
},
And add the start-client.js file to start our React app from the top-level:
const args = [ 'start' ];
const opts = { stdio: 'inherit', cwd: 'client', shell: true };
require('child_process').spawn('npm', args, opts);
Now run npm start in the top level and you will see that both the Express App and React App will be started:
$ npm start

> random-pass-gen@1.0.0 start E:\random-pass-gen
> concurrently 'npm run server' 'npm run client'
...
Password generator listening on 5000
...
Starting the development server...
You can now view client in the browser.
http://localhost:3000/
Create Static Version of our React App
Make sure that you are inside the /client directory and execute:
npm run build
which is a command that was defined by create-react-app (react-scripts) inside /client/package.json. It will create a optimized static version of our app inside /client/build. This is the folder that we already told our Express App (see index.js in the top-level directory) would contain our static content. To test if the static content is served correctly by our Express App, just set your NODE_ENV to production - or just comment out the following inside /index.js:
if (process.env.NODE_ENV === 'production') {
  app.use(express.static('client/build'));
}
and use this statement instead:
app.use(express.static(path.join(__dirname, 'client/build')));
So by opening our Express App on port 5000 we will have our Express App serving our React App as static content from the /build folder:
npm run server
You can access it from your browser:
http://localhost:3000