Web3.js Blockchain Application

Following along a tutorial by Ayodele Samuel Adebayo.
Web3.js is a collection of libraries that allow you to interact with a local or remote Ethereum node using HTTP, IPC, or WebSocket. Web3.js can be used in the frontend or backend of an application to read data from the blockchain.
Blockchain authentication can be used to protect application with public data. It helps identify who is accessing the website and what data should be accessible for the logged-in user. This is the evolution coming from a Basic Authentication system with a username and password in web1 to OAuth system allowing users to use their social media logins to login to another system with web2 and on to web3 - a decentralized system that does not involve a third-party that holds your data for you. Every user has complete control over their personal data using a Decentralised Identity.
As a proof of work we can build an application that:
- Has a login section where the user can connect to their wallet.
- Has a dashboard section to display the logged-in user's wallet address and their Ethereum account balance.
Web3.js Library
The Web3 library can be installed as a Node module. But to get started it can also be linked in from a CDN:
<script src="https://cdnjs.cloudflare.com/ajax/libs/web3/1.8.1/web3.min.js" integrity="sha512-vtUOC0YIaNm/UutU7yfnwqnF9LOYnXtpHe2kwi1nvJNloeGQuncNBiEKP/3Ww3D62USAhbXGsnYpAYoiDsa+wA==" crossorigin="anonymous" referrerpolicy="no-referrer"></script>
Update: There is now a new alpha version 4 available.
<script src="https://cdnjs.cloudflare.com/ajax/libs/web3/4.0.1-alpha.1/web3.min.js" integrity="sha512-53NYeuuMZACjFqIMYEeKpIAURC/HYaAKFQ3InNgTmS45BX7qNOMmjgmE5Fvidj0+hHHC9ICYi5L4AAIhqG2fOQ==" crossorigin="anonymous" referrerpolicy="no-referrer"></script>
index.html
<!DOCTYPE html>
<html lang="en">
  <head>
    <meta charset="UTF-8" />
    <meta http-equiv="X-UA-Compatible" content="IE=edge" />
    <meta name="viewport" content="width=device-width, initial-scale=1.0" />
    <script src="https://cdnjs.cloudflare.com/ajax/libs/web3/4.0.1-alpha.1/web3.min.js"
            integrity="sha512-53NYeuuMZACjFqIMYEeKpIAURC/HYaAKFQ3InNgTmS45BX7qNOMmjgmE5Fvidj0+hHHC9ICYi5L4AAIhqG2fOQ=="
            crossorigin="anonymous"
            referrerpolicy="no-referrer"></script>
    <link rel="stylesheet" href="styles.css" />
    <title>Web3.js Login Test</title>
  </head>
  <body></body>
  <script src="./scripts.js"></script>
</html>
Ethereum Wallet
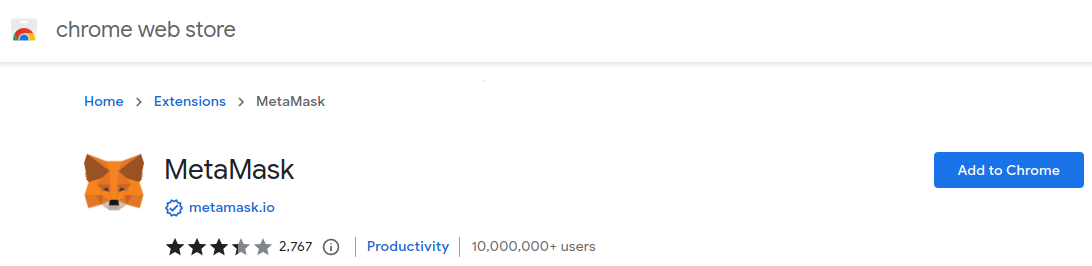
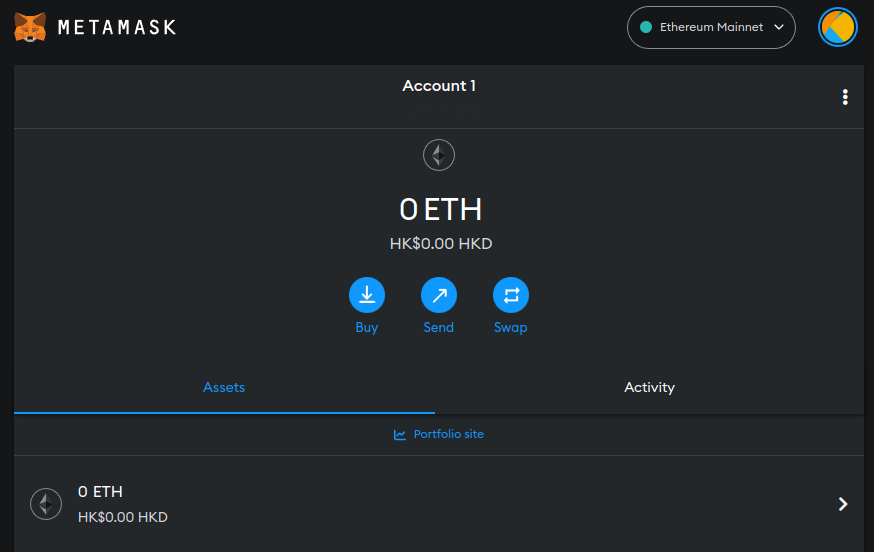
To be able to authenticate using the Ethereum Blockchain we need to setup a Ethereum Wallet on our device first. We can use Metamask to interact with our Ethereum account via a web browser - e.g. as a Chrome Plugin:
Create your account and generate your Master Key and keep it somewhere save:
Building the Application
Now that we have Web3.js and an Ethereum wallet installed we can start building the interface. Add the following blocks inside the Body tag.
The Login Screen
index.html
<section class="login-section">
    <button class="login-btn">🔓 Log in with Web3</button>
    <span class="instruction">
        Ensure to have an Ethereum based wallet installed i.e MetaMask
    </span>
</section>
The Dashboard
index.html
<!-- DASHBOARD SECTION -->
<section class="dashboard-section">
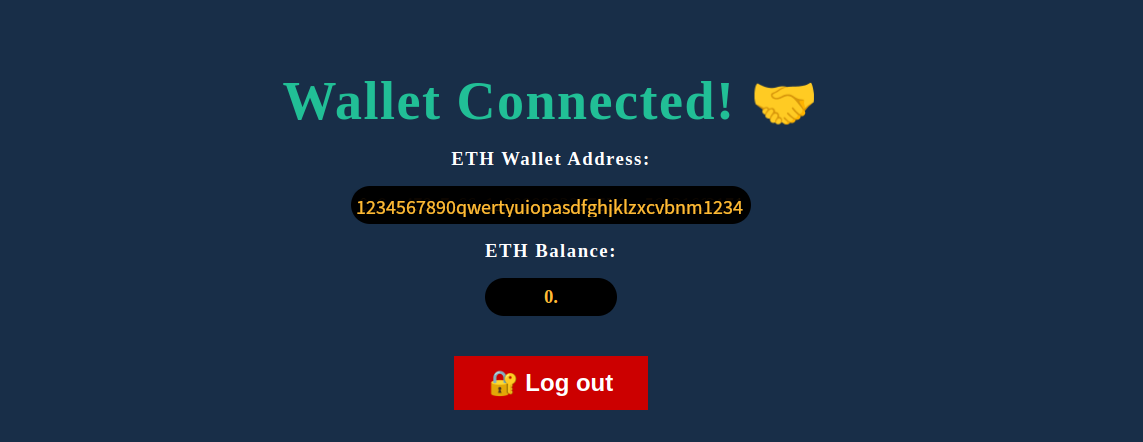
<h2 class="wallet-status">Wallet Connected! 🤝</h2>
<h3 class="wallet-address-heading">
ETH Wallet Address:
<span class="wallet-address"></span>
</h3>
<h3 class="wallet-balance-heading">
ETH Balance:
<span class="wallet-balance"></span>
</h3>
<button class="logout-btn">🔐 Log out</button>
</section>
Scripting
Do you even have an Ethereum Wallet?
On page load, check if the user has an Ethereum wallet installed. Else prompt the user with a message to install a wallet. If the user is already logged in simply load the dashboard:
scripts.js
// Global wallet address variable
window.userWalletAddress = null;

// Check if metamask is available and if user is logged in already
window.onload = async (event) => {

  // Check if ethereum extension is installed
  if (window.ethereum) {
    // Create instance
    window.web3 = new Web3(window.ethereum);
  } else {
    // Prompt to install
    alert("Please install MetaMask or any Ethereum Extension Wallet");
  }
  // Check if already logged in and update the global userWalletAddress variable
  window.userWalletAddress = window.localStorage.getItem("userWalletAddress");
  // Show dashboard
  showUserDashboard();
};
Login Button
When the Metamask extension is installed but the user is not yet logged in we need a login function. Bind the login button to this function:
scripts.js
// Web3 login function
const loginWithEth = async () => {
    // Check if there is global instance
    if (window.web3) {
      try {
        // Get the user's account
        const selectedAccount = await window.ethereum
          .request({
            // Prompt metamask to login
            method: "eth_requestAccounts",
          })
          .then((accounts) => accounts[0])
          .catch(() => {
            // Catch cancelled login
            throw Error("Please select an account");
          });

        // Set global wallet address variable
        window.userWalletAddress = selectedAccount;

        // Store in local storage => can be moved to db later
        window.localStorage.setItem("userWalletAddress", selectedAccount);

        // Show dashboard
        showUserDashboard();

      } catch (error) {
        alert(error);
      }
    } else {
      alert("Wallet not found");
    }
  };

  // Bind function to login button
  document.querySelector(".login-btn").addEventListener("click", loginWithEth);
Load Dashboard after Login
Check if a user is connected to their wallet address. If they are not connected, display the login section. Once connected redirect the user to the dashboard section:
// Show the user dashboard
const showUserDashboard = async () => {

    // If not logged in
    if (!window.userWalletAddress) {

      // Change the page title
      document.title = "Web3 Login";

      // Show the login
      document.querySelector(".login-section").style.display = "flex";

      // Hide dashboard
      document.querySelector(".dashboard-section").style.display = "none";
      return false;
    }

    // change the page title
    document.title = "Metamask Dashboard";

    // Hide the login
    document.querySelector(".login-section").style.display = "none";

    // Show dashboard
    document.querySelector(".dashboard-section").style.display = "flex";
};
Displaying Ethereum Stats
// Show wallet address from stored variable
const showUserWalletAddress = () => {
  const walletAddressEl = document.querySelector(".wallet-address")
  walletAddressEl.innerHTML = window.userWalletAddress
}

// Get wallet balance
const getWalletBalance = async () => {
    if (!window.userWalletAddress) {
      return false
    }
    const balance = await window.web3.eth.getBalance(window.userWalletAddress)
    // Convert the balance to ether
    document.querySelector(".wallet-balance").innerHTML = web3.utils.fromWei(
      balance,
      "ether"
    )
}
Web3 Logout
To logout we need to set the global userWalletAddress variable to null and remove the userWalletAddress from the browser localStorage:
// Web3 logout
const logout = () => {
  // Set the global userWalletAddress to null
  window.userWalletAddress = null

  // Remove wallet address from local storage
  window.localStorage.removeItem("userWalletAddress")

  // Show the user dashboard
  showUserDashboard()
}

// Bind function to logout button
document.querySelector(".logout-btn").addEventListener("click", logout)