Consul Service Mesh

Connect Services with Consul Service Mesh
In addition to providing IP addresses directly to services with the DNS interface or HTTP API, Consul can connect services to each other via sidecar proxies that you deploy locally with each service instance. This type of deployment, local sidecar proxies that control network traffic between service instances, is a service mesh.
Consul service mesh lets you secure and observe communication between your services without modifying their code. Instead Consul configures sidecar proxies to establish mutual TLS between your services and either allow or deny communication between them based on their registered names. Because sidecar proxies control all service-to-service traffic, they can gather metrics about them and export them to a third party aggregator like Prometheus.
Register a Service and Proxy with Consul
Begin by starting a service that is unaware of Consul. I am going to start a HTTP web services on port 80 that is serving a simple hello world html page (see previous tutorial).
Next, register the service with Consul by writing a new service definition, like you did in the last tutorial. This time you will include a Connect stanza in the registration that will register a sidecar proxy to handle traffic for this backend service instance.
Add a file called web.json to the consul.d directory with the following command:
nano /etc/consul.d/web.json
{
  "service": {
    "name": "web",
    "tags": [
      "frontend"
    ],
    "port": 80,
    "connect": {
      "sidecar_service": {}
    },
    "check": {
      "args": [
        "curl",
        "localhost"
      ],
      "interval": "10s"
    }
  }
}
Now run Consul so it will read the new configuration.
consul agent -dev -enable-script-checks -config-dir=/etc/consul.d
Consul does not automatically start the proxy process for you. This is because Consul Connect service mesh allows you to chose the proxy you'd like to use.
Consul comes with a L4 proxy for testing purposes, and first-class support for Envoy, which you should use for production deployments and layer 7 traffic management. You'll use the L4 proxy in this tutorial, because, unlike Envoy, it comes with Consul and doesn't require any extra installation. Start the proxy process in another terminal window using the consul connect proxy command, and specify which service instance and proxy registration it corresponds to.
consul connect proxy -sidecar-for web

==> Consul Connect proxy starting...
    Configuration mode: Agent API
        Sidecar for ID: web
              Proxy ID: web-sidecar-proxy

==> Log data will now stream in as it occurs:

    2020-08-30T14:25:30.585Z [INFO]  proxy: Proxy loaded config and ready to serve
    2020-08-30T14:25:30.585Z [INFO]  proxy: Parsed TLS identity: uri=spiffe://db65c1da-8cb1-4641-3a8a-1996e1dc9f1e.consul/ns/default/dc/dc1/svc/web roots=[pri-7ba54zn.consul.ca.db65c1da.consul]
    2020-08-30T14:25:30.585Z [INFO]  proxy: Starting listener: listener="public listener" bind_addr=0.0.0.0:21000
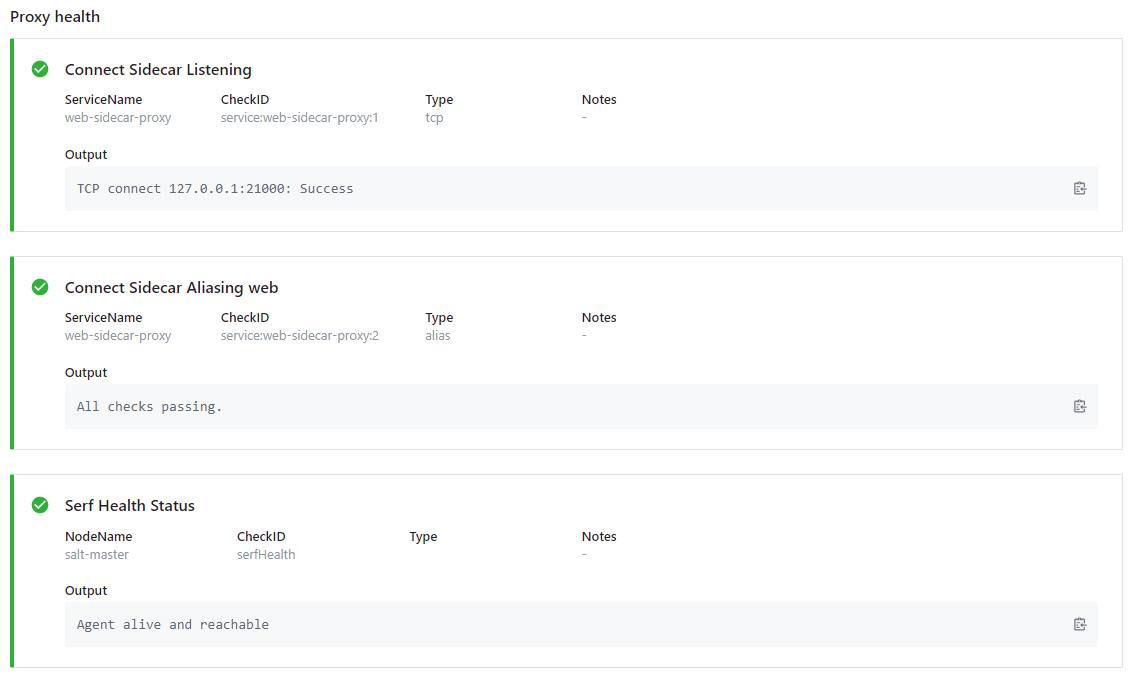
You can check the Consul webUI - all health checks should now be green: