Hashicorp Vault - Certificate Authority

Generating CA certificates through Hashicorp Vault user interface.
Generate root CA
I already activated and configured the PKI engine in a previous setup:
vault secrets enable pki
vault secrets tune -max-lease-ttl=87600h pki

vault write -field=certificate pki/root/generate/internal \
        common_name="consul.consul" \
        ttl=87600h > CA_cert.crt


vault write pki/config/urls \
        issuing_certificates="http://127.0.0.1:8200/v1/pki/ca" \
        crl_distribution_points="http://127.0.0.1:8200/v1/pki/crl"
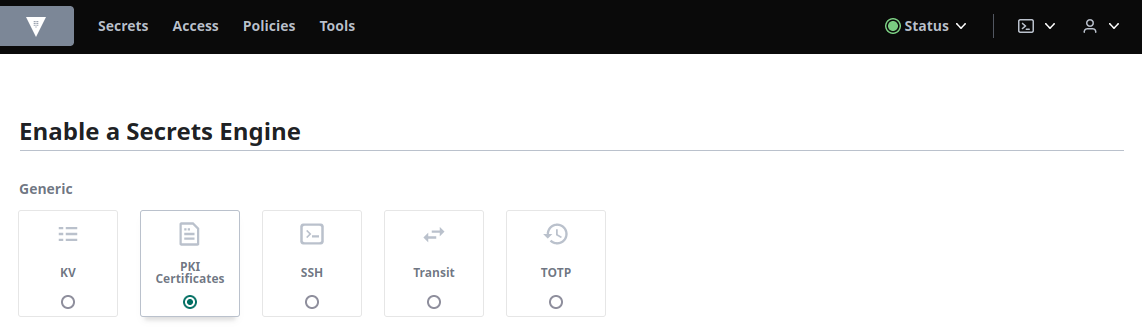
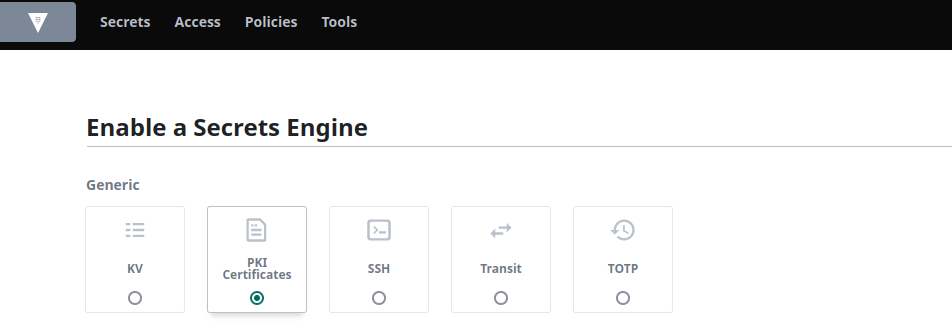
But let's build a new one using the UI now. Select Enable new engine and select PKI Certificates from the list, and then click Next:
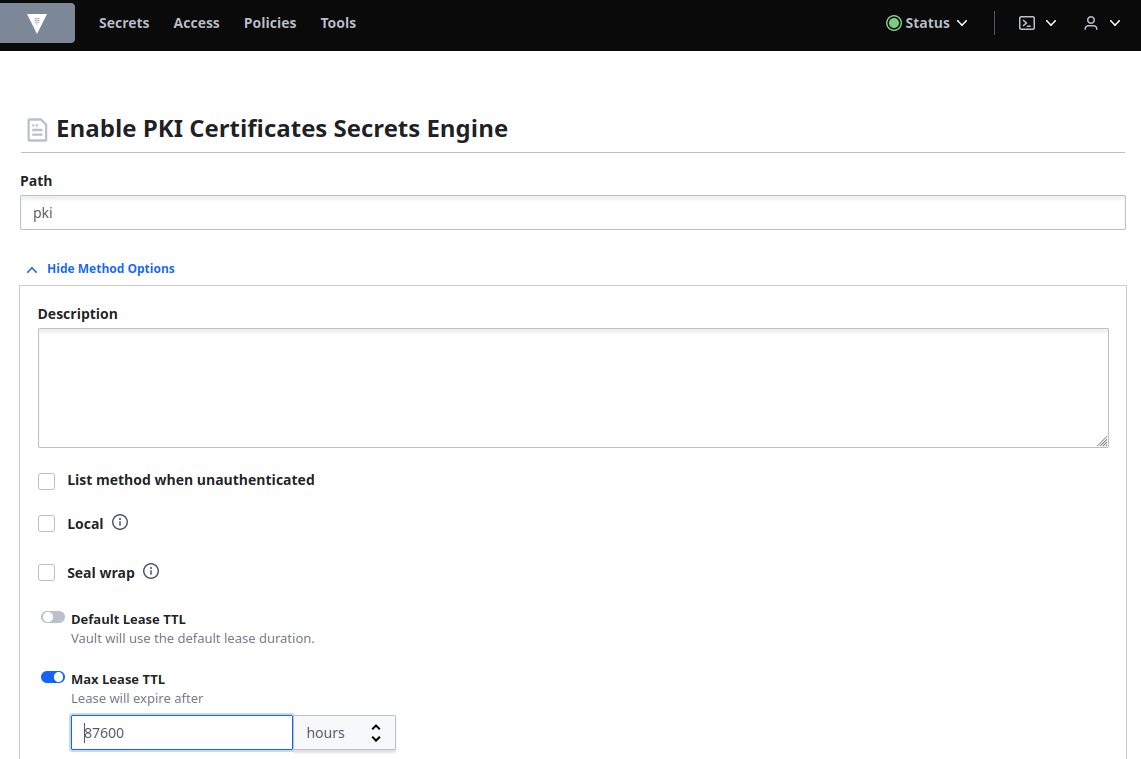
Expand Method Options, enable Max Lease TTL and set the value to 87600 hours and click Enable Engine to complete. This sets the path to be pki:
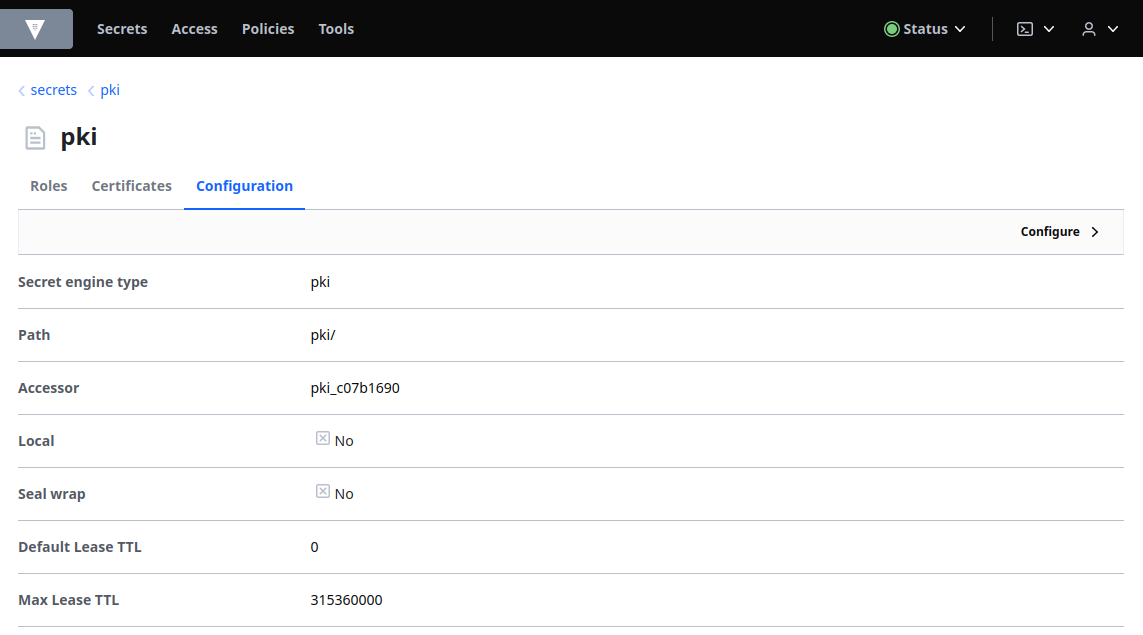
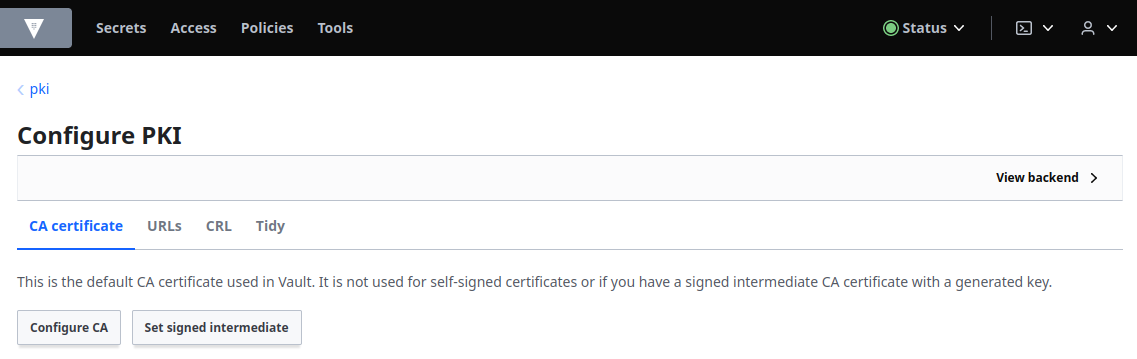
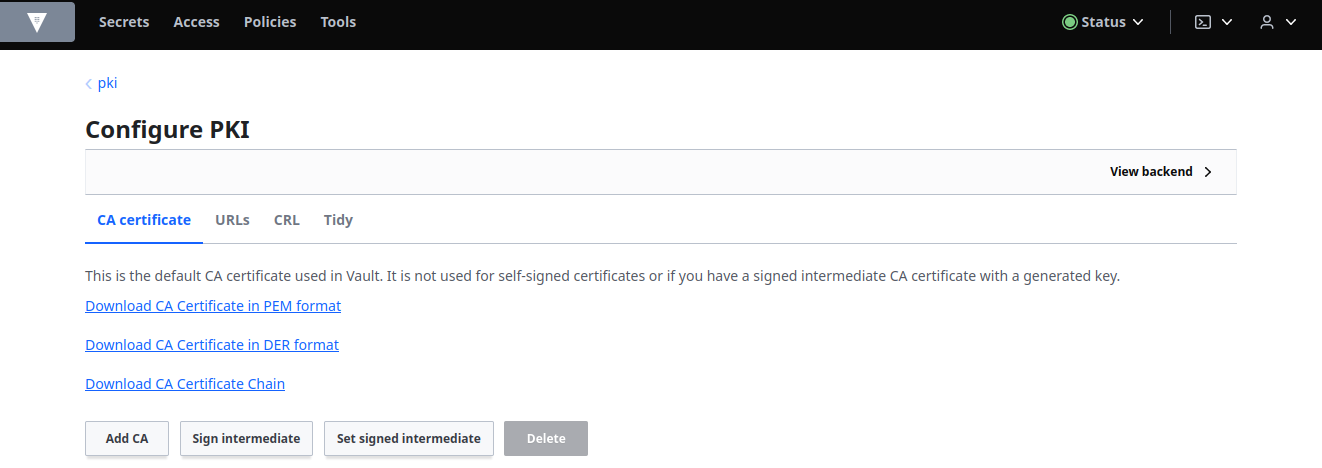
Select the Configuration tab and then Configure:
Click Configure CA:
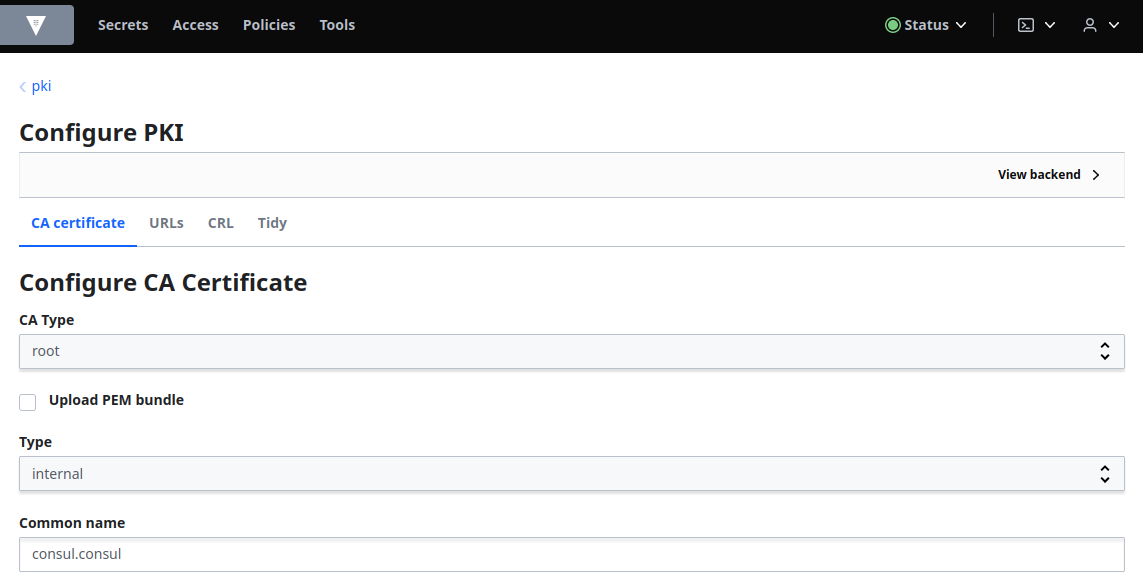
Ensure that the CA Type is set to root, that the Type is set to internal and enter consul.consul in the Common name field:
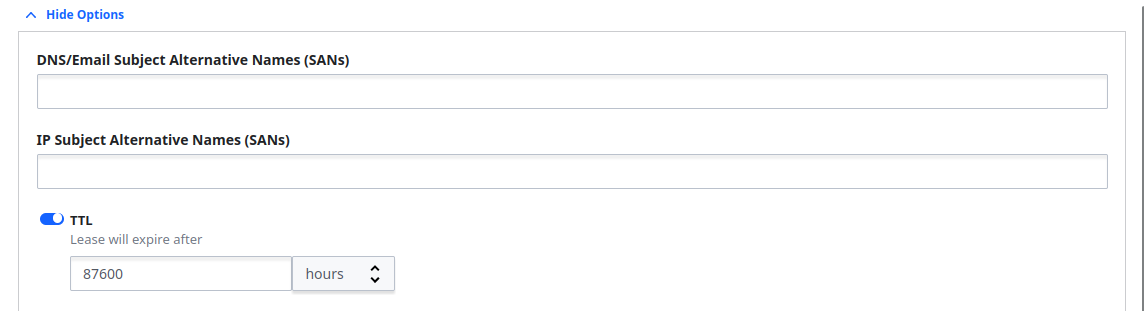
Expand Options and enable TTL and set the value to 87600 hours:
Click Copy Certificate and save it in a file named root_2023_ca.crt:

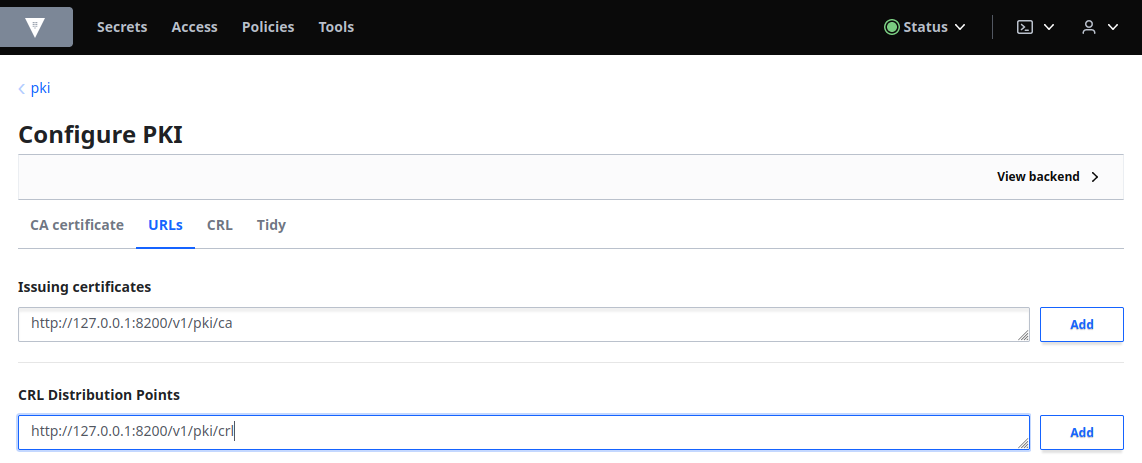
Click the URLs tab and:
- Enter
http://127.0.0.1:8200/v1/pki/cain the Issuing certificates field. - Enter
http://127.0.0.1:8200/v1/pki/crlin the CRL Distribution Points field.
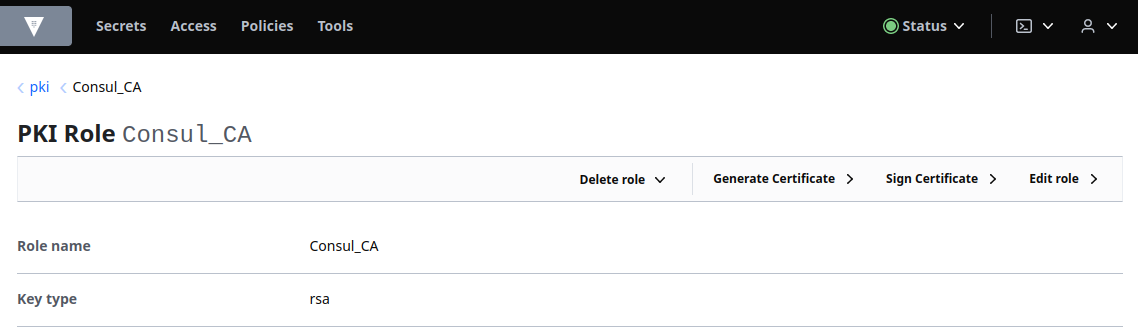
Back to the PKI overview page create a role to the root CA:

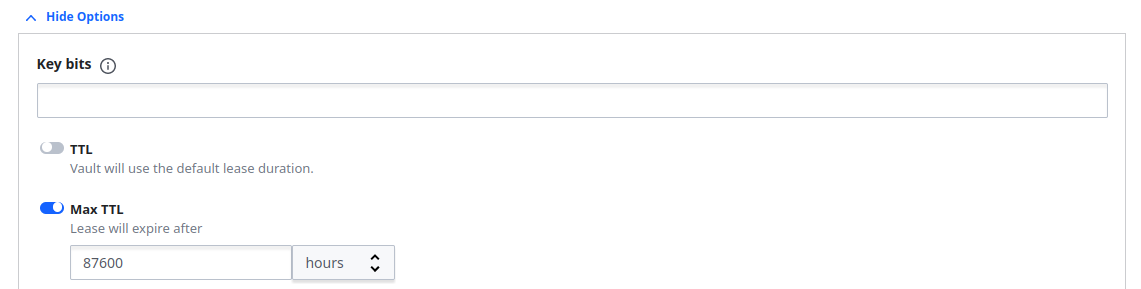
With an extended list of options:
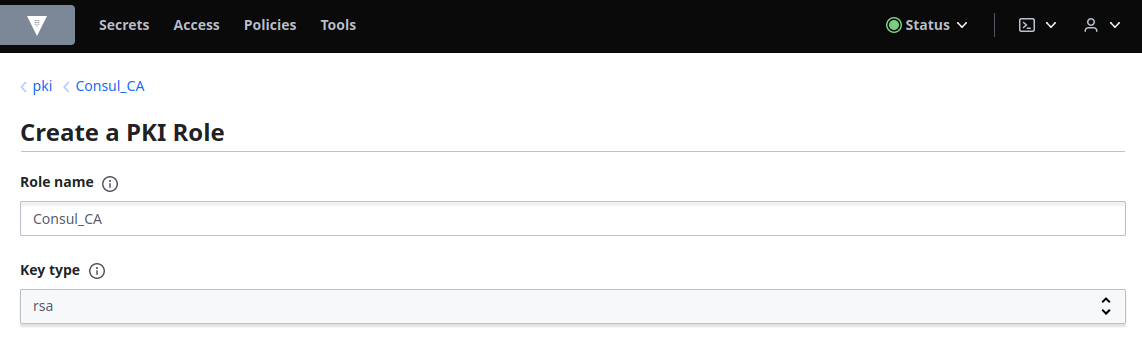
And set the TTL according to your needs:
Generate Intermediate CA
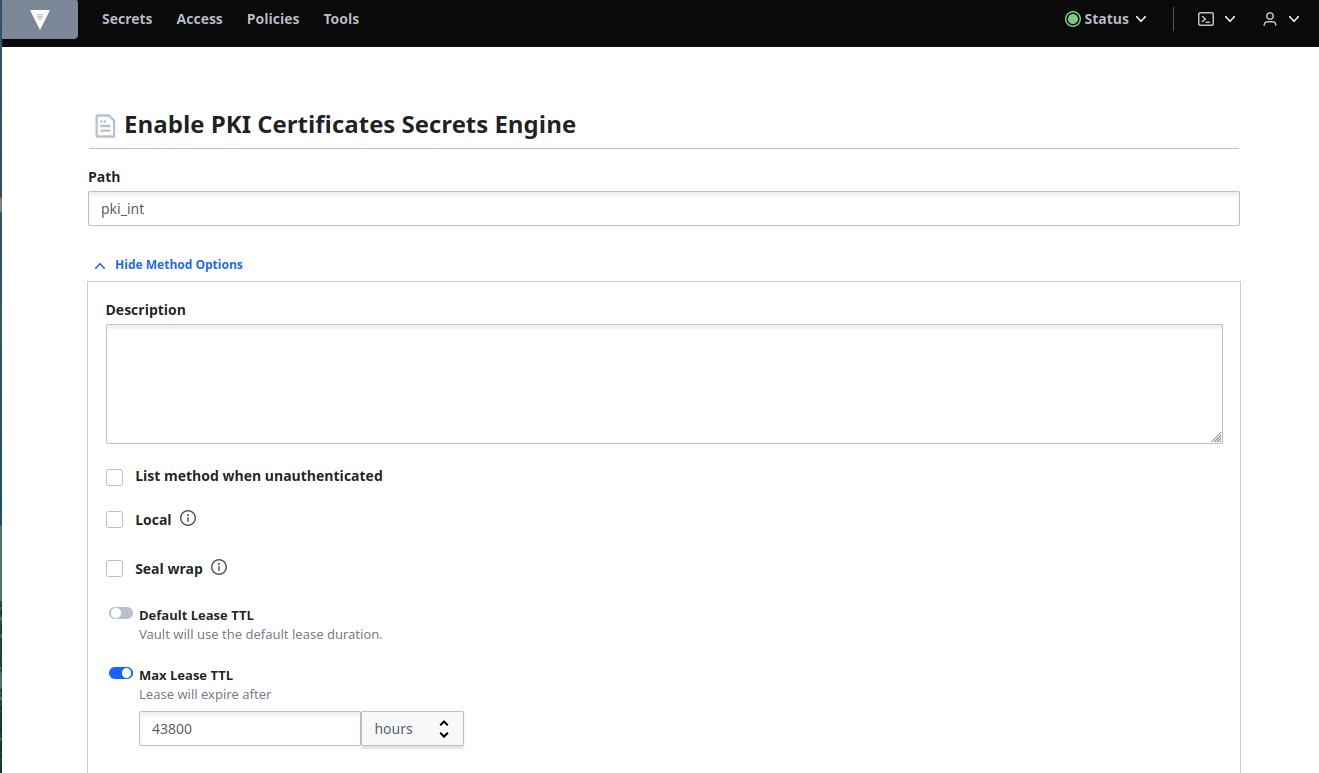
We can now create an intermediate CA using the root CA regenerated in the previous step. From Secrets, select Enable new engine and select the PKI certificate radio button:
Add the path pki_int, click More options to expand and set the Maximum lease TTL to 43800 hours and click Enable Engine:
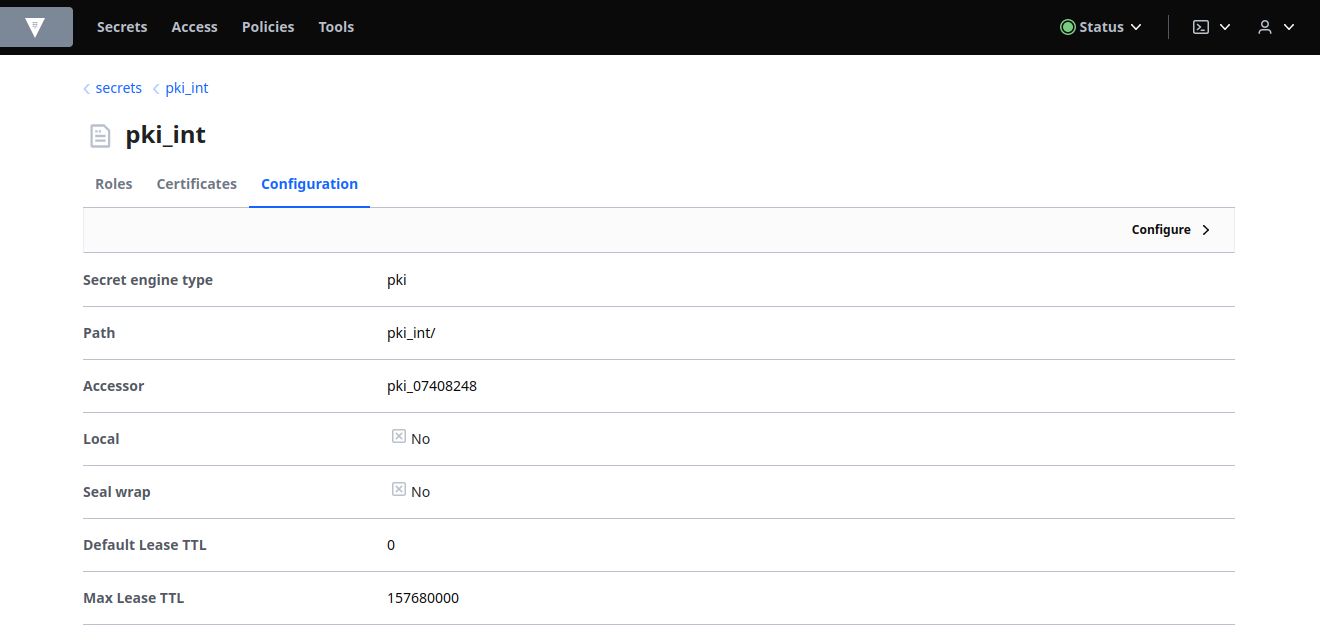
Select the Configuration tab and then Configure:
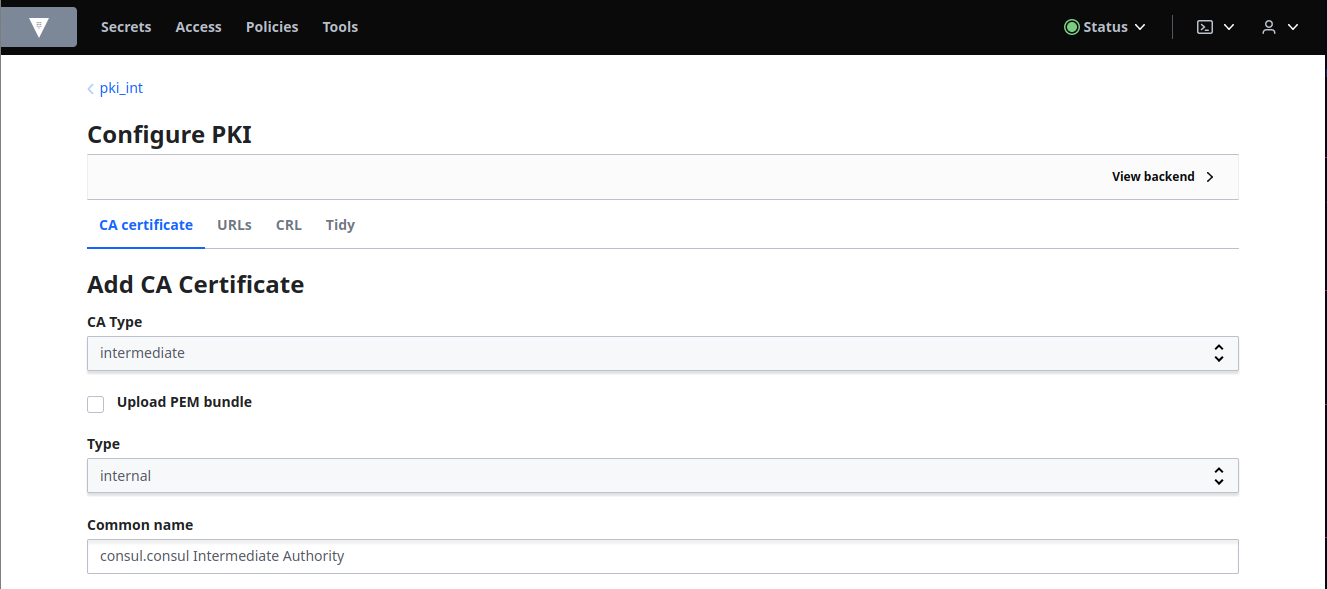
Click Add CA and select intermediate from CA Type drop-down list and add consul.consul Intermediate Authority in the Common name field:
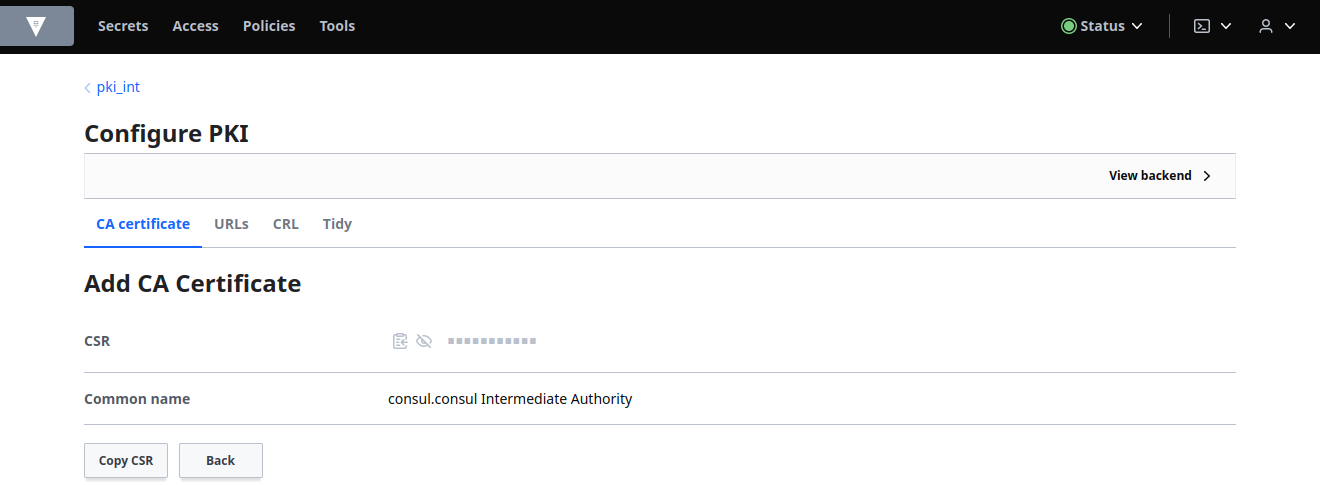
Click Copy CSR and save it in a file, consul_intermediate.csr.
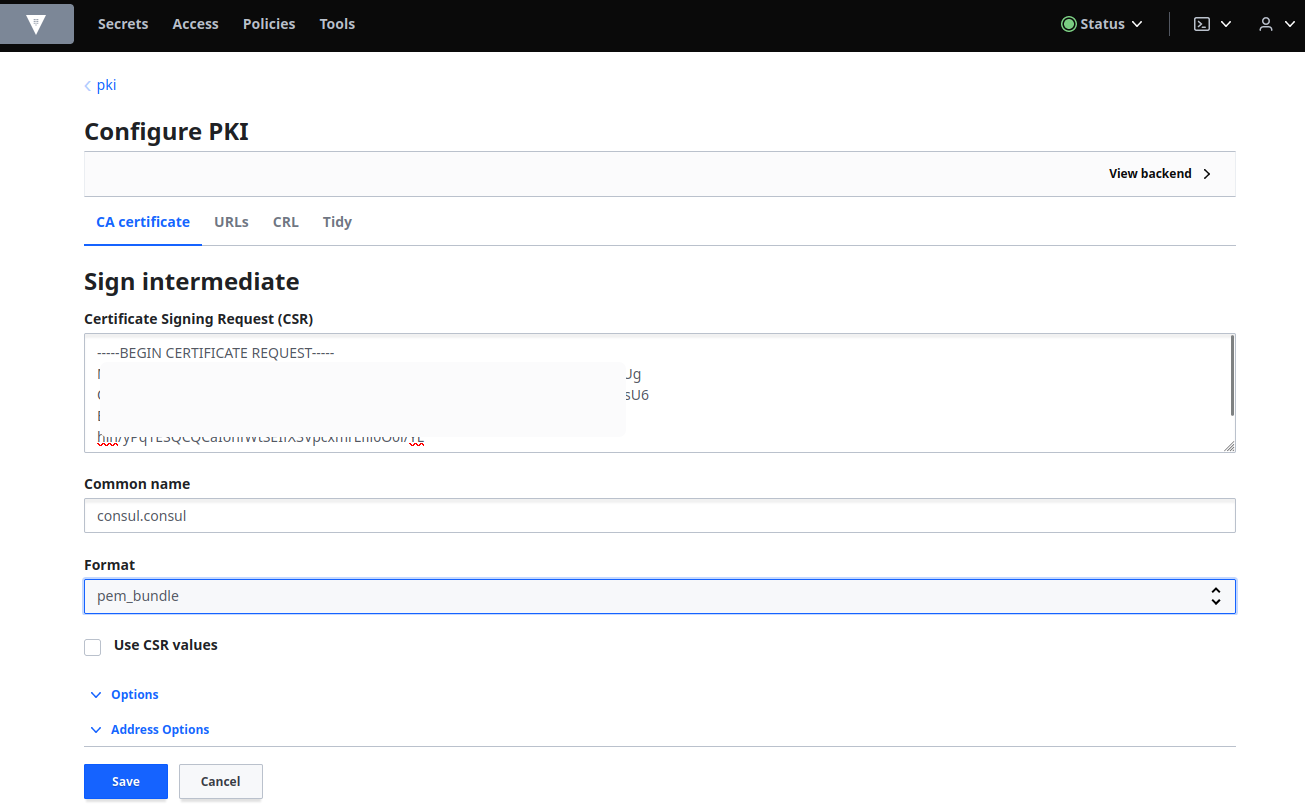
Return to the pki in the Secrets tab which is the root CA. Select the Configuration tab and then Configure. Click Sign intermediate:
Paste in the CSR you just copied into the Certificate Signing Request (CSR) field and enter consul.consul in the Common Name. Select pem_bundle from the Format drop-down list, and then click Save.:
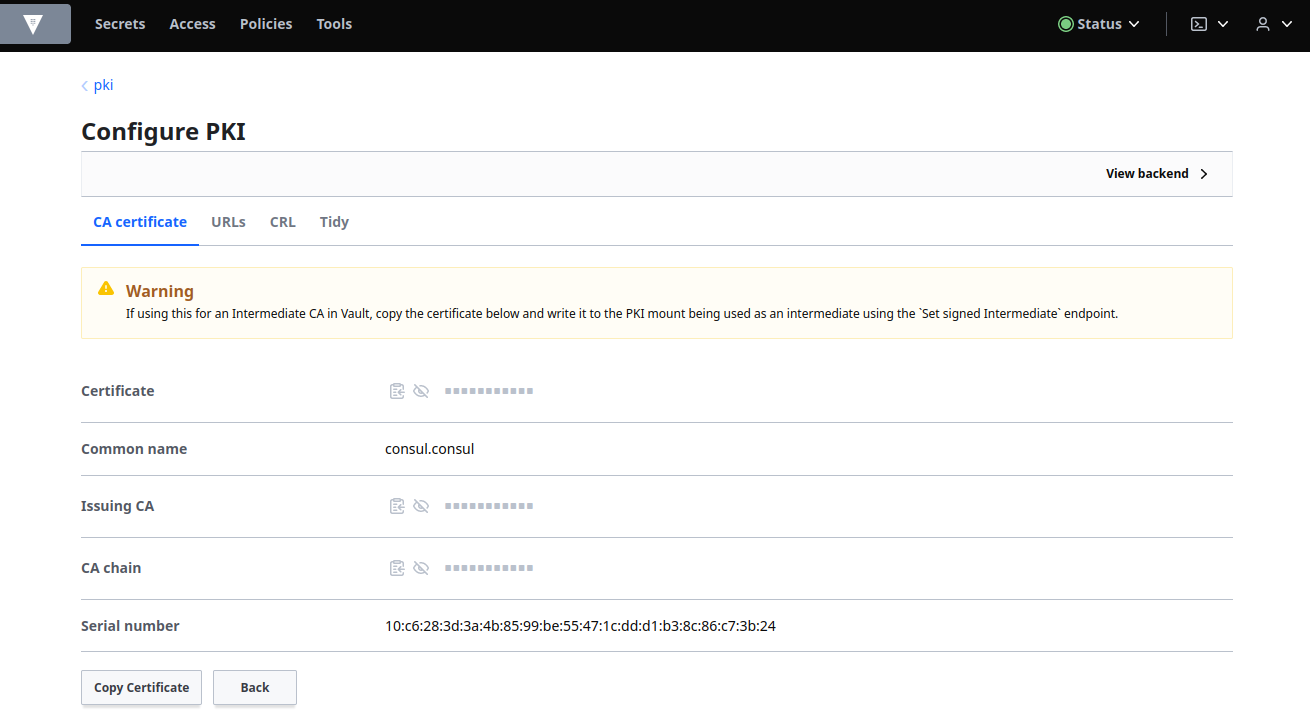
Click Copy Certificate and save the generated certificate in a file, intermediate.cert.pem:
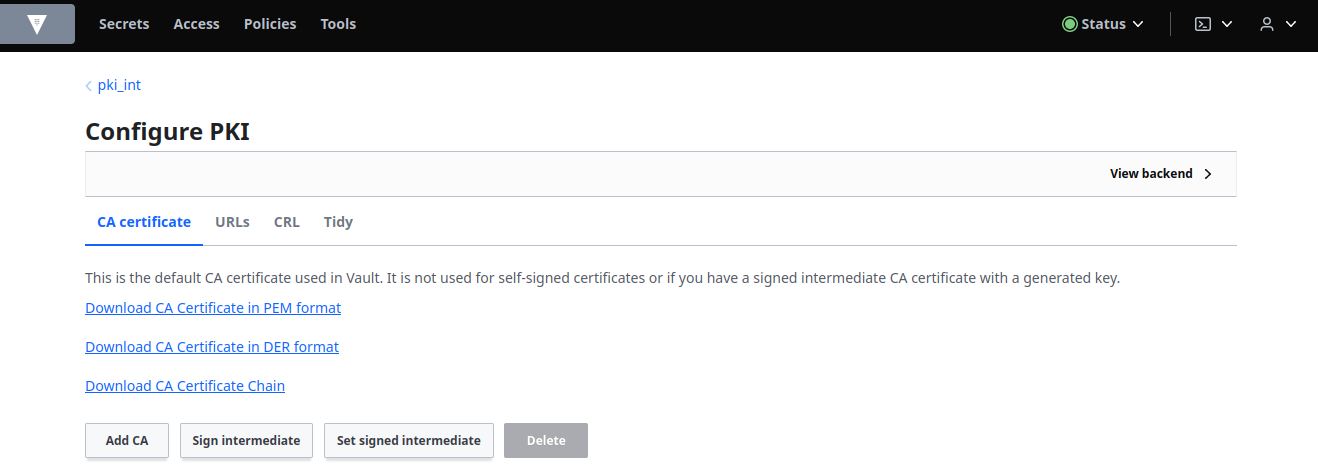
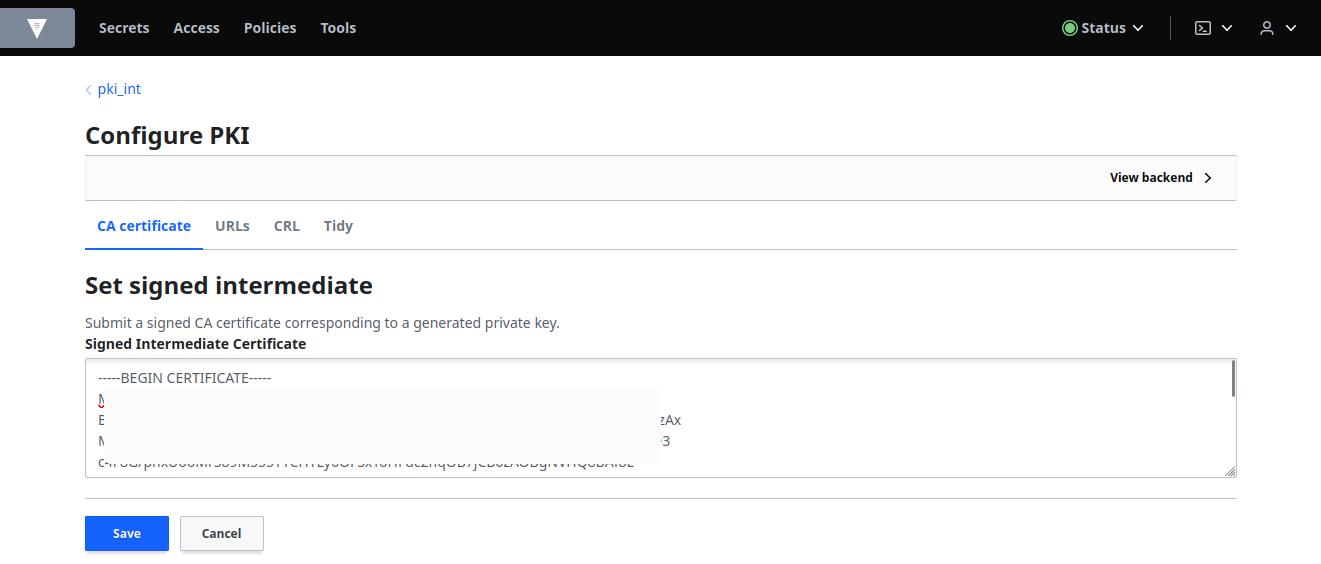
Select pki_int from the Secrets tab to return to the intermediate CA. Select the Configuration tab and then Configure. Click Set signed intermediate:
Paste in the certificate in the Signed Intermediate Certificate field and then click Save:
Create a Role
A role is a logical name that maps to a policy used to generate those credentials. It allows configuration parameters to control certificate common names, alternate names, the key uses that they are valid for, and more.
| Param | Description |
|---|---|
allowed_domains | Specifies the domains of the role (used with allow_bare_domains and allow-subdomains options) |
allow_bare_domains | Specifies if clients can request certificates matching the value of the actual domains themselves |
allow_subdomains | Specifies if clients can request certificates with CNs that are subdomains of the CNs allowed by the other role options (NOTE: This includes wildcard subdomains.) |
allow_glob_domains | Allows names specified in allowed_domains to contain glob patterns (e.g. ftp*.example.com) |
Click the terminal icon and use the following command to list issuers:
read -field=default pki_int/config/issuers
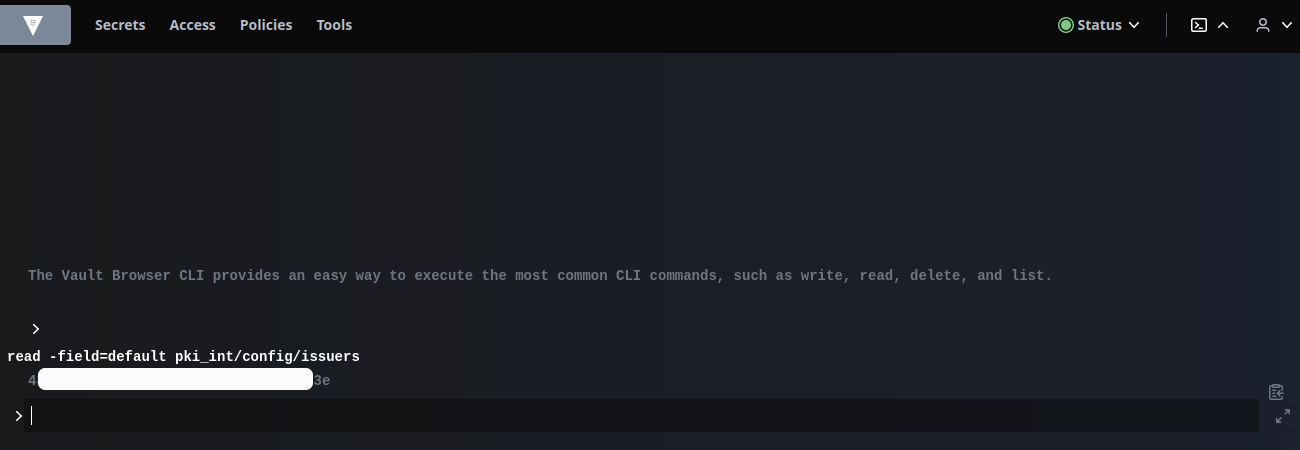
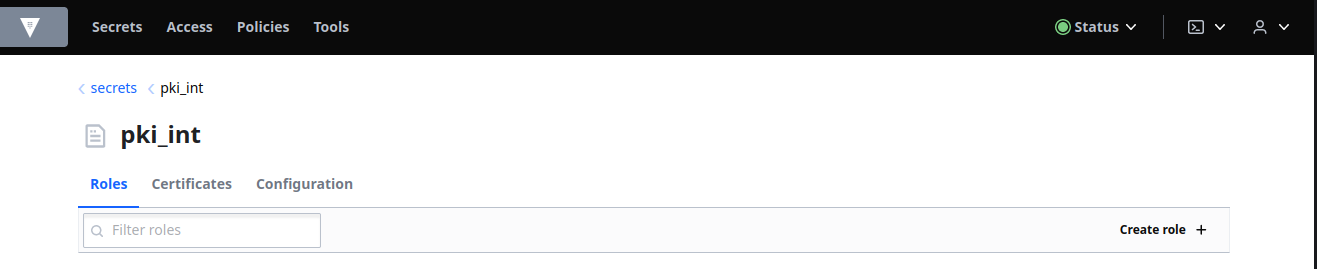
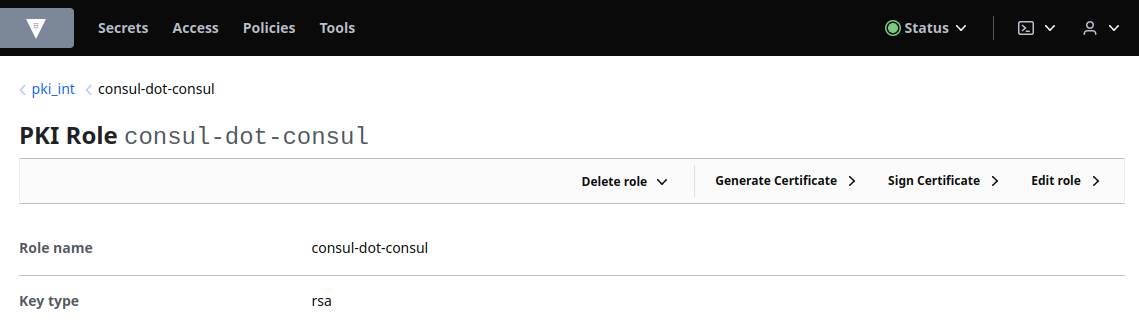
Copy the value from the above command. Click pki_int and then select Create role:
Enter consul-dot-consul in the Role name field and paste the value you copied in step 3 into the Issuer ref field:
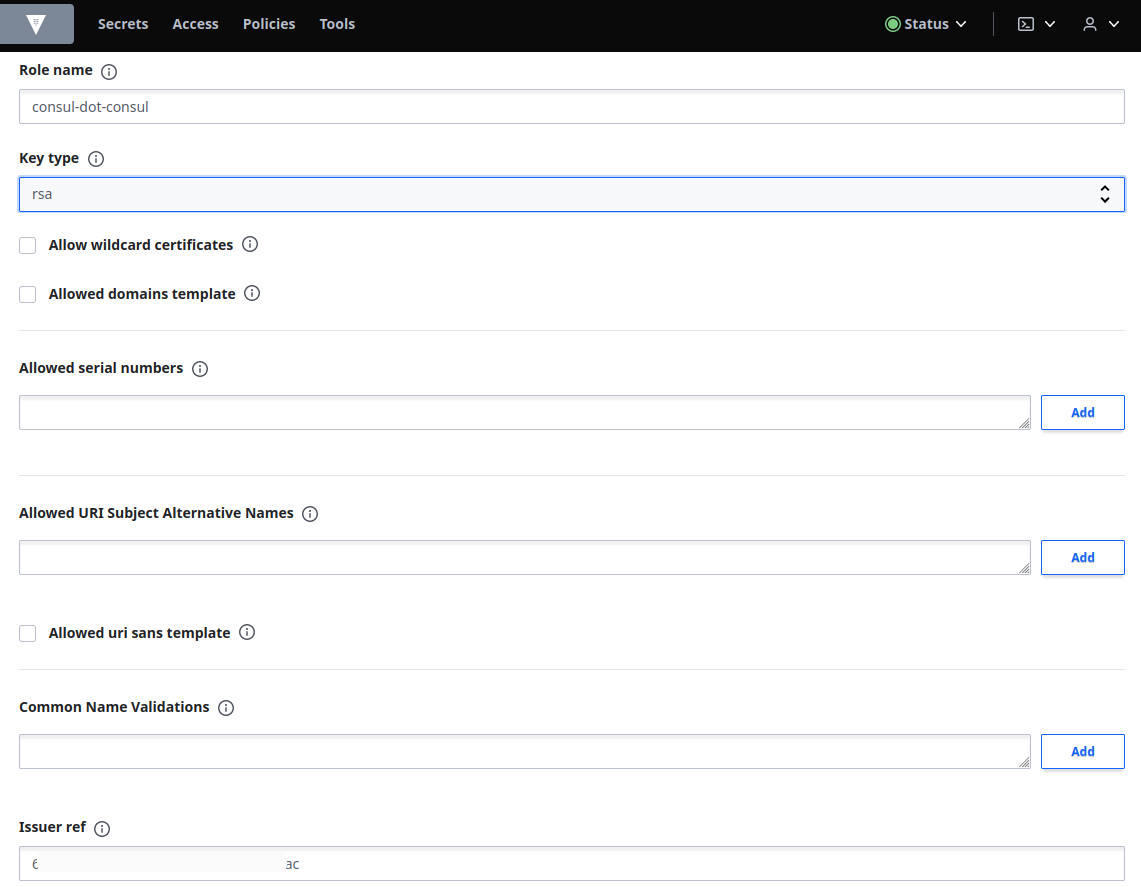
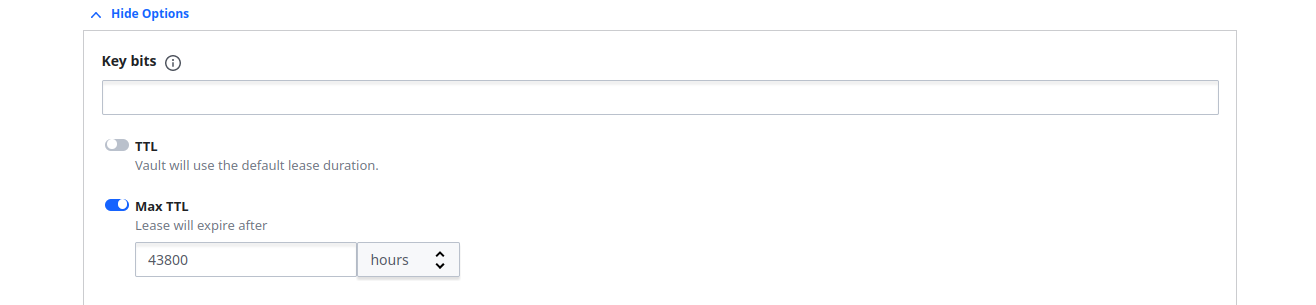
Expand Options and then set the Max TTL to 43800 hours (5 years):
Expand Domain Handling and then select the Allow subdomains check-box. Enter consul.consul in the Allowed domains field:

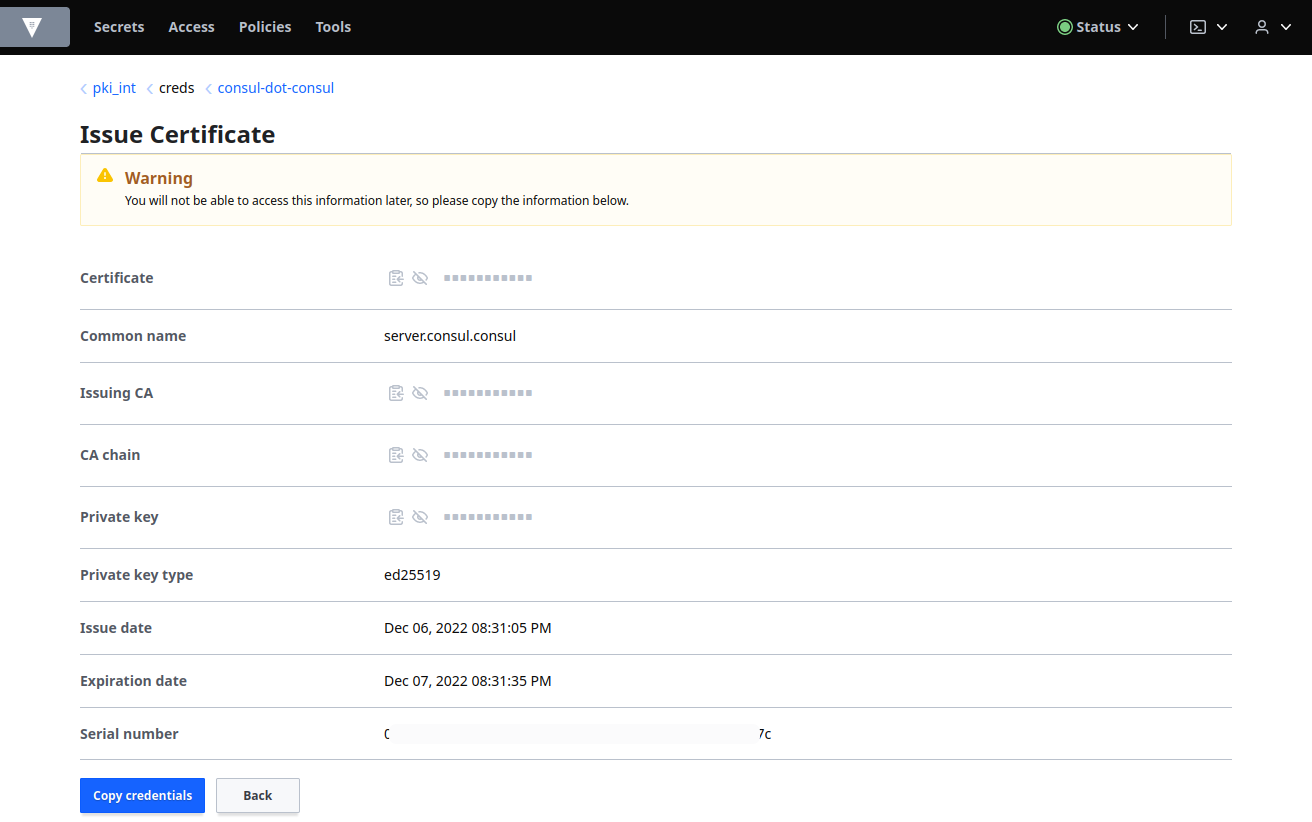
Request Certificates
Keep certificate lifetimes short to align with Vault's philosophy of short-lived secrets.
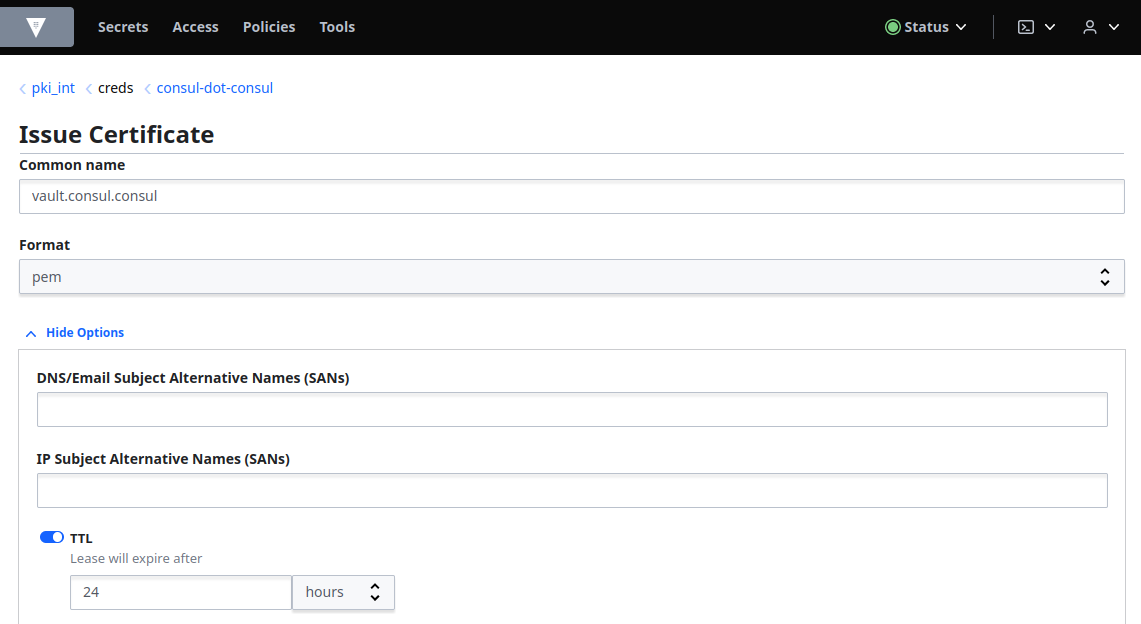
Select Secrets, pki_int from the Secrets Engines list and elect consul-dot-consul under Roles and enter vault.consul.consul in the Common name field. Expand Options and then set the TTL to 24 hours:
Click Copy credentials and save it to a file: