Nomad Access Control Lists

Enabling Nomad ACLs
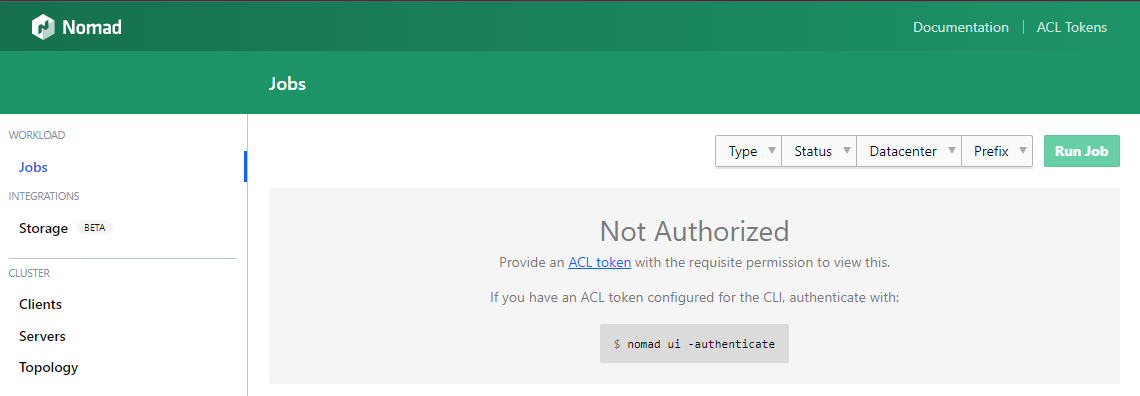
The acl stanza configures the Nomad agent to enable ACLs and tunes various ACL parameters. The APIs needed to manage policies and tokens are not enabled until ACLs are enabled. To begin, you need to enable the ACLs on the servers (master & minions):
nano /etc/nomad.d/nomad.hcl
data_dir = "/opt/nomad/data"
bind_addr = "0.0.0.0"
datacenter = "instaryun"

acl {
  enabled = true
}
ACL Bootstrap
Now restart the Nomad service on all servers (!) and bootstrap the ACLs from your master:
sudo service nomad restart
nomad acl bootstrap
If you forget to add it to one of your servers, you will get the following error message when trying to bootstrap the ACLs:
nomad acl bootstrap
Error bootstrapping: Unexpected response code: 400 (ACL support disabled)
The bootstrap command will print out your bootstrap token. Copy it's content and write it to file bootstrap.token in your home directory - you can make it unreadable to other users with chmod 600 bootstrap.token:
Accessor ID  = e02bd587-1f96-f60f-c79b-4c5beadae911
Secret ID    = 3fffa295-5f90-acb2-3d47-8ac7add477a6
Name         = Bootstrap Token
Type         = management
Global       = true
Policies     = n/a
Create Time  = 2021-08-29 13:41:08.988749307 +0000 UTC
Create Index = 5651
Modify Index = 5651
Trying a Nomad command will now give you a permission error:
nomad node status
Error querying node status: Unexpected response code: 403 (Permission denied)
Just like the TLS certs I will now add the Secret ID to my .bashrc, .bash_profile or whatever shell config you use (e.g. .zshrc):
## Nomad Environment Variables
export NOMAD_ADDR=https://localhost:4646
export NOMAD_CACERT=~/nomad_certs/nomad-ca.pem
export NOMAD_CLIENT_CERT=~/nomad_certs/cli.pem
export NOMAD_CLIENT_KEY=~/nomad_certs/cli-key.pem
export NOMAD_TOKEN="3fffa295-5f90-acb2-3d47-8ac7add477a6"
Logout and back in or source .zshrc and try again:
nomad node status

ID        DC         Name      Class   Drain  Eligibility  Status
3d32b138  instaryun  debian11  <none>  false  eligible     ready
And it works!
We can inspect the active token with:
nomad acl token self

Accessor ID  = e02bd587-1f96-f60f-c79b-4c5beadae911
Secret ID    = 3fffa295-5f90-acb2-3d47-8ac7add477a6
Name         = Bootstrap Token
Type         = management
Global       = true
Policies     = n/a
Create Time  = 2021-08-29 13:41:08.988749307 +0000 UTC
Create Index = 5651
Modify Index = 5651
Create Management Tokens
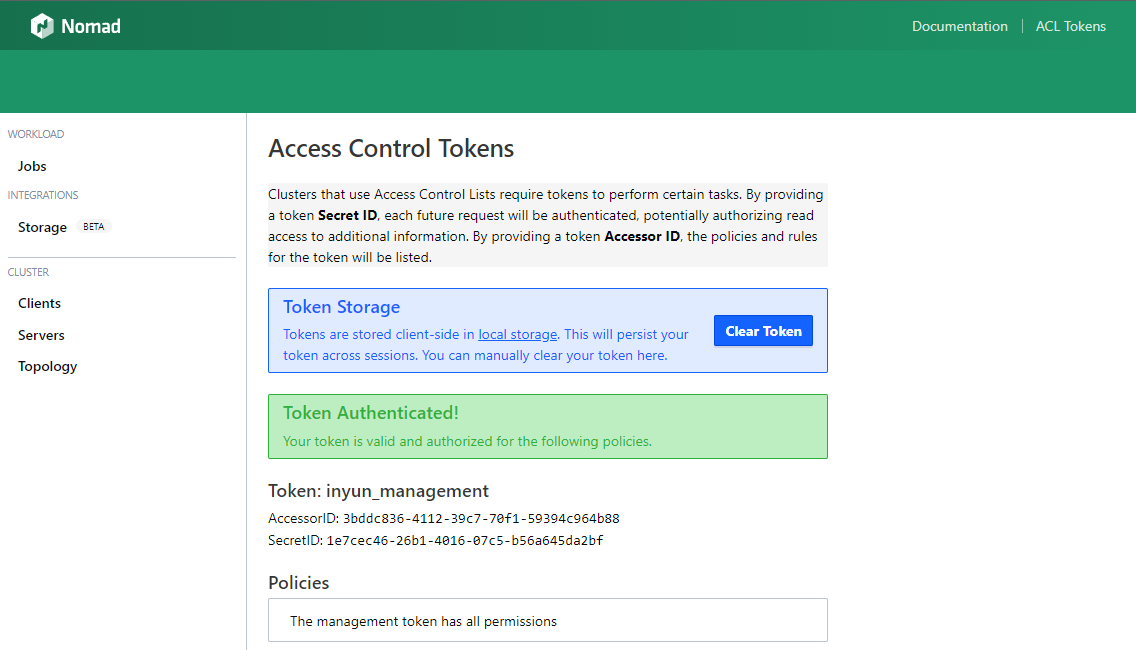
Once you have bootstrapped ACLs on the servers of the authoritative region, you can create the replication tokens for all of the non-authoritative regions in a multi-region configuration. These tokens must be management-type tokens since they are used to communicate with ACL API in the authoritative region. Let's create a token for our Nomad UI:

nomad acl token create -type="management" -global=true -name="inyun_management"

Accessor ID  = 3bddc836-4112-39c7-70f1-59394c964b88
Secret ID    = 1e7cec46-26b1-4016-07c5-b56a645da2bf
Name         = inyun_management
Type         = management
Global       = true
Policies     = n/a
Create Time  = 2021-08-29 14:15:14.118184124 +0000 UTC
Create Index = 5689
Modify Index = 5689
The token was successfully added:
nomad acl token list

Name              Type        Global  Accessor ID
inyun_management  management  true    3bddc836-4112-39c7-70f1-59394c964b88
Bootstrap Token   management  true    e02bd587-1f96-f60f-c79b-4c5beadae911
Now all we need to do, is to load the Secret ID into the Nomad UI. Note that it will be stored in the local storage and disappear when you clear your browser history:

Updating a Token
You can update the token options with the following commands:
nomad acl token update -type="client" {TOKEN_ACCESSOR_ID}
Nomad ACL Policy
An ACL policy contains one or more rules. Rules contain coarse-grained policy dispositions. Rules typically have several policy dispositions:
- read: allow the resource to be read but not modified
- write: allow the resource to be read and modified
- deny: do not allow the resource to be read or modified. Deny takes precedence when multiple policies are associated with a token.
- list: allow the resource to be listed but not inspected in detail. Applies only to plugins.
The coarse-grained policy dispositions are shorthand for the following fine- grained namespace capabilities:
| Policy | Capabilities |
|---|---|
| deny | deny |
| read | list-jobs, read-job, csi-list-volume, csi-read-volume, list-scaling-policies, read-scaling-policy, read-job-scaling |
| write | list-jobs, read-job, submit-job, dispatch-job, read-logs, read-fs, alloc-exec, alloc-lifecycle, csi-write-volume, csi-mount-volume, list-scaling-policies, read-scaling-policy, read-job-scaling, scale-job |
| scale | list-scaling-policies, read-scaling-policy, read-job-scaling, scale-job |
We can create a fine-grained profile that exactly matches a users demands - e.g. :
- Submit a Job:
submit-job - Inspect the job:
read-job - List running jobs:
list-job - Dispatch jobs:
dispatch-job - Check logs:
read-logs
namespace "default" {
  capabilities = ["submit-job","list-jobs","read-job", "dispatch-job", "read-logs"]
}
When both the policy shorthand and a capabilities list are provided, the capabilities are merged. The following will give the user to wich this policy is applied all read rights and additionally the 3 rights that are listed under the write policy:
namespace "default" {
  policy       = "read"
  capabilities = ["submit-job","dispatch-job", "read-logs"]
}
I will create the policy in my home directory on the master server:
nano ~/nomad_certs/developer_policy.hcl
To apply the policy:
nomad acl policy apply -description="Developer Policy" developer developer_policy.hcl
Successfully wrote "developer" ACL policy!
The policy is now available:
nomad acl policy list
Name       Description
developer  Developer Policy
We can now create a ACL token that uses the developer policy:
nomad acl token create -name="developer" -policy=developer -type=client > developer.token