OpenCV Crash Course Part I
Murtaza's Workshop - Robotics and AI: We are going learn everything required to get started with OpenCV in Python. We will be using Python since it is one of the most popular programming languages. And it has opened numerous job opportunities in various sectors. We will start from the installation process right up to creating exciting projects such as detecting colors , shapes humans and even vehicle number plates. So If you are a beginner don't worry this course is for you. We will skip all the boring theory stuff and focus on the practical implementation. So you can get the computer vision skill set you have always wanted in your CV. By the end of the course you will become familiar with the core principle of opencv and apply different techniques to solve real world problems using computer vision.
- Setup
- Read Images, Videos, Webcam
- Image Grayscale, Blur and Edge Detection
- Joining Images
- Image Cropping and Resizing
- Adding Shapes and Text
Setup
python --version
Python 3.9.7
pip --version
pip 21.3.1
mkdir /opt/Python/opencv-python
cd /opt/Python/opencv-python
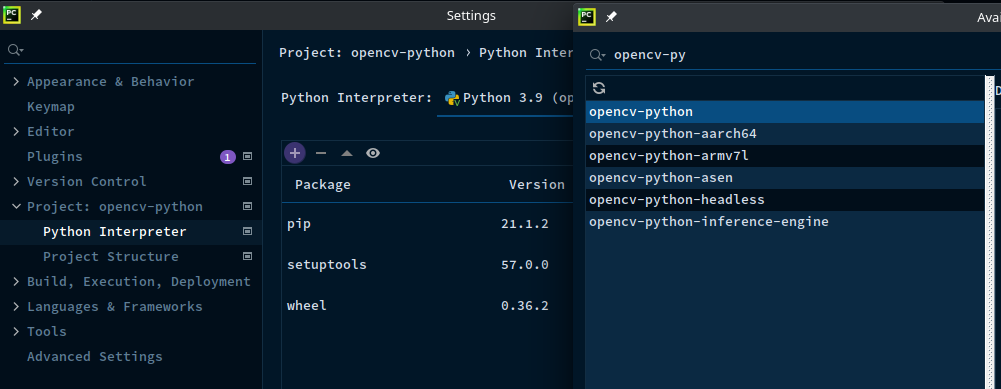
Open the project folder in PyCharm Community Edition and add opencv-python to your virtual environment - this will also add Numpy for us:
Read Images, Videos, Webcam
Load and Display an Image 5s
img = cv2.imread('resources/shenzhen-subway.jpg')
cv2.imshow("Output", img)
cv2.waitKey(5000)
Capture a video to variable and display until q key is pressed
cap = cv2.VideoCapture('resources/sz-office.mp4')

while True:
    success, vid = cap.read()
    cv2.imshow('Video', vid)
    if cv2.waitKey(1) & 0xFF == ord('q'):
        break
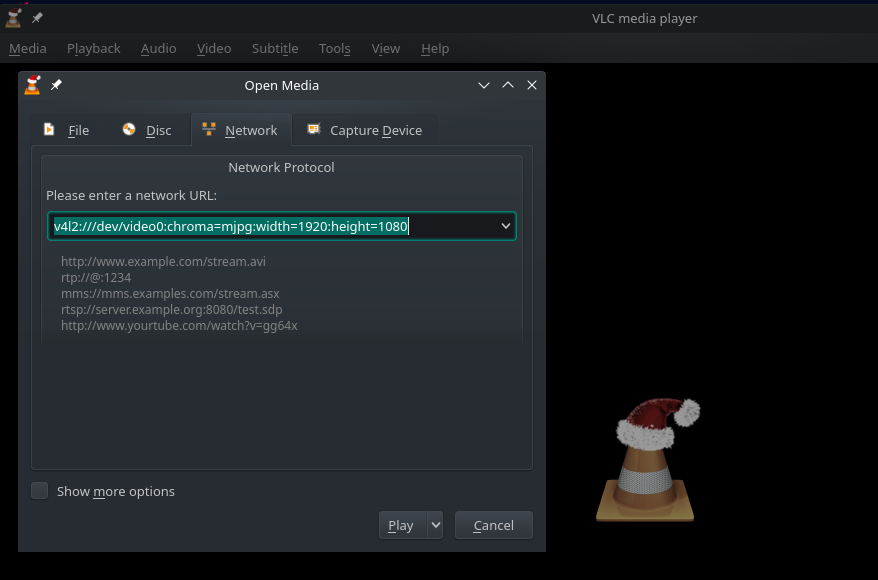
Webcams on Linux
Verify that your webcam is working in VLC - increment video source /dev/video0 if more than one camera is connected:
vlc v4l2:///dev/video0:chroma=mjpg:width=1920:height=1080

VLC media player 3.0.16 Vetinari (revision 3.0.13-8-g41878ff4f2)
[000056127761b7b0] main libvlc: Running vlc with the default interface. Use 'cvlc' to use vlc without interface.
[00007f2700006380] gl gl: Initialized libplacebo v3.120.3 (API v120)
[00007f2700006380] glconv_vaapi_x11 gl error: vaCreateSurfaces: attribute not supported
[00007f270809e7e0] main video output error: video output creation failed
[00007f27040096c0] main decoder error: failed to create video output
[00007f2700498530] gl gl: Initialized libplacebo v3.120.3 (API v120)
QObject::~QObject: Timers cannot be stopped from another thread
cap = cv2.VideoCapture(0) #Capture video source zero `/dev/video0`
cap.set(3, 1920)
cap.set(4, 1080)

while True:
    success, vid = cap.read()
    cv2.imshow('Video', vid)
    if cv2.waitKey(1) & 0xFF == ord('q'):
        break
For reference, the first argument in the cap.set() command refers to the enumeration of the camera properties, listed below:
| 0 | CV_CAP_PROP_POS_MSEC Current position of the video file in milliseconds. |
| 1 | CV_CAP_PROP_POS_FRAMES 0-based index of the frame to be decoded/captured next. |
| 2 | CV_CAP_PROP_POS_AVI_RATIO Relative position of the video file |
| 3 | CV_CAP_PROP_FRAME_WIDTH Width of the frames in the video stream. |
| 4 | CV_CAP_PROP_FRAME_HEIGHT Height of the frames in the video stream. |
| 5 | CV_CAP_PROP_FPS Frame rate. |
| 6 | CV_CAP_PROP_FOURCC 4-character code of codec. |
| 7 | CV_CAP_PROP_FRAME_COUNT Number of frames in the video file. |
| 8 | CV_CAP_PROP_FORMAT Format of the Mat objects returned by retrieve() . |
| 9 | CV_CAP_PROP_MODE Backend-specific value indicating the current capture mode. |
| 10 | CV_CAP_PROP_BRIGHTNESS Brightness of the image (only for cameras). |
| 11 | CV_CAP_PROP_CONTRAST Contrast of the image (only for cameras). |
| 12 | CV_CAP_PROP_SATURATION Saturation of the image (only for cameras). |
| 13 | CV_CAP_PROP_HUE Hue of the image (only for cameras). |
| 14 | CV_CAP_PROP_GAIN Gain of the image (only for cameras). |
| 15 | CV_CAP_PROP_EXPOSURE Exposure (only for cameras). |
| 16 | CV_CAP_PROP_CONVERT_RGB Boolean flags indicating whether images should be converted to RGB. |
| 17 | CV_CAP_PROP_WHITE_BALANCE Currently unsupported |
| 18 | CV_CAP_PROP_RECTIFICATION Rectification flag for stereo cameras |
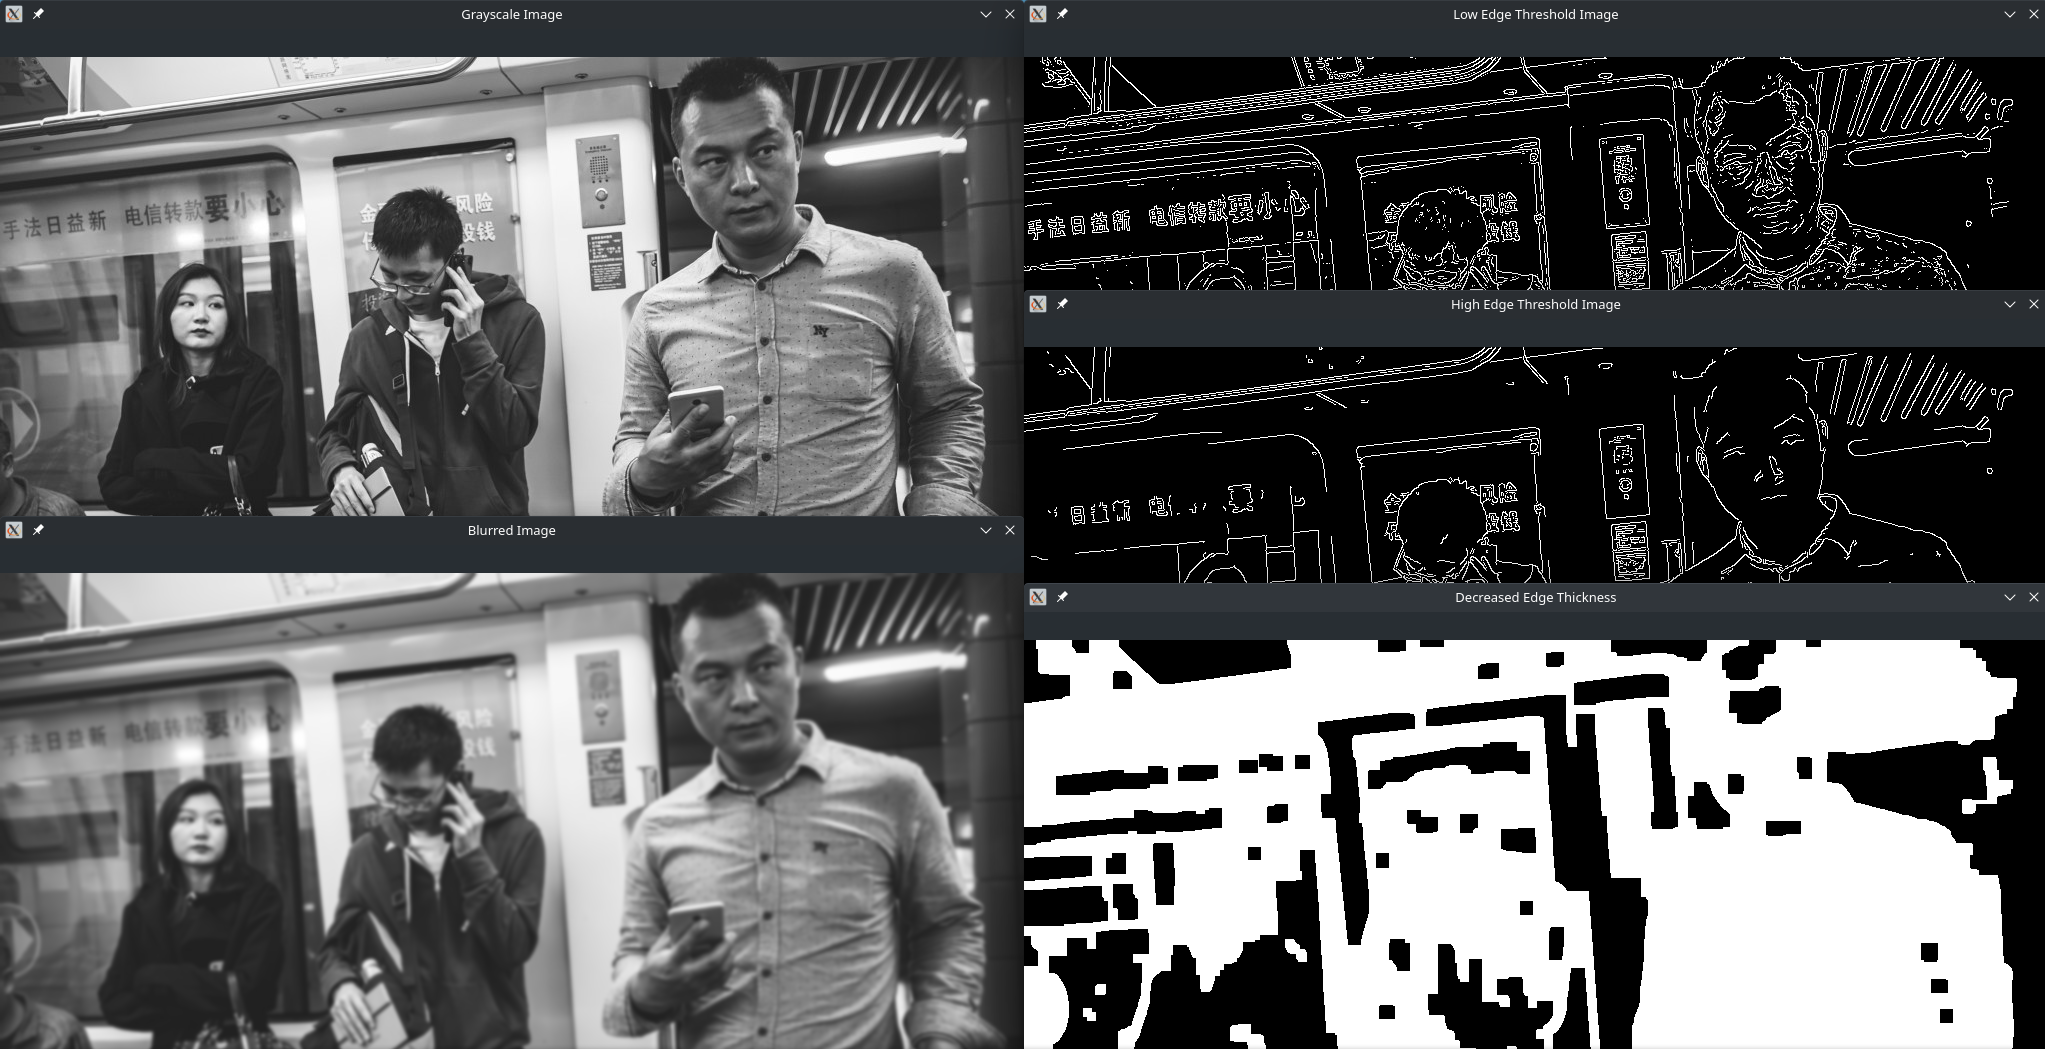
Image Grayscale, Blur and Edge Detection
img = cv2.imread('resources/shenzhen-subway.jpg')
kernel = np.ones((5, 5), np.uint8)

imgGray = cv2.cvtColor(img, cv2.COLOR_BGR2GRAY)
imgBlur = cv2.GaussianBlur(imgGray, (9, 9), 0)
imgLowEdge = cv2.Canny(img, 100, 100)
imgHighEdge = cv2.Canny(img, 200, 300)
imgDilation = cv2.dilate(imgLowEdge, kernel, iterations=5)
imgEroded = cv2.erode(imgDilation, kernel, iterations=3)

cv2.imshow("Grayscale Image", imgGray)
cv2.imshow("Blurred Image", imgBlur)
cv2.imshow("Low Edge Threshold Image", imgLowEdge)
cv2.imshow("High Edge Threshold Image", imgHighEdge)
cv2.imshow("Increased Edge Thickness", imgDilation)
cv2.imshow("Decreased Edge Thickness", imgEroded)
cv2.waitKey(5000)
Joining Images
The image output above can become a little bit messy. But Numpy offers a solution to stack images either horizontally or vertically:
img = cv2.imread('resources/shenzhen-subway.jpg')
kernel = np.ones((5, 5), np.uint8)

imgGray = cv2.cvtColor(img, cv2.COLOR_BGR2GRAY)
imgBlur = cv2.GaussianBlur(imgGray, (9, 9), 0)
imgLowEdge = cv2.Canny(img, 100, 100)
imgHighEdge = cv2.Canny(img, 200, 300)
imgDilation = cv2.dilate(imgLowEdge, kernel, iterations=5)
imgEroded = cv2.erode(imgDilation, kernel, iterations=3)

imgVer = np.vstack(( imgGray, imgBlur))
imgHor = np.hstack((imgLowEdge, imgHighEdge, imgDilation, imgEroded))

cv2.imshow("Posterized Image", imgHor)
cv2.imshow("Grayscale Image", imgVer)
cv2.waitKey(5000)
Horizontal Stack

Vertical Stack

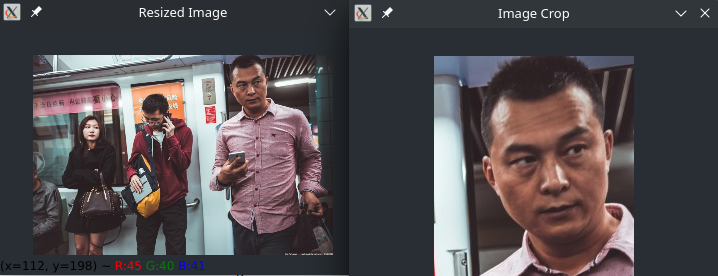
Image Cropping and Resizing
Get the image dimensions:
img = cv2.imread('resources/shenzhen-subway.jpg')

print(img.shape)
The output is: (683, 1024, 3) - which stands for height: 683pixel, width: 1024pixel and 3 colour channels (BGR). We can now use the OpenCV resize function to change the dimensions to 300x200:
img = cv2.imread('resources/shenzhen-subway.jpg')
print(img.shape)
imgResize = cv2.resize(img, (300, 200))
print(imgResize.shape)

cv2.imshow("Resized Image", imgResize)
cv2.waitKey(5000)
Running the script gives us the dimensions:
python chapter_01.py

(683, 1024, 3)
(200, 300, 3)
Adding Shapes and Text
img = np.zeros((512, 512, 3), np.uint8) # 512x512 black image background with 3 colour channels BGR
imageDim = str(img.shape[0]) + ' : ' + str(img.shape[1]) # String of image dimensions

img[:] = 255, 0, 0 # Colour entire image blue
img[112:400, 112:400] = 0, 255, 0 # Add a green square in the middle

# cv2.line(img, (0, 0), (512, 512), (0, 0, 255), 3) # Draw a line from the top left to bottom right
# cv2.line(img, (512, 0), (0, 512), (0, 0, 255), 3) # Draw a line from the top right to bottom left
# Do the same thing - but for an image of unknown dimensions
# with img.shape[1]=width and img.shape[0]=height
cv2.line(img, (0, 0), (img.shape[1], img.shape[0]), (0, 0, 255), 3)
cv2.line(img, (img.shape[1], 0), (0, img.shape[0]), (0, 0, 255), 3)

cv2.rectangle(img, (3, 3), (509, 509), (0, 0, 255), 5) # Draw a rectangle around the image
cv2.rectangle(img, (212, 212), (300, 300), (0, 0, 255), cv2.FILLED) # Draw square in the middle

cv2.circle(img, (256, 256), 30, (0, 255, 255), cv2.FILLED) # Add a circle in the middle

cv2.putText(img, imageDim, (180, 70), cv2.QT_FONT_NORMAL, 1, (255, 255, 255), 1) # Print image dimensions

cv2.imshow("Image", img)
cv2.waitKey(5000)
