OpenCV Image Objects
Setup OpenCV
Create and activate a virtual work environment:
python -m venv .env
source .env/bin/activate
python -m pip install --upgrade pip
Add a file dependencies.txt with all project pip dependencies:
opencv-python
numpy
matplotlib
Install all dependencies with:
pip install -r dependencies.txt
Image Operations
Contour Detection
Contour in image is an outline on the objects present in the image. The significance of the objects depend on the requirement and threshold you choose.
import cv2
import numpy as np
from matplotlib import pyplot as plt

image = cv2.imread('resources/trafiko.jpg', cv2.IMREAD_UNCHANGED)
img_grayscale = cv2.cvtColor(image, cv2.COLOR_BGR2GRAY)

# Set binary tresholds
ret, img_threshold = cv2.threshold(img_grayscale, 127, 255, cv2.THRESH_BINARY)
cv2.imshow("Object Contours", img_threshold)

# Find contours
contours, _ = cv2.findContours(img_threshold, cv2.RETR_TREE, cv2.CHAIN_APPROX_SIMPLE)

# Create an empty image for contours
canvas = np.zeros(image.shape)

i = 0

for contour in contours:
    if i == 0:
        i = 1
        continue

    # For each of the contours detected, the shape of the contours is
    # approximated using approxPolyDP() function and the
    # contours are drawn in the image using drawContours() function
    approx = cv2.approxPolyDP(contour, 0.01*cv2.arcLength(contour, True), True)
    # Draw polygons on the empty image
    cv2.drawContours(canvas, [contour], 0, (0, 255, 0), 5)
    # Find center of found shapes
    M = cv2.moments(contour)
    if M['m00'] != 0.0:
        x = int(M['m10']/M['m00'])
        y = int(M['m01']/M['m00'])
    # Classifying shapes
    if len(approx) == 3:
       cv2.putText(canvas, 'Triangle', (x, y), cv2.QT_FONT_NORMAL, 0.6, (0, 255, 255), 2)
    elif len(approx) == 4:
       cv2.putText(canvas, 'Rectangle', (x, y), cv2.QT_FONT_NORMAL, 0.6, (255, 255, 255), 2)
    elif len(approx) == 6:
       cv2.putText(canvas, 'Hexagon', (x, y), cv2.QT_FONT_NORMAL, 0.6, (255, 0, 255), 2)
    elif 6 < len(approx) < 15:
       cv2.putText(canvas, 'Circle?', (x, y), cv2.QT_FONT_NORMAL, 0.6, (255, 255, 0), 2)

# Display results
cv2.imshow('Detected Shapes', canvas)
cv2.imwrite('processed/shapes.jpg', canvas)

cv2.waitKey(5000)
cv2.destroyAllWindows()

Bitwise Operation
To manipulating a given image or extract parts of it based on the requirement use of bitwise operators in OpenCV:
bitwise_and(source1_array, source2_array, destination_array, mask)
source1_arrayis the array corresponding to the first input image on which bitwise and operation is to be performed.source2_arrayis the array corresponding to the second input image on which bitwise and operation is to be performed.destination_arrayis the resulting array by performing bitwise operation on the array corresponding to the first input image and the array corresponding to the second input imagemaskis the mask operation to be performed on the resulting image and it is optional.
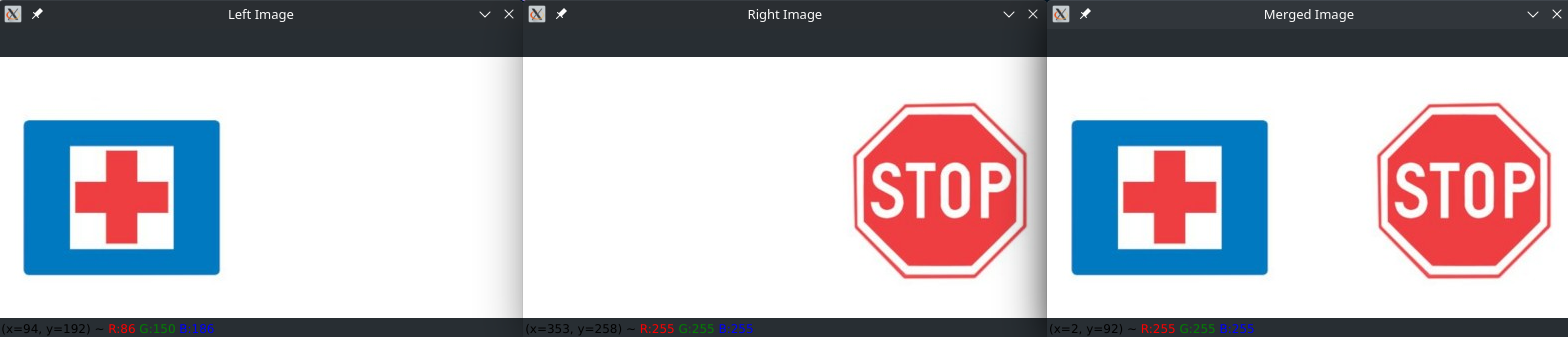
Merging Images
import cv2
import numpy as np

image_left = cv2.imread('resources/left.jpg')
image_right = cv2.imread('resources/right.jpg')

#using bitwise_and operation on the given two images
merged_image = cv2.bitwise_and(image_left, image_right, mask = None)
#displaying the merged image as the output on the screen
cv2.imshow('Left Image', image_left)
cv2.imshow('Right Image', image_right)
cv2.imshow('Merged Image', merged_image)
cv2.waitKey(0)
cv2.destroyAllWindows()
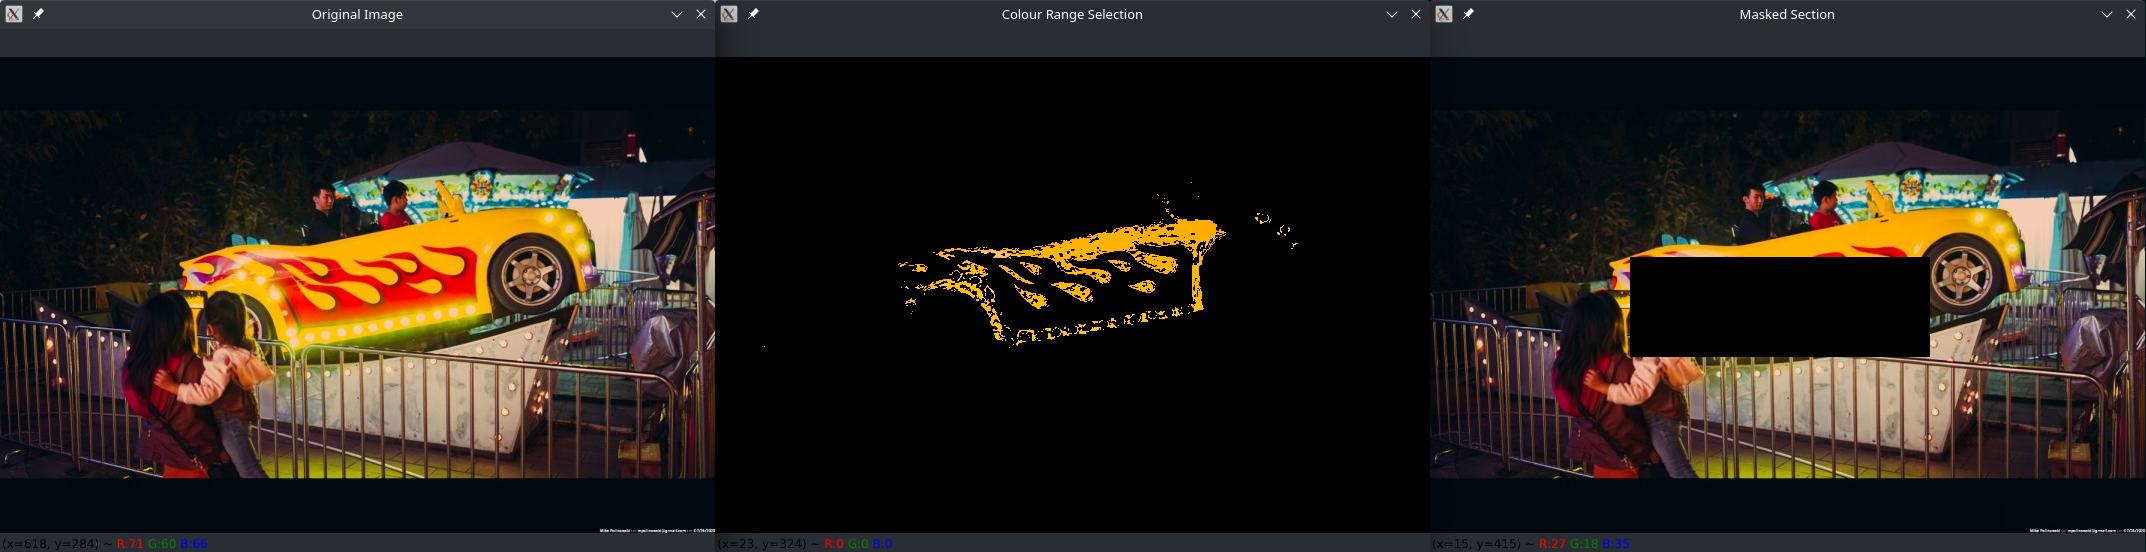
Select Colour Range
import cv2
import numpy as np
image_left = cv2.imread('resources/left.jpg')
image_right = cv2.imread('resources/right.jpg')
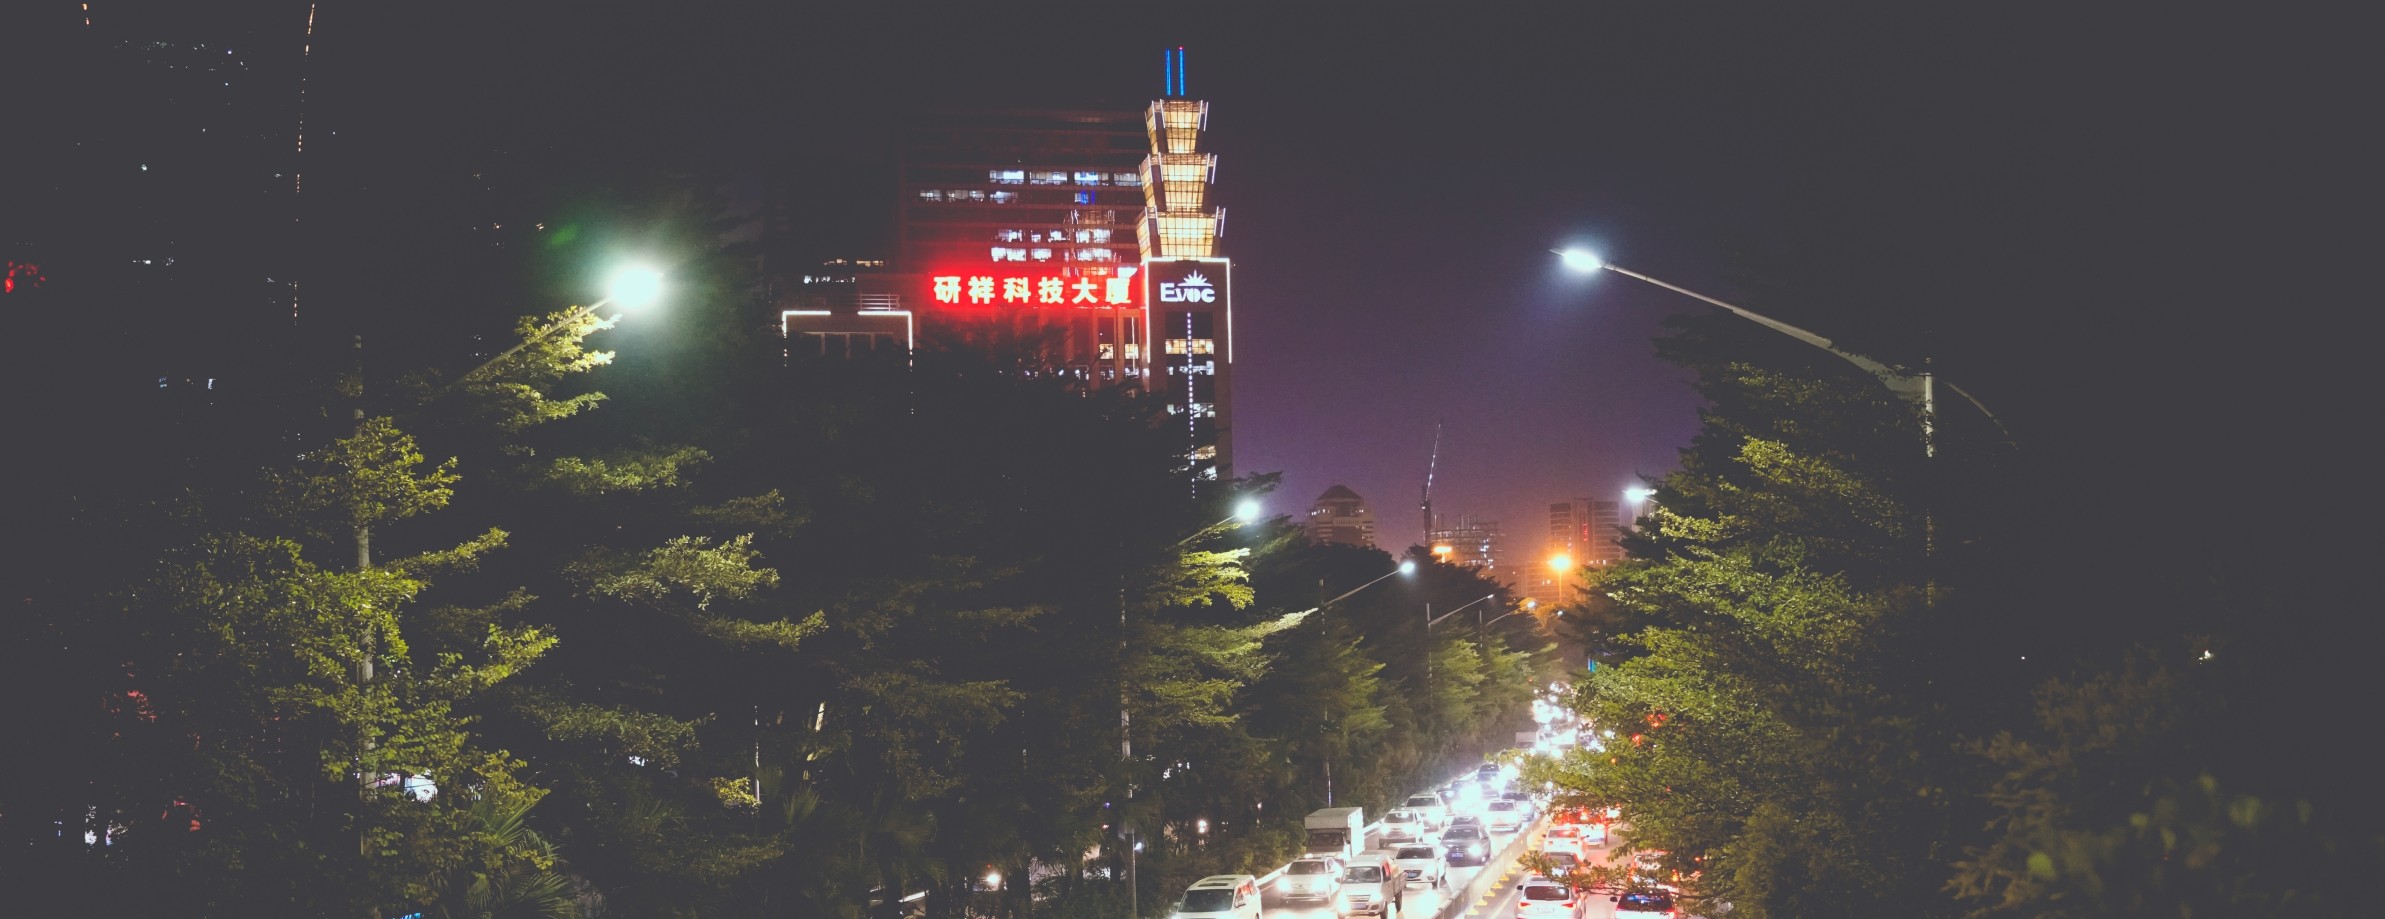
image_colour = cv2.imread('resources/on_fire.jpg')
# Using bitwise_and operation on the given two images
merged_image = cv2.bitwise_and(image_left, image_right, mask = None)
# Displaying the merged image as the output on the screen
cv2.imshow('Left Image', image_left)
cv2.imshow('Right Image', image_right)
cv2.imshow('Merged Image', merged_image)
# Working with colour masks
rgb_conversion = cv2.cvtColor(image_colour, cv2.COLOR_BGR2RGB)
# Define colour range in RGB
dark_yellow = np.array([252, 170, 0])
bright_yellow = np.array([255, 205, 114])
# Select pixel within the defined colour range
mask_yellow = cv2.inRange(rgb_conversion, dark_yellow, bright_yellow)
colour_range = cv2.bitwise_and(image_colour, image_colour, mask=mask_yellow)
cv2.imshow('Original Image', image_colour)
cv2.imshow('Colour Range Selection', colour_range)
cv2.waitKey(0)
cv2.destroyAllWindows()
Section Masking
# Bitwise masking
image_colour_copy = image_colour.copy()
# Create mask with 100 rows, 300 columns and 3 colour channels
mask = np.zeros((100 , 300, 3))
# pos = (600, 600)
# set position of upper left corner and lower right corner of mask
var = image_colour_copy[200:(200+mask.shape[0]), 200:(200+mask.shape[1])] = mask
cv2.imshow('Masked Section', image_colour_copy)