Super Resolution with ESRGAN

Project Setup
This project uses the ESRGAN repository available on Github:
git clone https://github.com/mpolinowski/ESRGAN.git
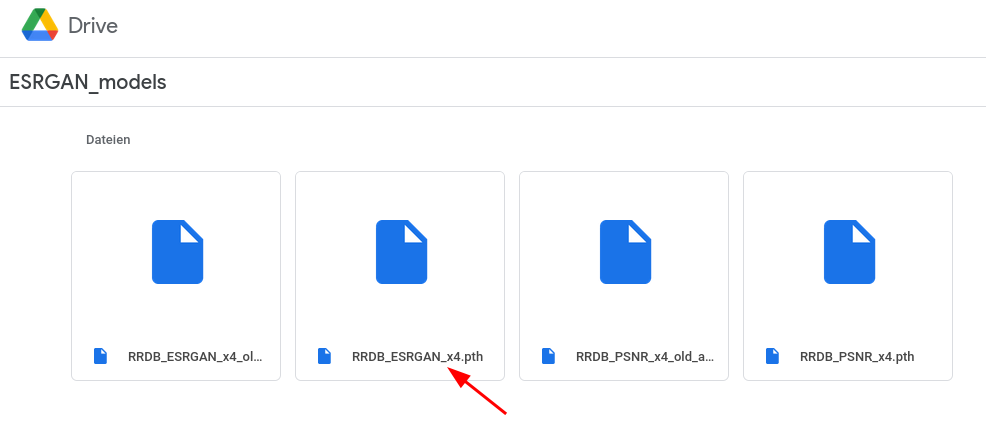
And we will be using a pre-trained model that can be downloaded from:
https://drive.google.com/drive/folders/17VYV_SoZZesU6mbxz2dMAIccSSlqLecY

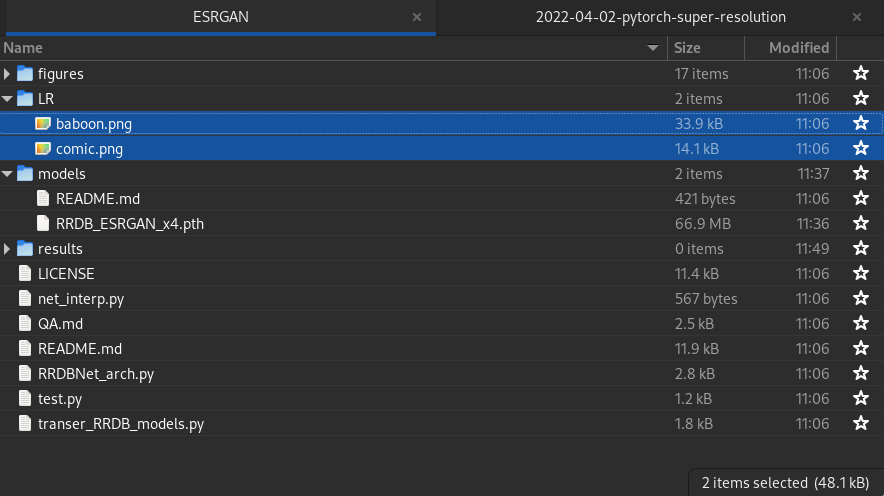
Download the pre-trained model and place it inside the ./models folder.
Install Dependencies
This project uses PyTorch which offers a little wizard helping you setting everything up based on your System - for me this is Linux and Python 3.10. But make sure to use a PC that has a nVidia graphic card with CUDA support:
pip3 install torch torchvision torchaudio --extra-index-url https://download.pytorch.org/whl/cu113
This installs PyTorch with CUDA v11. To check which version you have installed on your system run nvcc --version.
Additionally, we will be using OpenCV:
pip3 install opencv-python glob2
Run Up-Sampling
The repository already comes with two low-resolution example images that we can use:

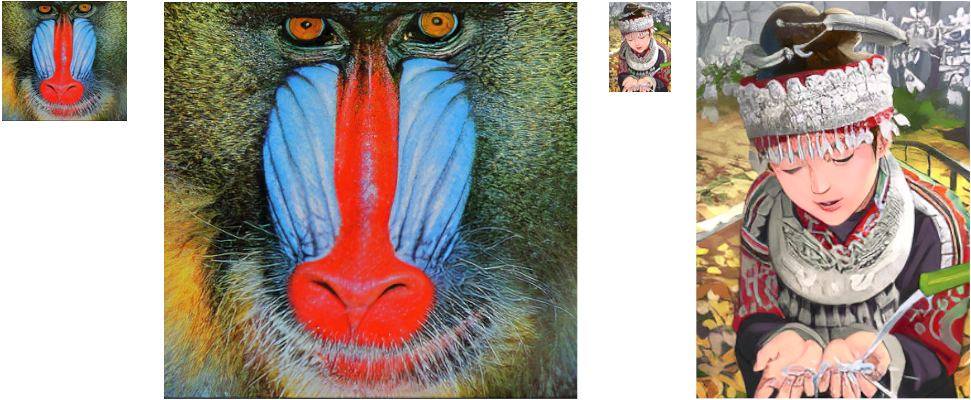
We can run the following script included inside the repository to feed those images into our GAN and output the up-sampled images into the ./results folder:
python test.py
Results
